Saturday, April 15, 2023

Stabilator Prep Part 5

 Deburring and Priming of the Stabilator Spar - 2 man hours

For some reason I did not take any pics of all the deburring, edge and hole finishing.  I did all that before priming these parts. 

Friday, April 14, 2023

Stabilator Prep Part 4

Working on spar prep. - 2 man hours

Fitting the fwd and aft spars to the spar cap assembly.

Apparently Van's is laser cutting parts these days.  This one got a bit scorched.

Riveted the outboard horn attach angel to the spar.  I had already primed it in a prior session.

Cleco'd the upper control horn to the spar assembly.

You have to center up these holes before drilling.  Make the smaller holes concentric with the larger ones in the horn.

Match drilled the horn to the spar assembly.  They call out a #20 but I only had a #21 and it worked out just fine.

Use the black cleco's for the horns.  I had plenty from prior projects.

Use plenty of cleco's to hold this sucker in place while drilling.

Black cleco's in every hole as they are drilled.

Used an angle drill instead of a long bit called out in the manual for these #30 holes. 

Repeat for the bottom control horn.


All done.

Repeat the angle drilling to the horn attach angel.


Drilling the inboard horn attach angle.

All done!

Reaming the horn cable attach hole full size to #12.

Reaming the counterbalance arm brackets full size to #30.

Cleco the brackets to the spars at a 90° angle to how they will be installed.  This is so you can drill the counterbalance arm to the brackets.

Setup a jig to keep everything in the correct plain and orientation.

Drilled the pilot hole in both brackets on both sides. #30

Cleco the arm to the brackets after each hole is drilled.

Next drill the arm to the brackets full size.  

Go all the way thru.

Install a temporary bolt in the first side to be drilled.

Then drill the other side and check that a bolt fits.

Rotate the brackets 90° keeping the correct orientation of the holes.


 Mark the brackets to ensure they get put back in the correct place and orientation otherwise those bolts will not fit on assembly.  You don't want any slop in this setup as that could cause counterbalance failures down the road.

Stabilator Prep Part 3

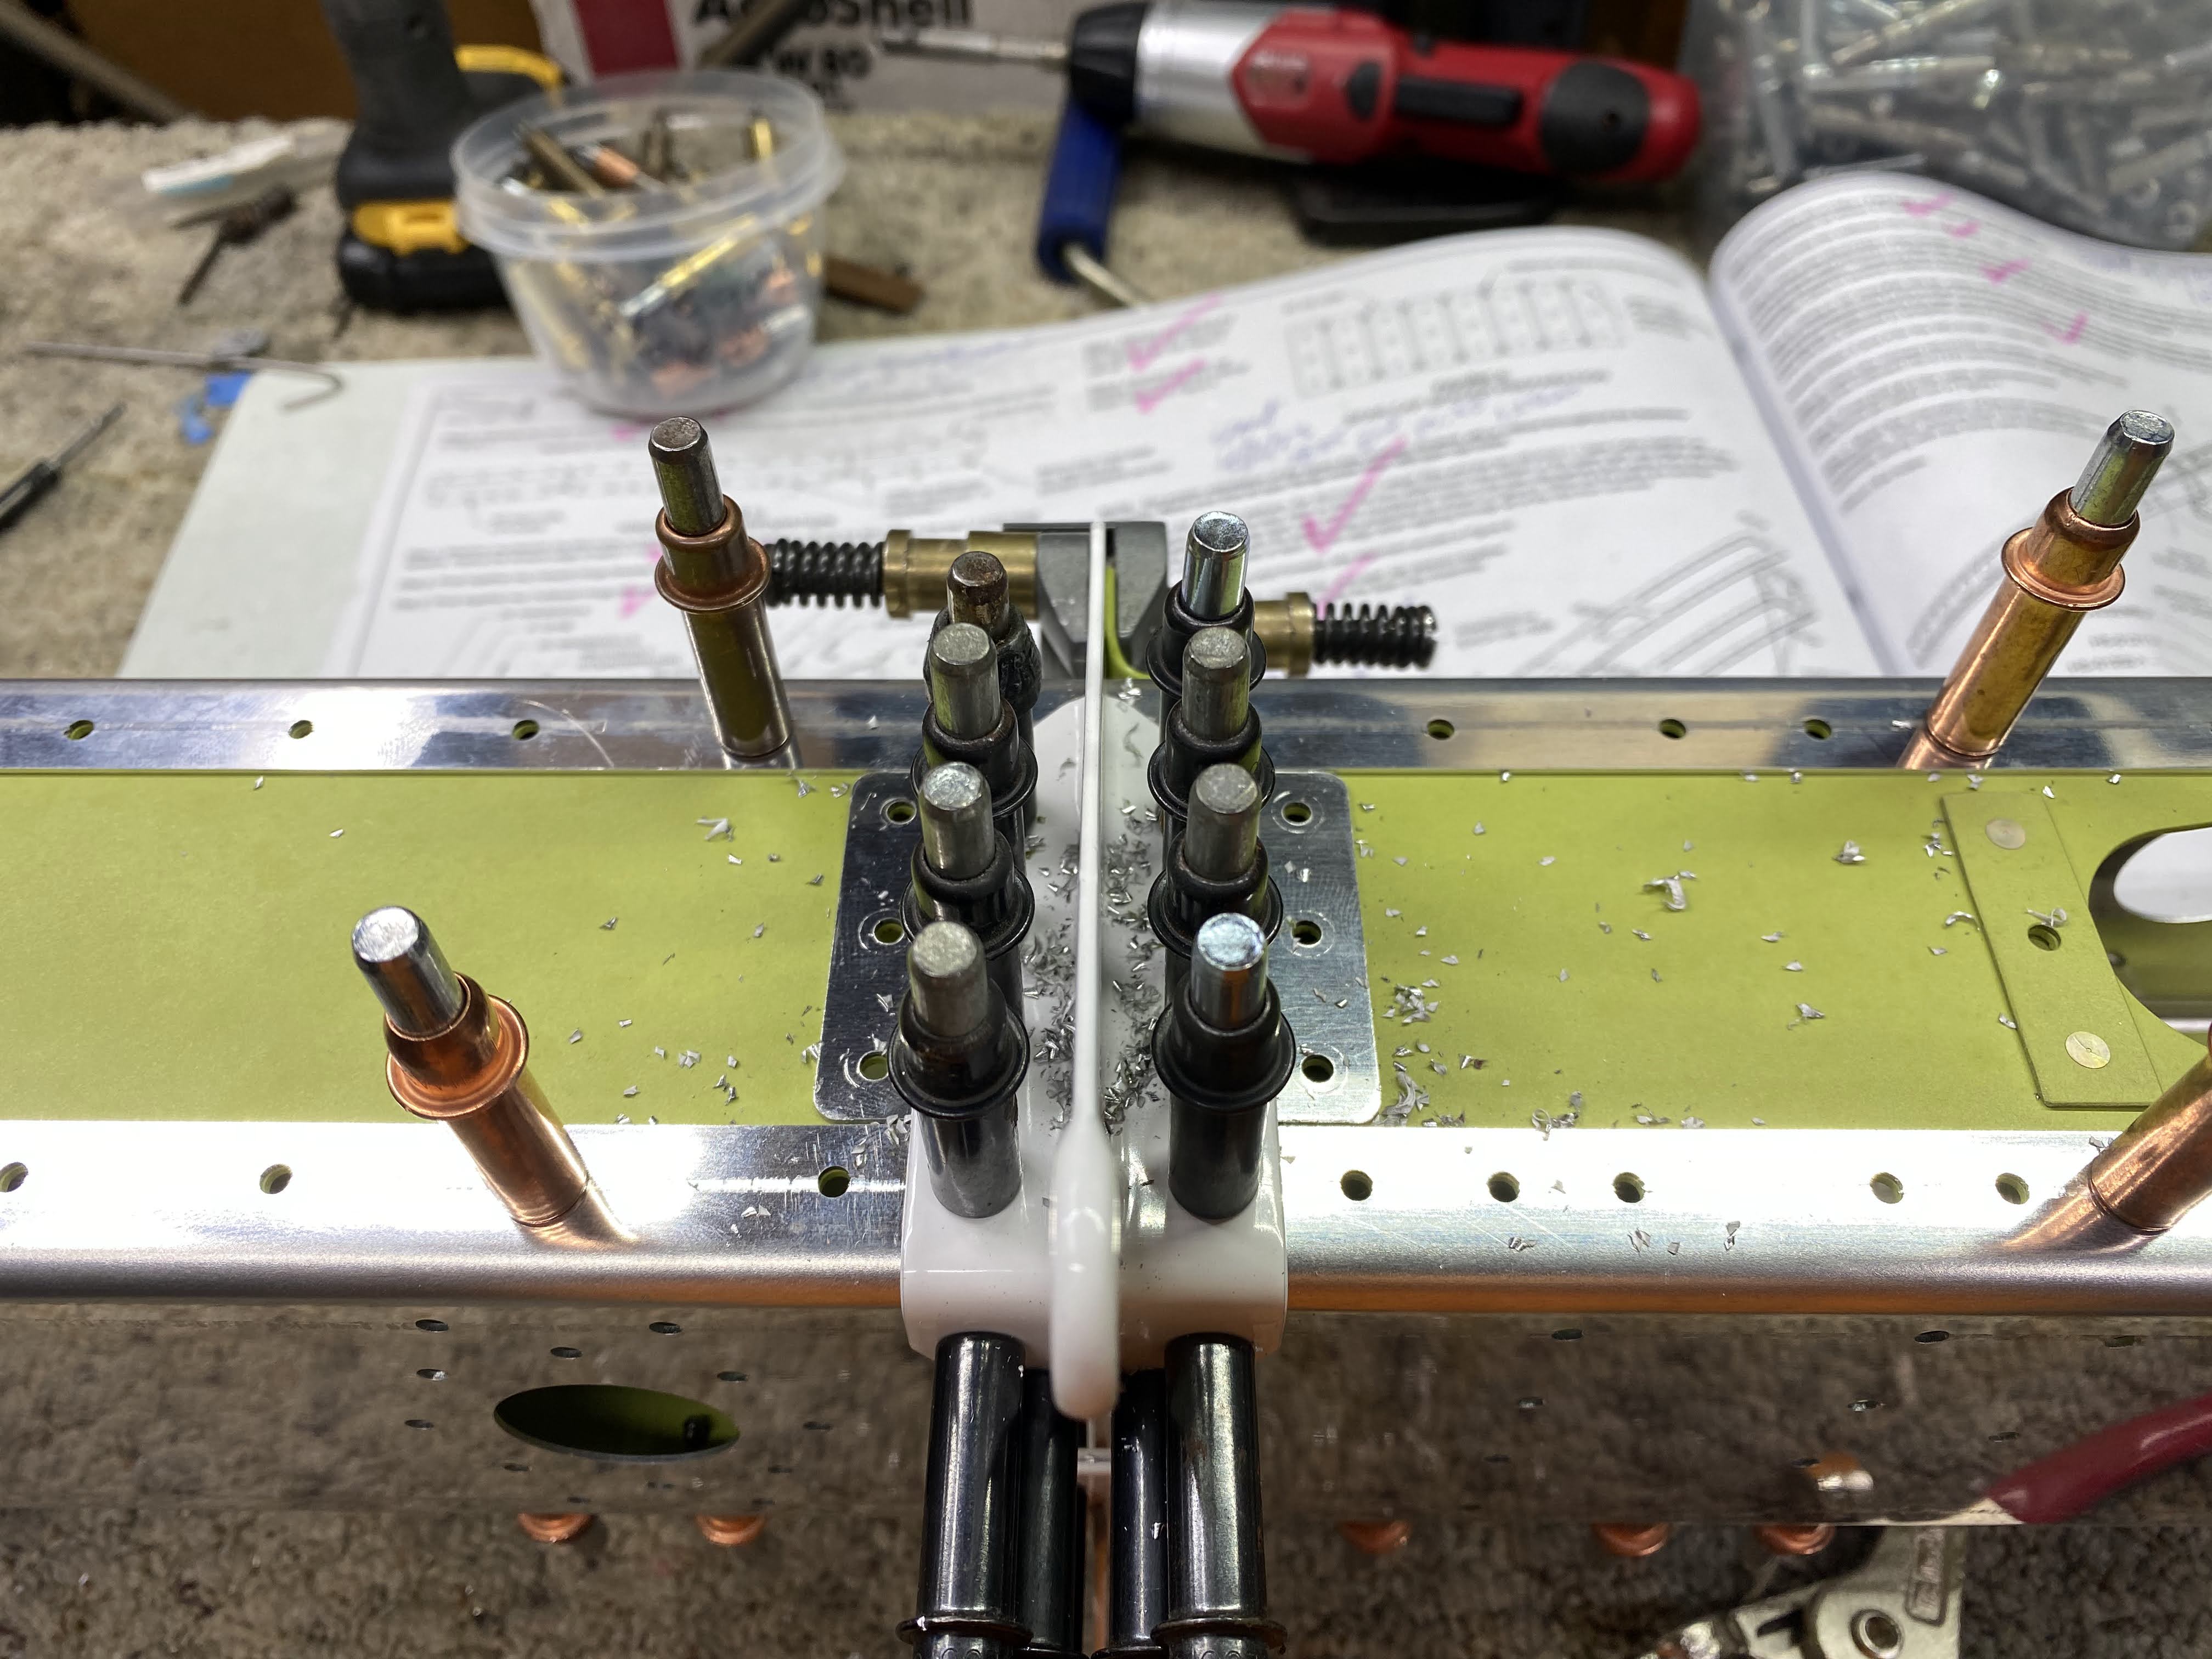
 Primed and assembled the stabilator spar cap assembly. - 2 man hours

Parts were acid etched and scrubbed then primed.

Was a small batch of parts this time.  Used my new 6oz cups and that worked well.

Orientation of these parts is critical.  The ribs are not symmetrical and there is a forward and aft difference in the spar caps.


The little spacers go on top of the spar caps where the ribs are.


Used the squeezer to set these rivets.  Only the two outboard 3/32 rivets get set at this point.

One side done.


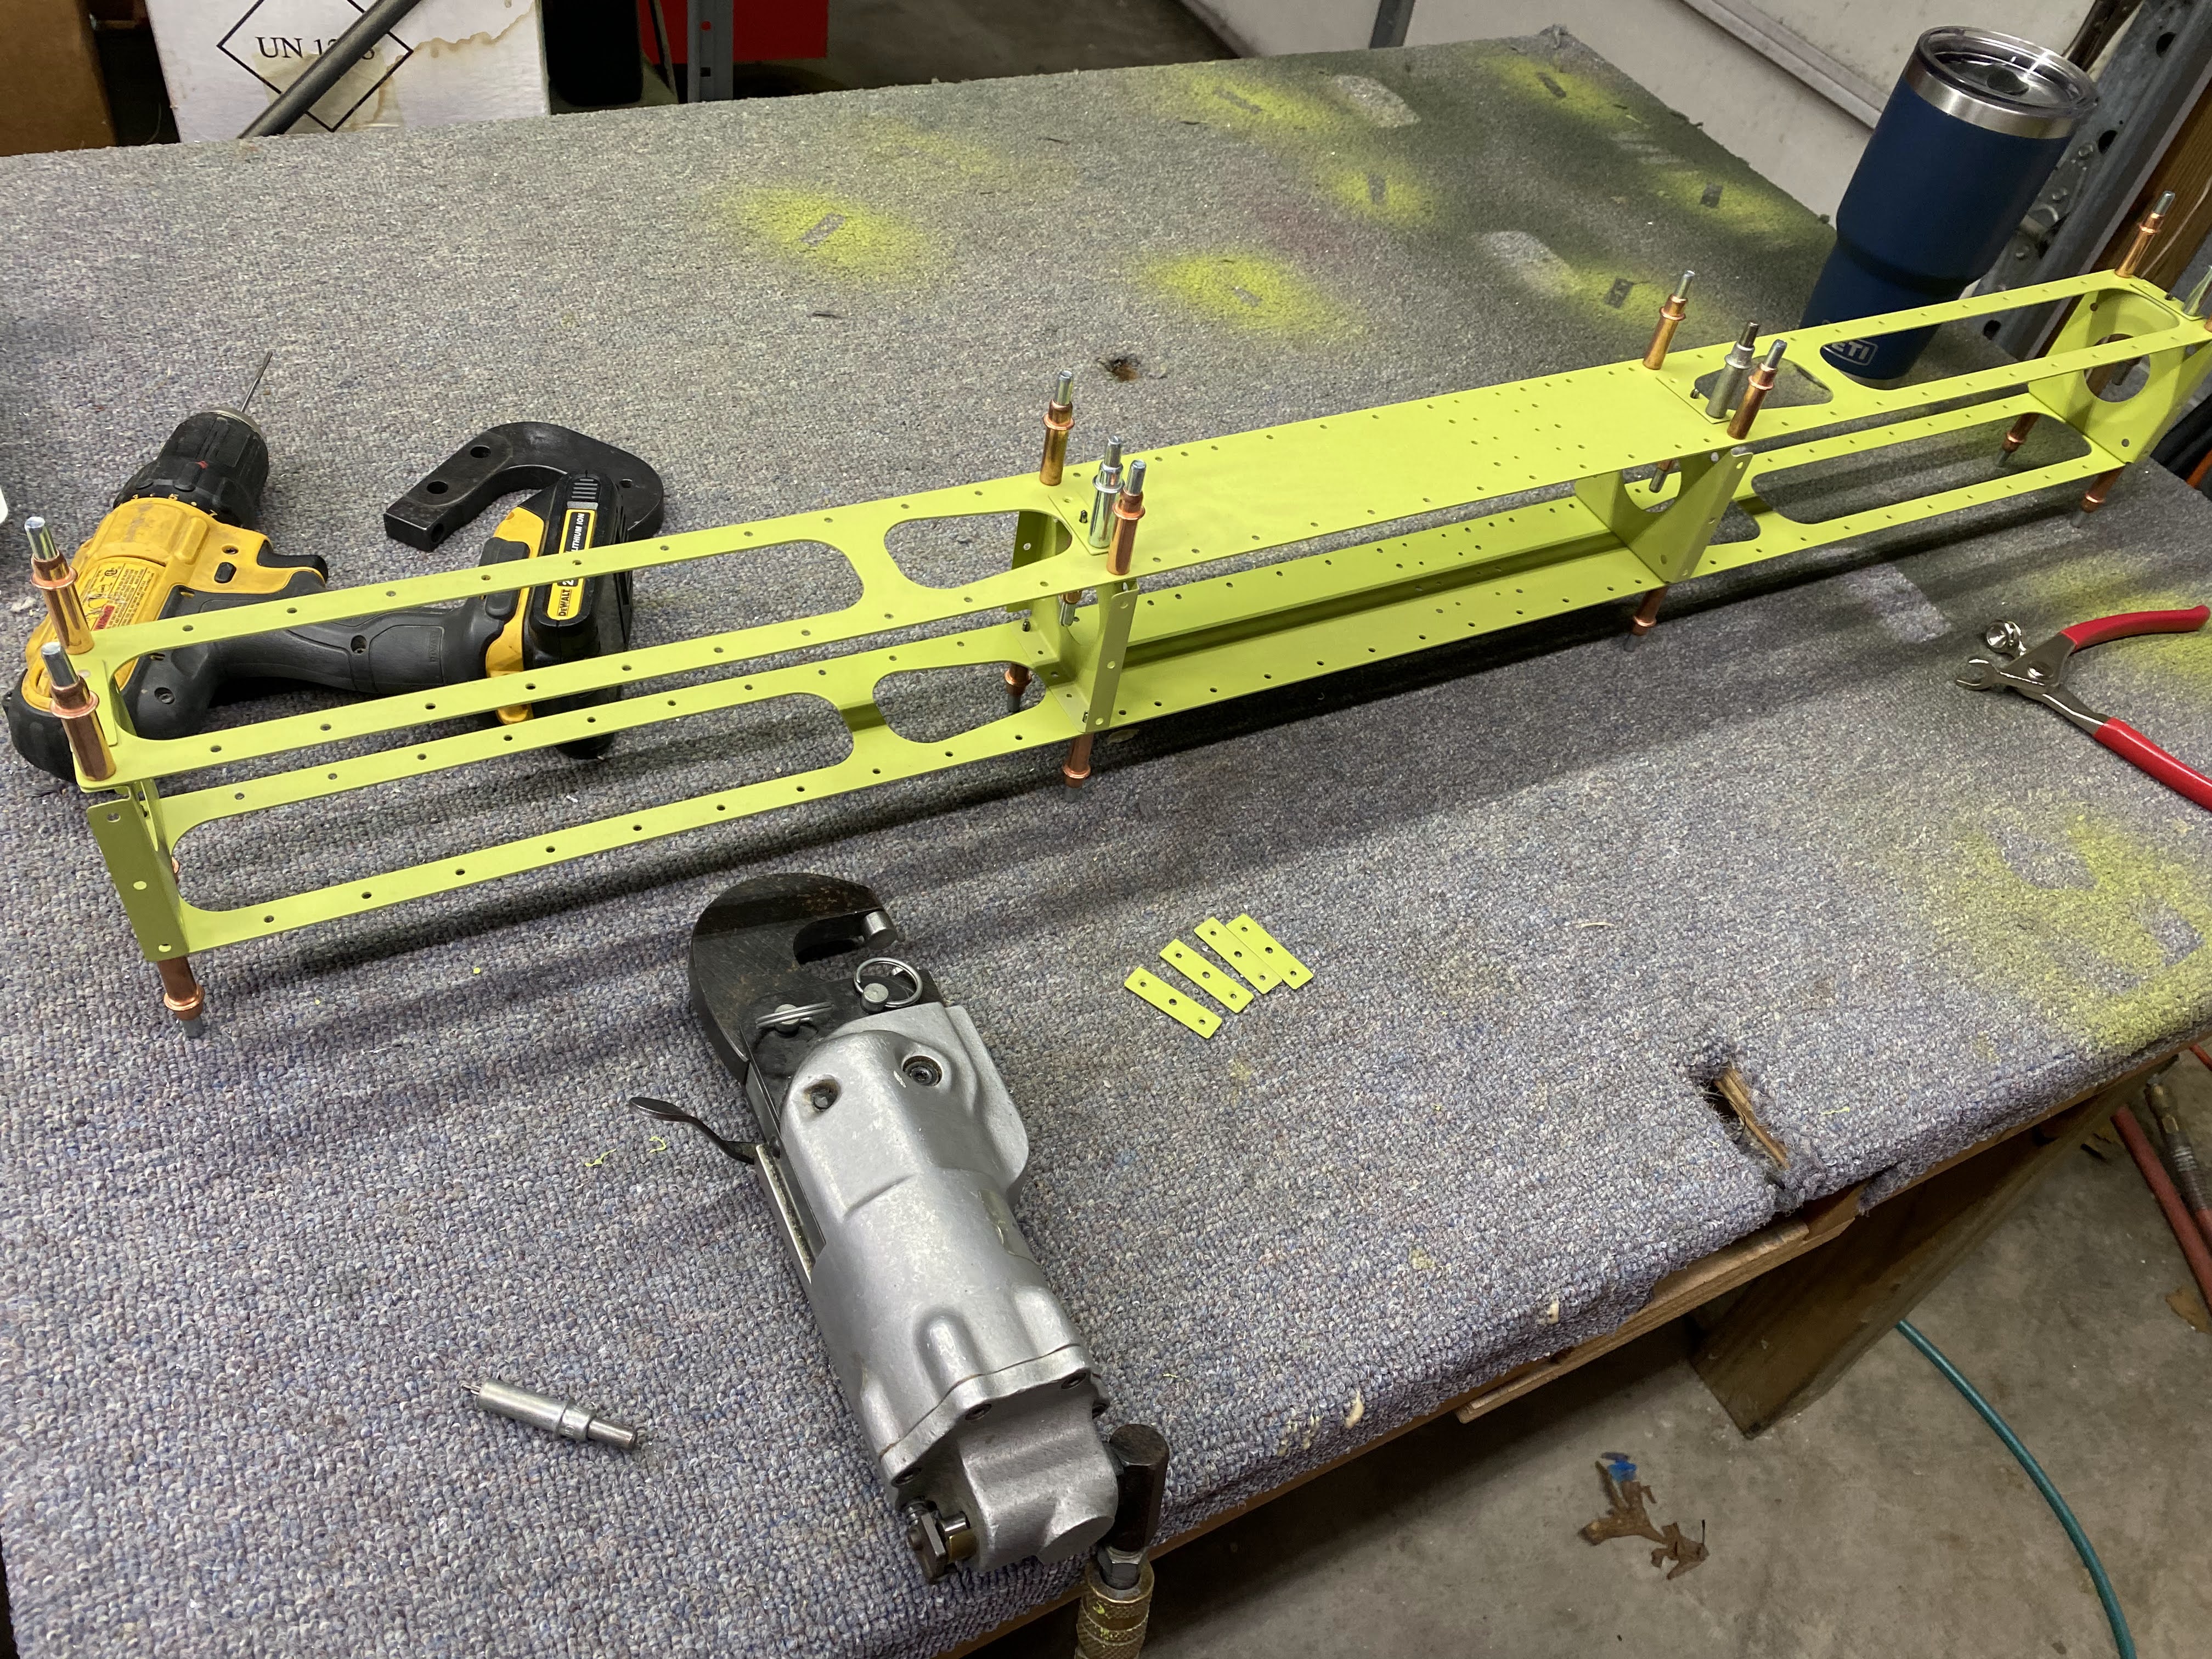
All finished and ready to move on to the spars.


Thursday, April 13, 2023

Stabilator Prep Part 2

 Working on prepping the parts for the Stabilator spar cap box - 1.25 man hours.

Deburr the outer edges of the spar caps.

the 1" wheel and the die grinder makes quick work of the inside holes.

Used the pencil engraver to mark the orientation of the parts which is super critical in this case.  Van's uses the same tool to mark main wing spars so it is OK to use if done properly.

I would pay Van's extra to stop using these paper tamperproof stickers to ID parts.  Please! Please! Please! switch to vinyl stickers!

Use this 1" wheel to get inside holes.

Deburring the edges of the spar cap box ribs.

Got to do some riveting of this subassembly before moving on so I will try and get this small batch of parts primed this evening.  I must mow my lawn after work before I need a bush hog to get it done.

Wednesday, April 12, 2023

More priming stuff

Ordered two more sizes of cups for my 3M PPS system gun.  Hopefully this will help me save primer and not waste it.

22oz, 13oz and 6oz should cover it!

These are a knockoff brand but appear to be similar in design and function.  The throw away part of the cup is thinner which should help the gun collapse it better to squeeze out every drop of primer.


Tuesday, April 11, 2023

Stabilator Prep Part 1

Started the stabilator construction prep this evening - 2.5 man hours.

Machine countersinking the hinge brackets.  Two of them don't get countersinks on the nutplate holes.

Bandsaw makes quick work of separating the hinge brackets.

Cleaning up the left overs and the edges.

The two thinner spacers get dimpled.


The thicker spacers get machine countersinks.  Do not use your expensive one hole countersink cutter on these as these are stainless and will ruin it quickly.  Ask me how I know..... 😥

This way of holding them worked great.

Deburring the hinge bracket flange parts.

Machine countersinking the spar cap spacer shims.

Cutting the spar cap spacer shims apart with the bandsaw.

Cleaning up the edges of the spar cap spacers.

Cutting apart the horn attach angles.

Deburring the horn attach angles.

Riveting the inner and outer hinge bracket assemblies together.  I primed the mating surfaces with some rattle can self etching primer.


All done.  Make sure you put the thin shim on the inboard ones with countersinks and the thick shim on the ones with no countersinks.  Van's calls out AN426AD3-5 rivets for the nutplates but there are no AN426AD3-5 rivets provided in the kit.  👎  Lucky I have some rivets left over from the RV-7 build that I can use.