Working on vertical stabilizer rear spar parts. - 2.5 man hours
Splitting the rudder attach/bearing brackets apart. The tabletop band saw does a great job. I use a wood cutting blade instead of a fine tooth metal cutting blade on this thin aluminum. It does not clog up like the fine teeth of the metal cutting blade.
Plenty of blue film to remove from these parts.
Deburring the edges with the Scotchbrite wheel. This does a great job. I remove all the shear marks, flashing from cutting the parts apart, round over the edges and the corners.
For all the pre-drilled holes, I use a reamer to make em final size. This is the #12 holes that will get bolts when the bracket is attached to the spar.
More blue film therapy as Smitty would say.
Cutting the bearing spacers and rudder stop apart.
These parts are allot thicker so they take more work on the wheel to get rid of the shear marks.
I have a brand new wheel on the right side. It takes a bit to get these broken in.
Notices the shear marks from the factory. These are all places for cracks to form later.
Rounding the corners of the round holes with some emory cloth.
The upper and lower bearing assemblies cleco'ed together.
Final ream/match ream the #30 rivet holes.
Use my large deburr bit on the smaller bearing holes.
Separating the VS Aft Spar upper and lower cap strips.
Marking a weird amount of material to remove from the top end of the bottom spar cap strips. Have no idea why they leave this to the builder. (Edit: I was reminded that the press brake tooling needs something to work against to form the radius in the part. Makes sense now!). They also don't give all the dimensions for the cut, they assume you will just know to follow the existing edge down to the notch in the part on the end.
Here is the area to be removed.
Easy peasy with the bandsaw.
Removing the flashing where the parts were cut apart.
Deburring and rounding the long edges.
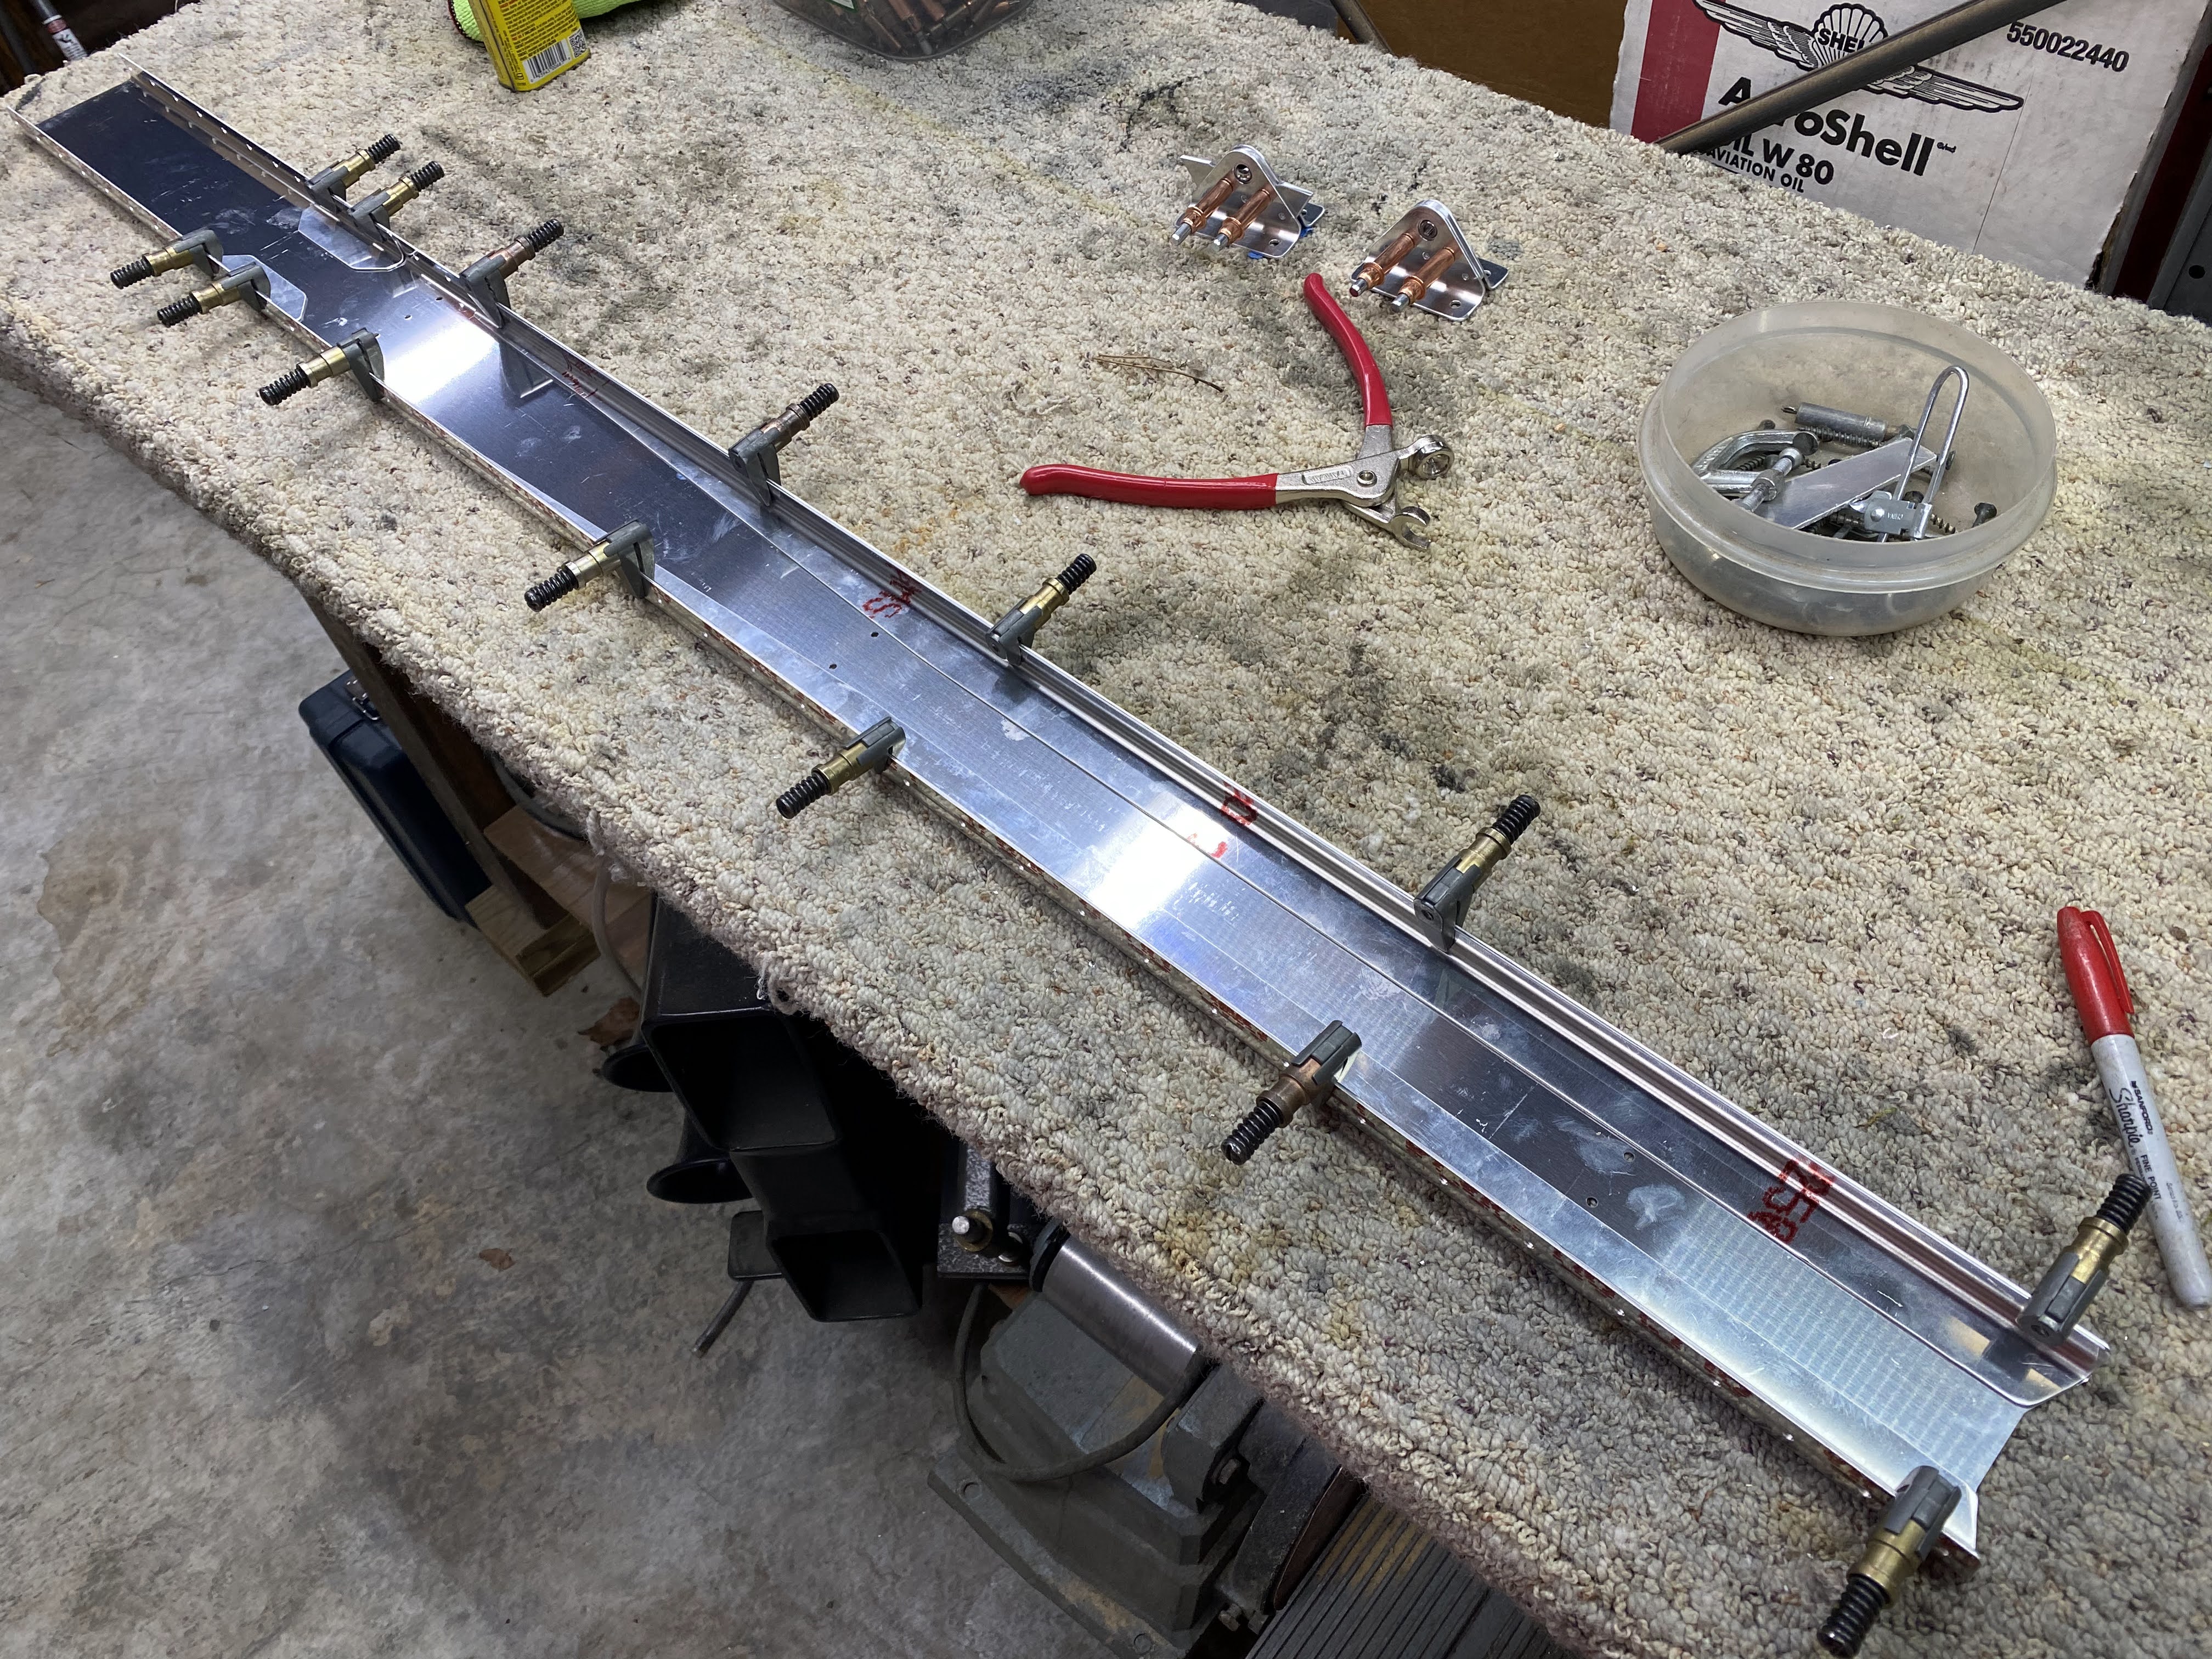
Marking the alignment line for the upper spar caps. Get this right or you will have edge distance issues.
These lines are to be centered up in the predrilled holes in the spar web to locate the upper spar caps.
Just put the line in the middle of the hole and clamp.
Locate the bottom spar caps by aligning their bottom edge with the spar bottom edge. Use plenty of clamps.
Match drill the #30 holes about every 4th hole. Use the spar web as a guide to drill the spar caps. I am a cleco in every hole I drill kind of builder.
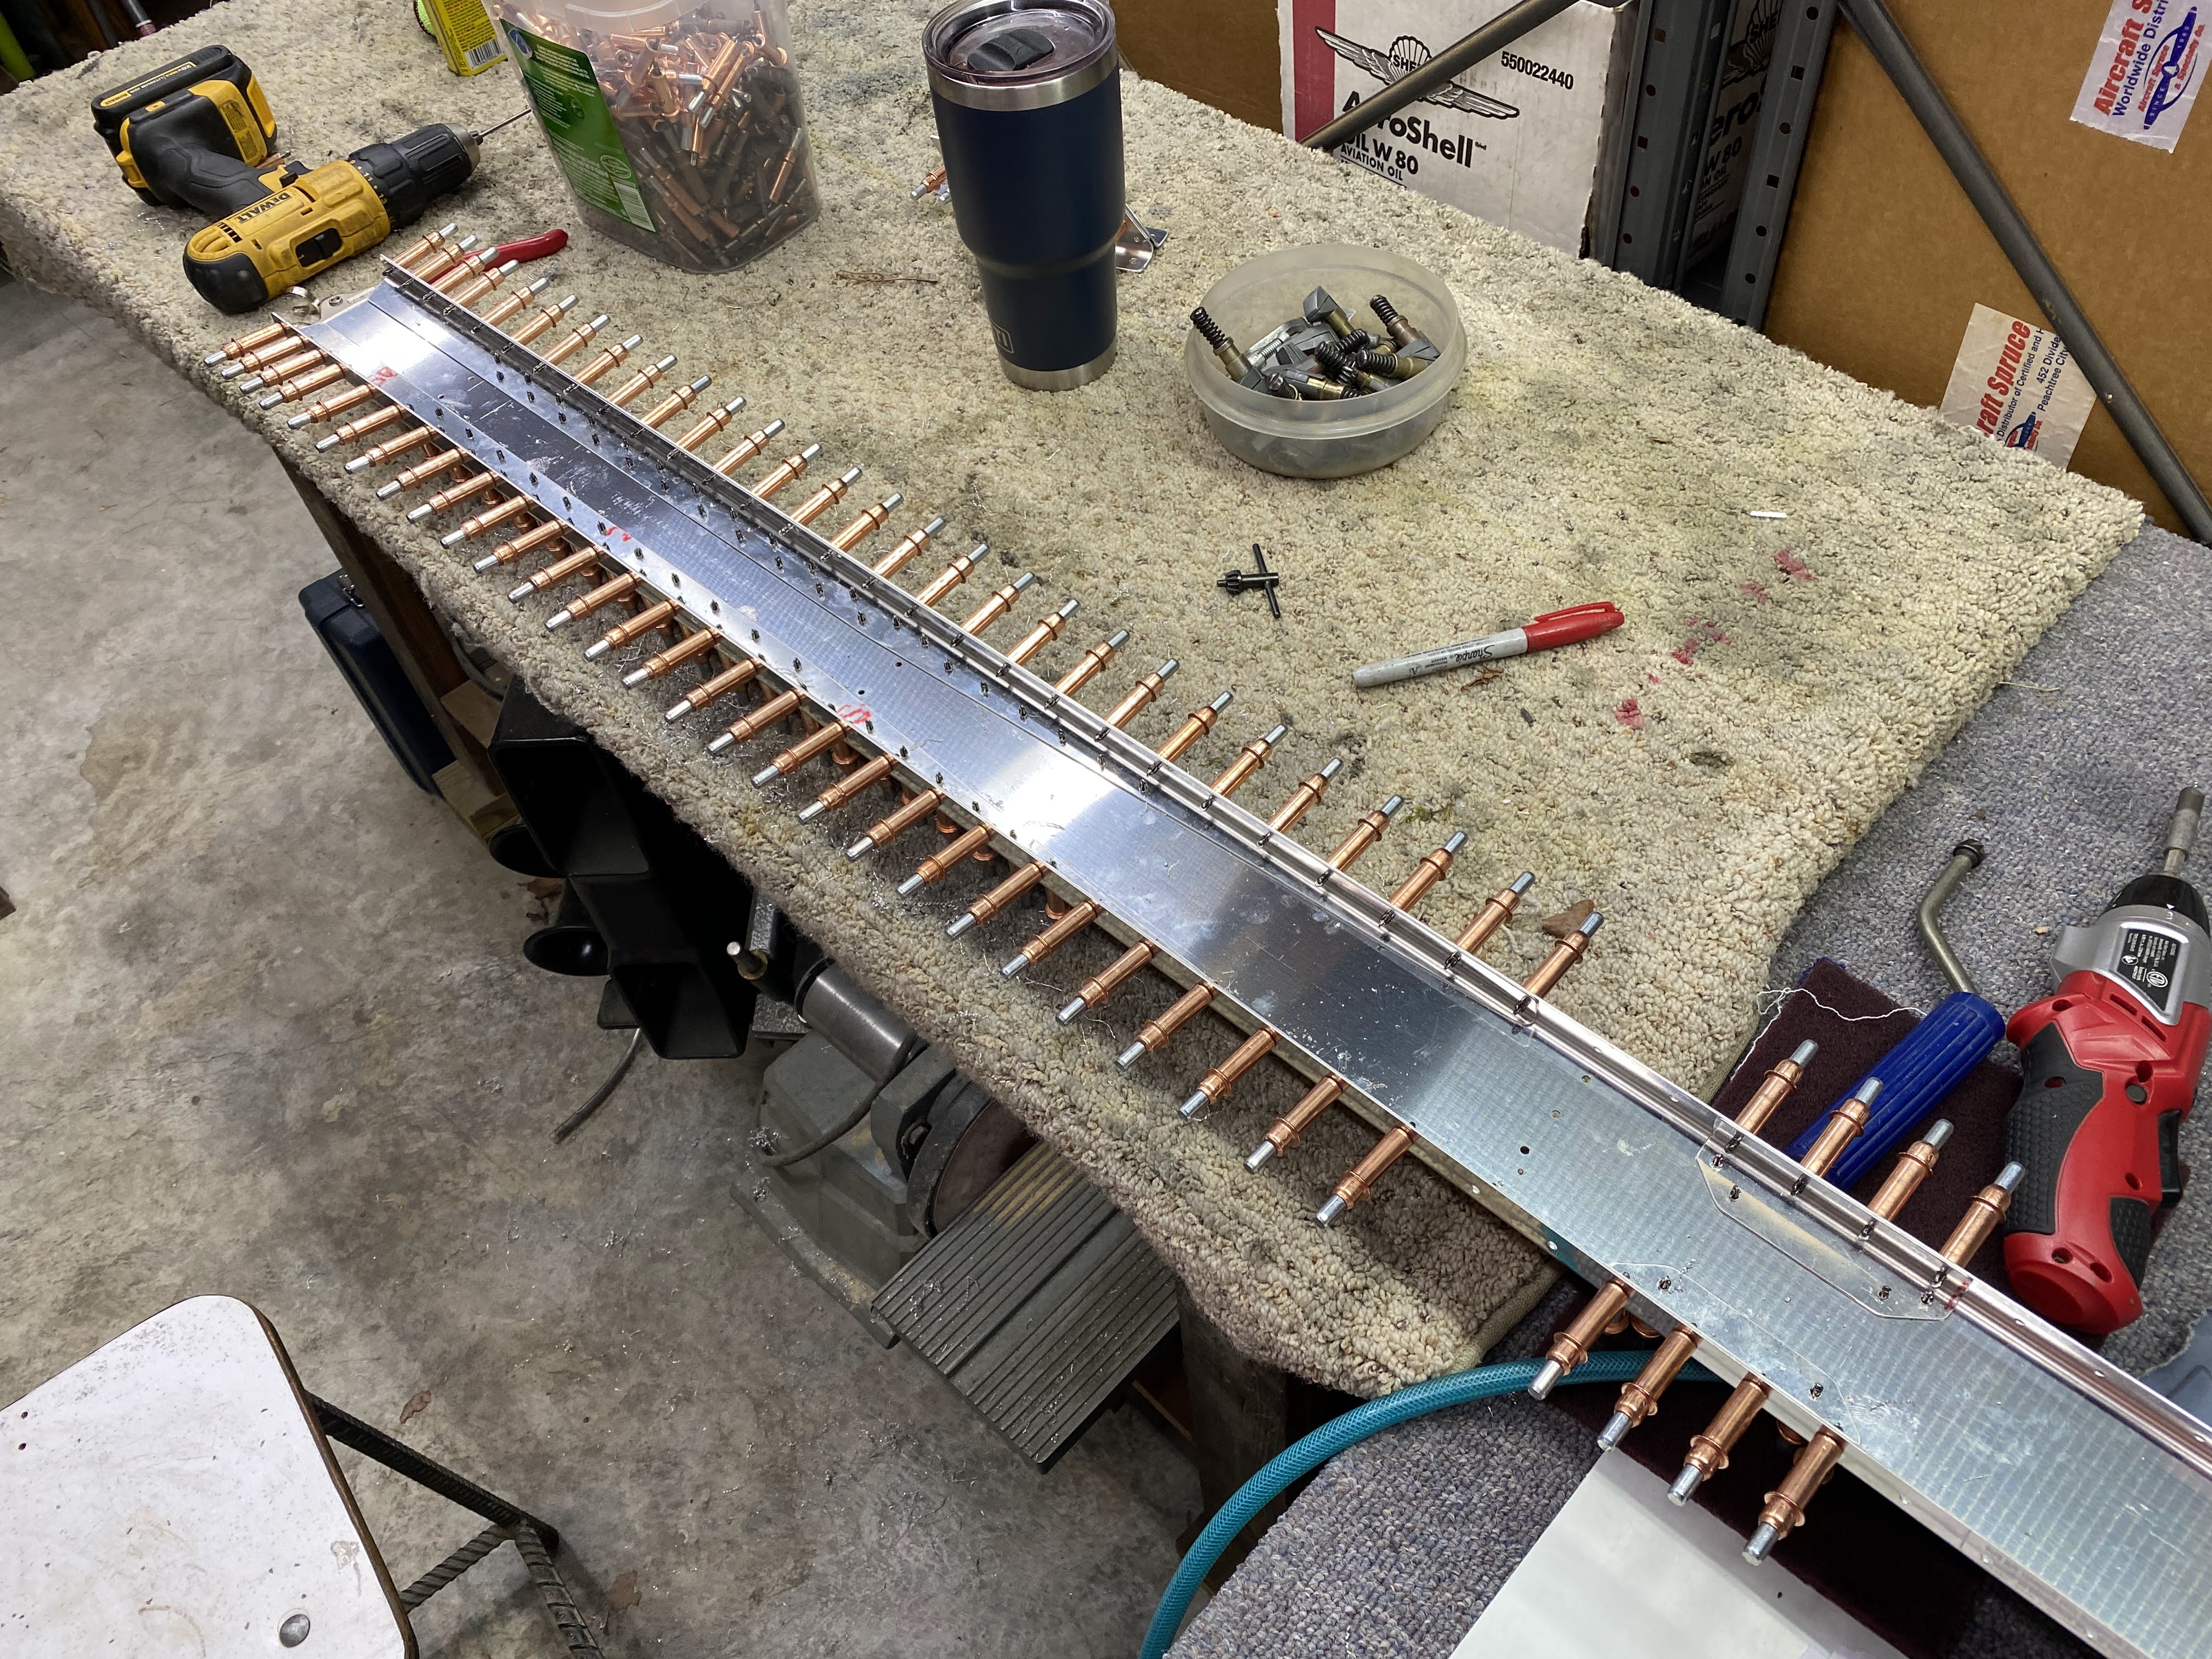
Match drilled the #30 holes in the upper spar caps.
Went back and match drilled the remaining #30 spar web to spar cap holes. Like I said, I like to use allot of cleco's. Seems to help keep stuff aligned.
Next was to match drill the #30 holes from the spar flange to spar caps.
The other side done! That is a ton of holes!
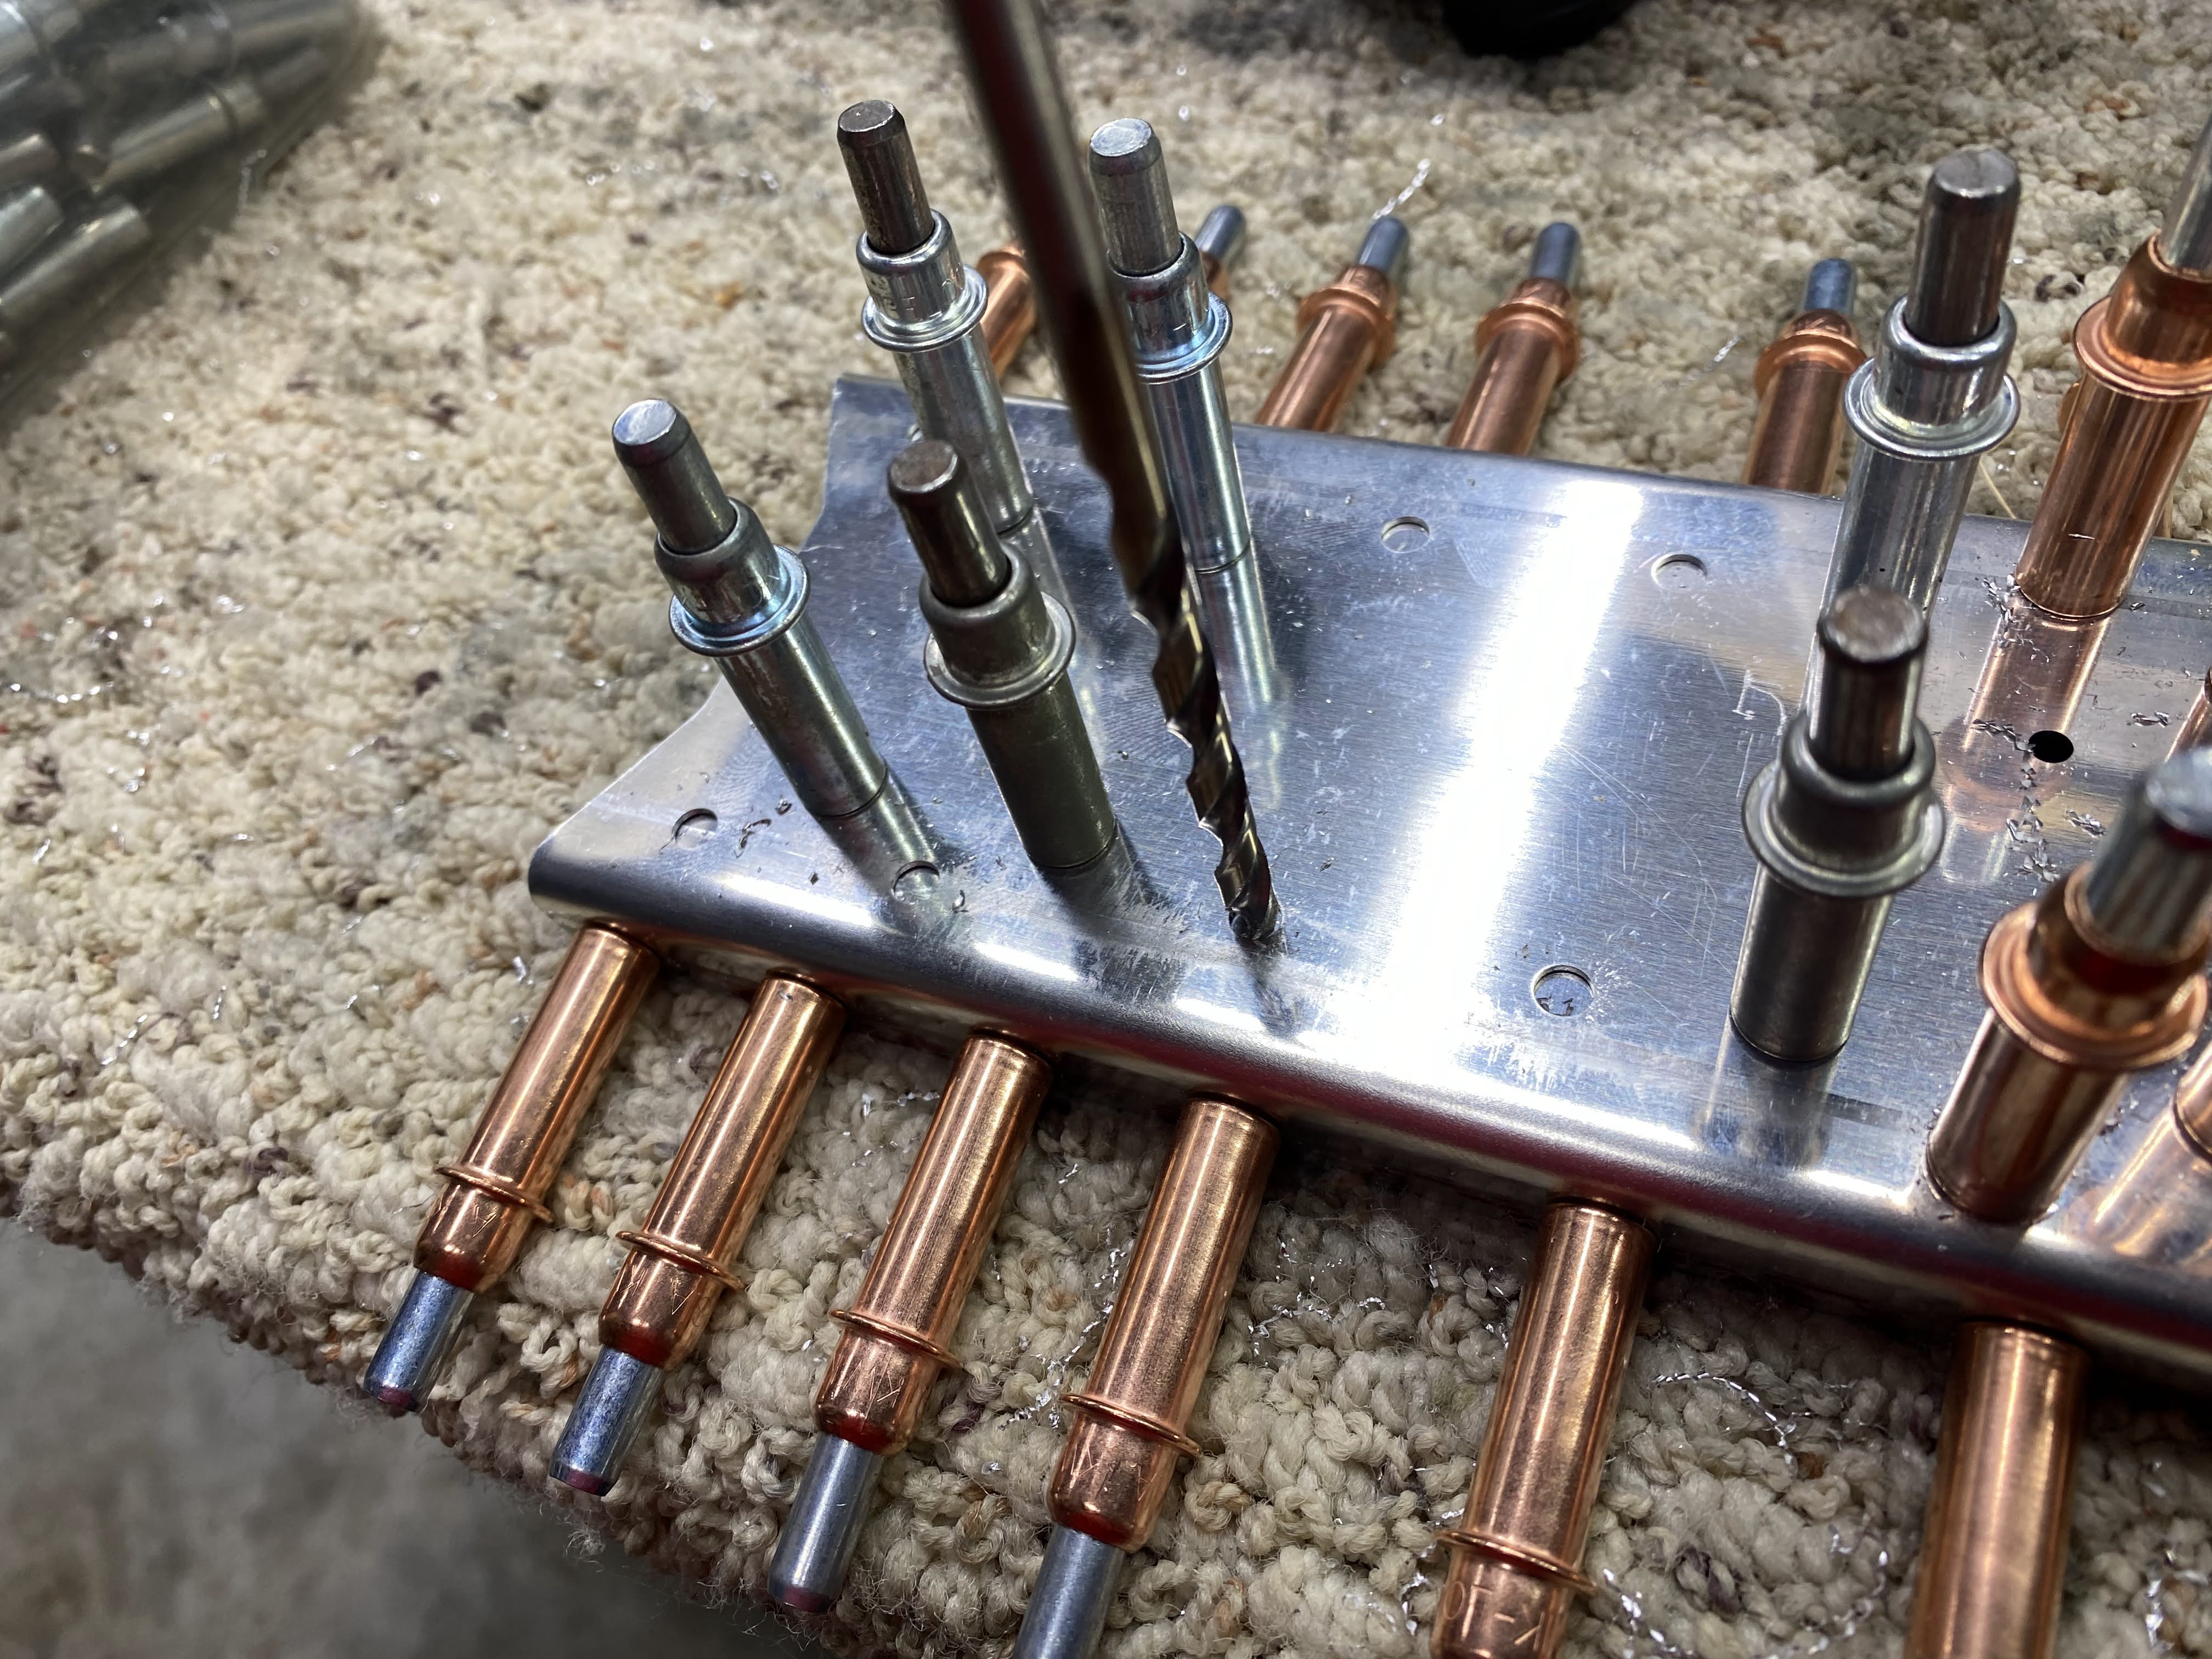
Next was match drilling the #40 holes that will end up with nutplate rivets.
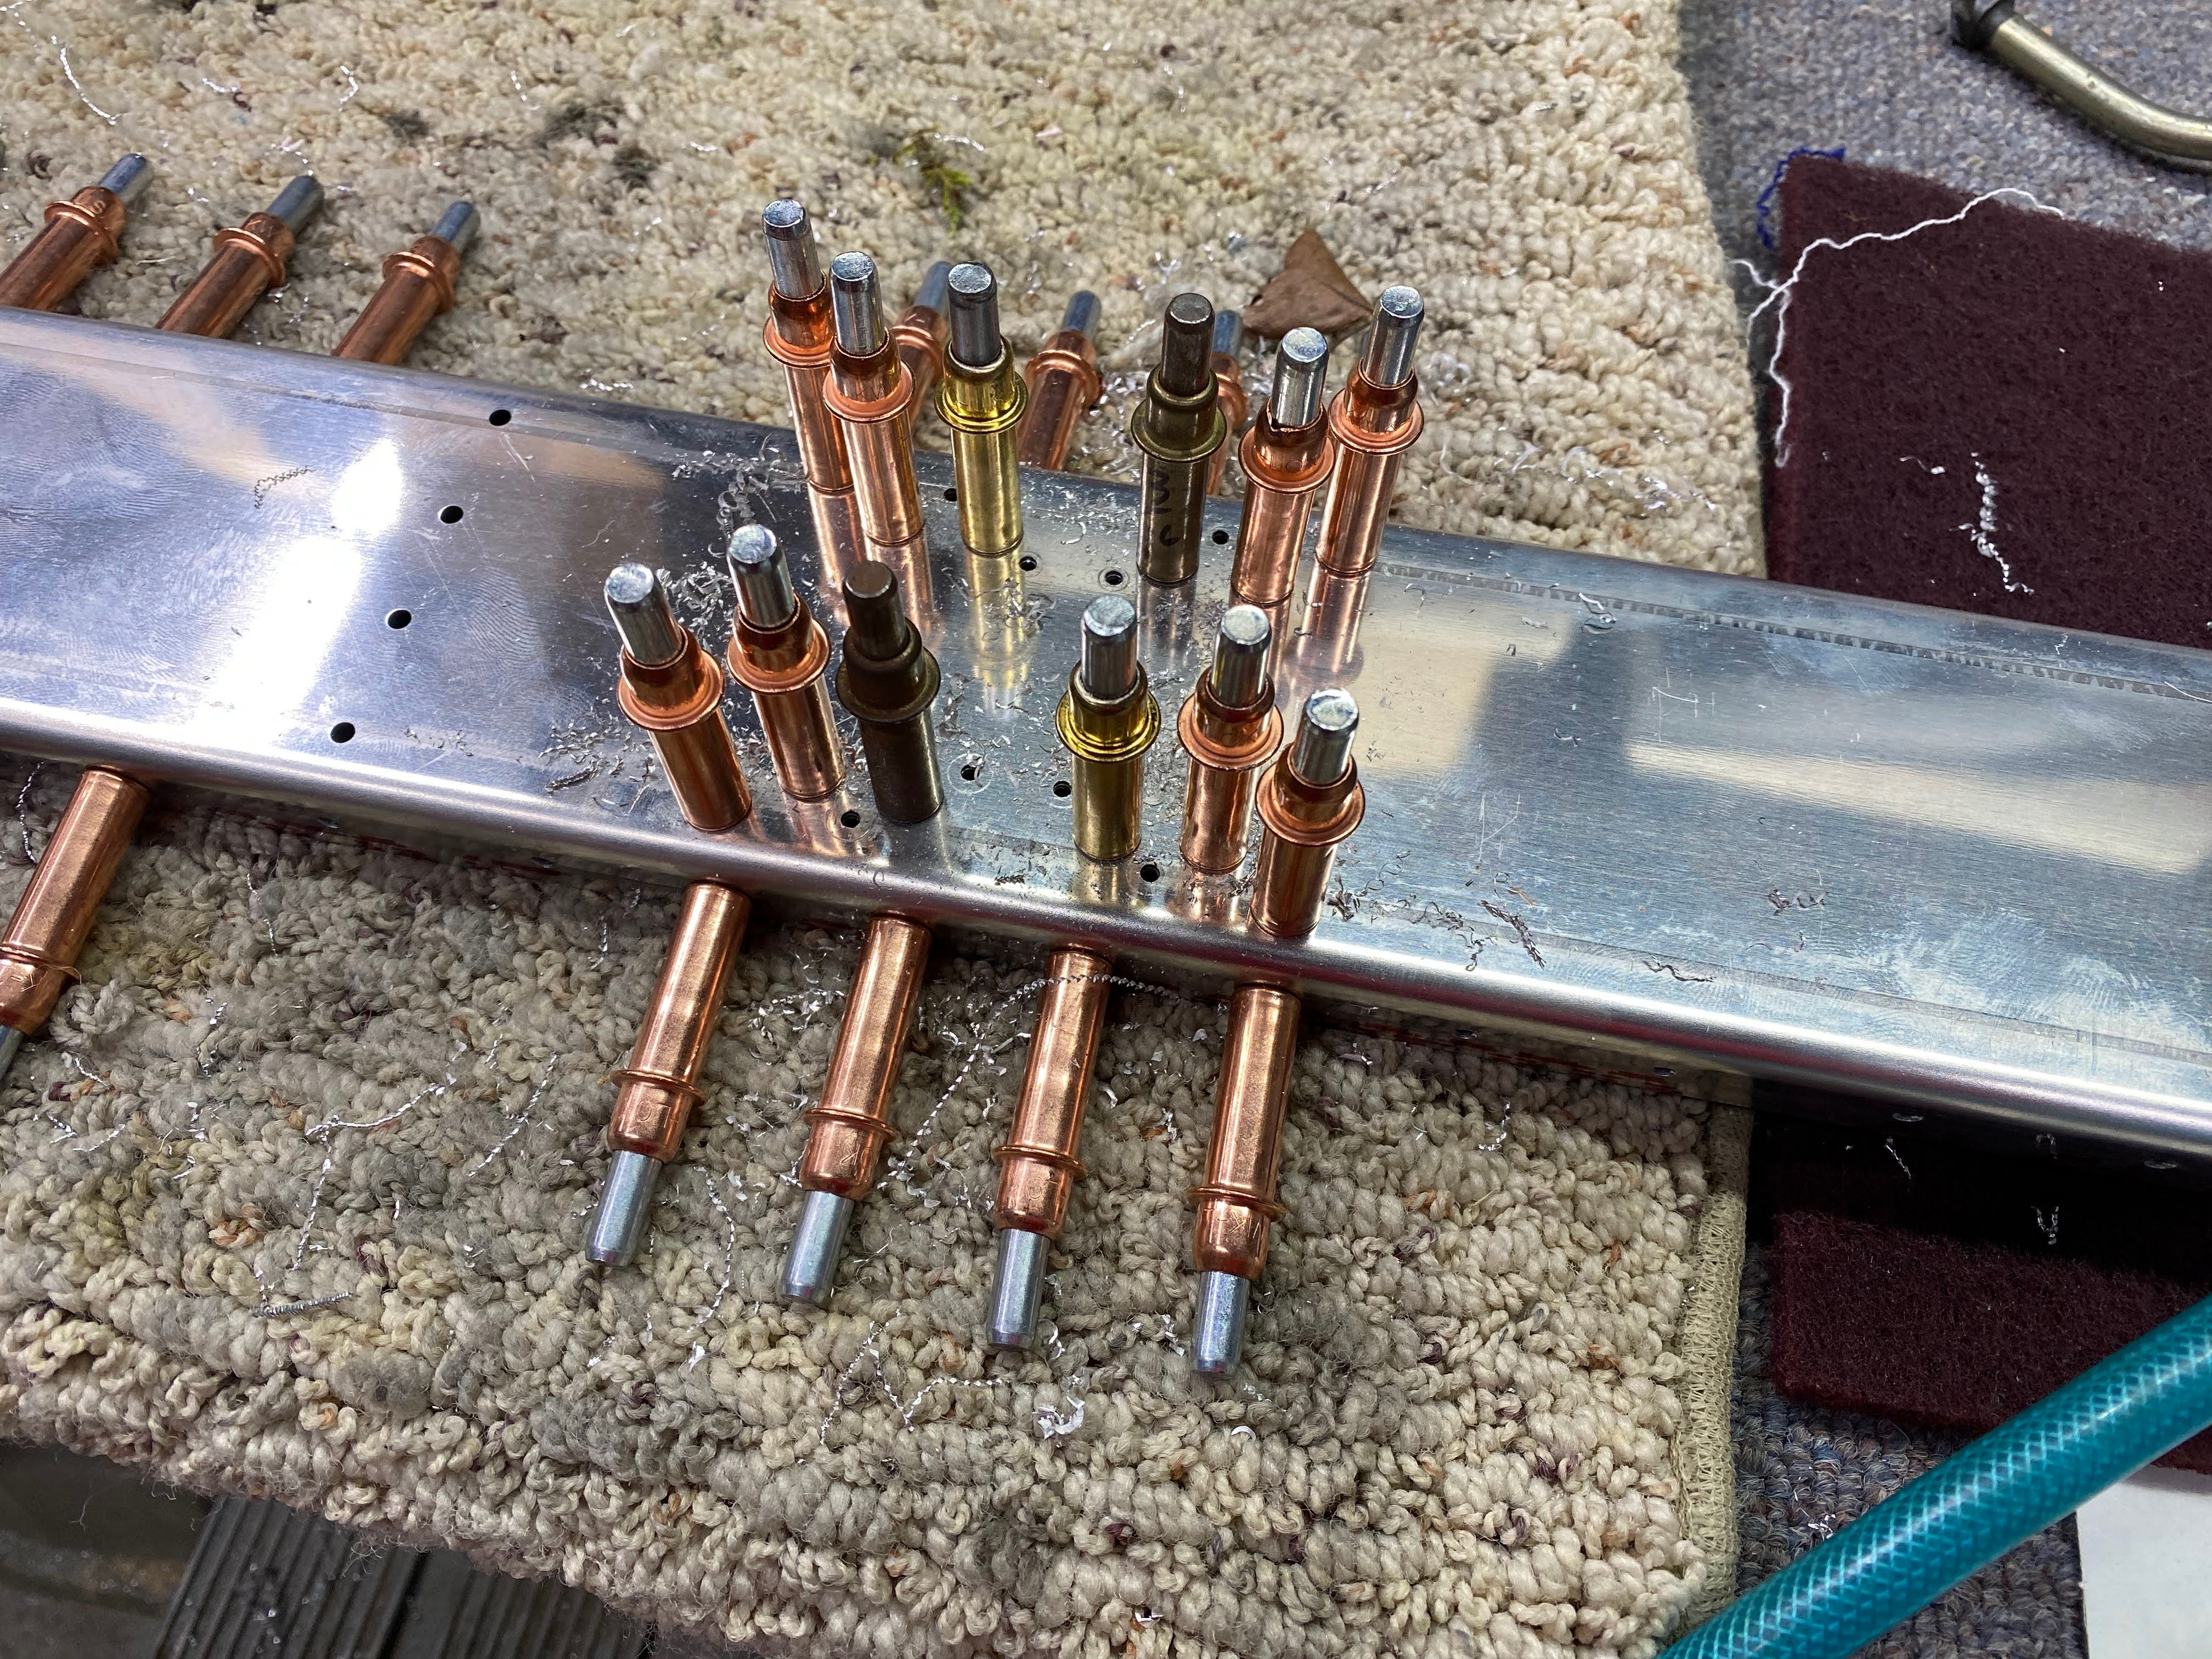
Then came the match drilling of the #12 holes that will receive bolts later when the hinges are bolted on. I have a long #12 bit that makes it easier to drill in close quarters.
The rest of the #12 holes drilled.
3/16 clecos in the #12 holes.
Spar prep complete. Time to take it all apart and deburr all the holes and clean out any chips.