Saturday, November 4, 2023

Fuselage center section #81 - Forward upper fuselage part 3!


Prepping the upper firewall area.

Riveted this bracket onto the upper firewall.

Installed these nutplates.


Dimpled the lower flange per the KAI's.

More dimpling.

More nutplate riveting.

Next it gets riveted to the fuse with some sealant on the ledge.

After all the rivets, these final nuplates get installed.

The small hinges get match drilled.

Here is where I realized I made a mistake and riveted the spacer strip on the outside of the firewall when it was supposed to be on the inside between the firewall and this hinge.  I was able to fix it just fine.


Friday, November 3, 2023

Fuselage center section #80 - Forward upper fuselage part 2!

Continuing work on the top front firewall area.


First they have you rivet these hinge clips.  Only rivet the top hole in the nutplate. (Update:  This strip goes on the inside of the firewall, not on the outside!)

Then they have you rivet all these nutplates.

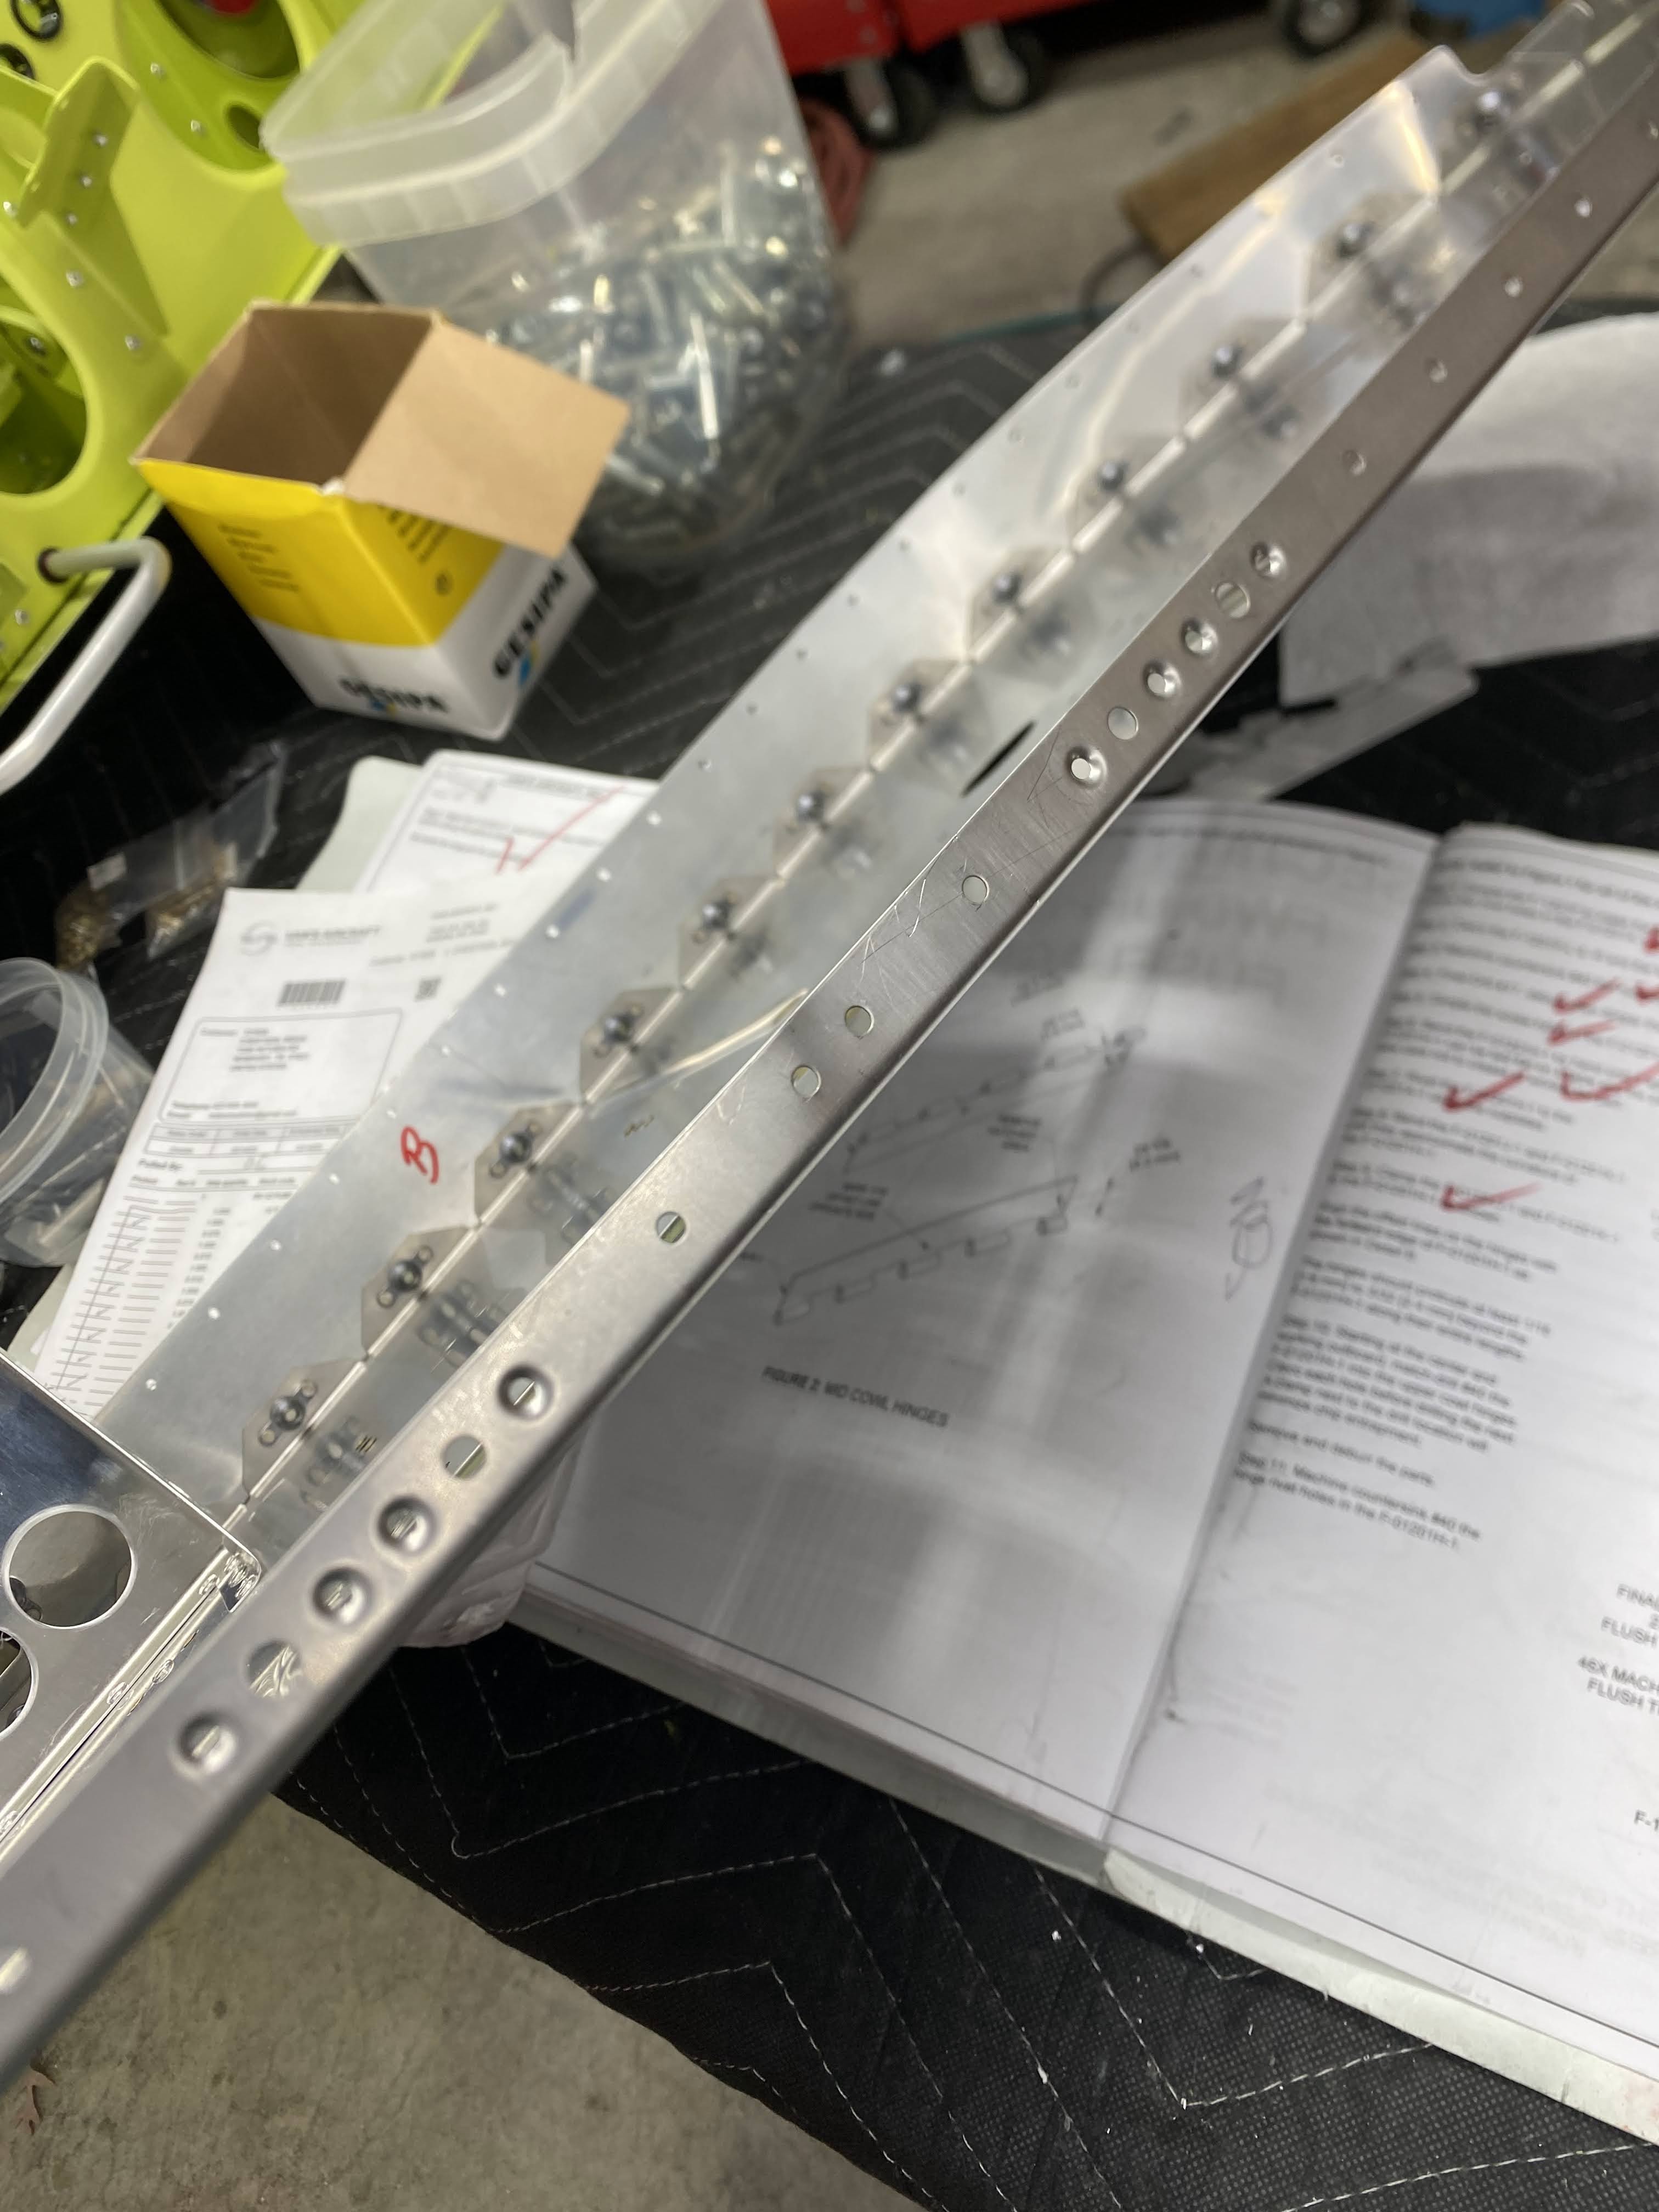
Then you match drill the hinges to the firewall strip.  The hinges must be spaced 1/16" from the strip.  Just clamp the poo out of it after aligning the mark that was placed on the hinge.

Then the rivet holes are countersunk for flush rivets.


So I screwed up and cut this longer hinge an inch short a couple days ago.  I must have been drunk!  So now I am waiting for some more hinge to be able to finish this part of the firewall.  I can keep going though!  I also realized it would be better to cut it so that the part remaining after the eyelet will be on the other end.  The KAI's don't provide any help here, they just leave it up to you to figure out which end to leave the tail on.

Riveted the short hinge section to the firewall.  Ordered another hinge.


Wednesday, November 1, 2023

Fuselage center section #79 - Forward upper fuselage part 1!

Started the upper forward fuselage today.


Started by cutting out these firewall hinges that end up mounting the cowl later.  You make two different lengths.

Then these hinge clips.  I assume these make all the geometry come out correctly.

Then the KAI's have you prep the remaining parts of the firewall by dimpling for the million #8 screws that hold this thing together.

Then they have you countersink the rivet holes that hold the #8 nutplates.  These must be flush due to the top front turtledeck cover that ends up covering them up.

Dimpling for the #8 screws.

Bending the hinge mount strip to match the firewall curves.  This is sort of critical to get it to lay nice and smooth.  Be careful not to kink the metal strip!


Tuesday, October 31, 2023

Fuselage center section #78 - Rudder pedals part 3!

On Halloween night I installed the brake master cylinders using the hardware called out in the KAI's.

Upper side with the cotter pins installed in the bolts and castle nuts.

Lower side done with the pins, washers, and cotter pins.

I did not want to be fooling around with the master cylinder fittings when the pedals were mounted in the fuse so I went ahead and did them now.  Just followed the KAI's and section 5.


Next was to mount the assembly in the fuse.  I used super glue to stick the washers to these mount blocks so they would be easier to install.

Rudder/brake pedals all installed in the fuse.  This is not something you want to be doing after the front fuse section is finalized.  I am leaving the tubing for later since I don't want it in my way as I finish the front area.


Monday, October 30, 2023

Fuselage center section #77 - Rudder pedals #2!

More rudder pedal work....

After locking the pilot side in place by sticking one of the lever arms all the way thru two of rudder drops.  I used a square to position the brake pedals perfectly vertical.

Then the KAI's have you drill these holes starting with #30 and then upsizing them all the way up to 1/4".

Next I moved to the pilot side and did the same.  

Even though the plans have been revised a few times, there are still errors in this view.  They have the L & R reversed on this side.

All drilled with the bolts installed along with the rudder pedal foot pads.


Sunday, October 29, 2023

Fuselage center section #76 - Rudder pedals!

Started working on the rudder pedals today.

First was splitting these mount blocks.  Just marked the center and cut em with the band saw.

Mocked up the assembly, just followed the KAI's.

For whatever reason, I could not find enough of the type of nuts that Van's calls out to use for this temporary task, I just used these castle nuts to make it up.