Saturday, October 21, 2023

Fuselage center section #69 - Rollover bar brace and aft baggage bulkhead!

 Worked on the rollover bar brace and baggage bulkhead parts today.

Drew a line per the KAI's on these shear clips.  

Cleco'ed the baggage bulkhead parts to the tail cone.

Match drilled these shear clips to the bulkhead after centering the line in the holes.


Drilled these two holes full size.

Match drilled the fuel pump bracket to the pilot's side bulkhead rib.

Then fitted all the parts for the fuel pump mount.  Match drilled the screw holes into the bulkhead rib.


Countersunk these brackets.  Had to do these without the cage.

Dimpled all these nutplate mount holes.

Countersunk all these rivet and nutplate mount holes.

All the parts ready for primer prep.


Thursday, October 19, 2023

Fuselage center section #68 - Rollover bar part 6!

 Finished up the roll bar tonight!

Started out by riveting the flush rivets that go under this latch plate.  Tapped the holes for the screws.  Be extremely careful here as it would be super easy to screw up which hole is which and either countersink or tap the wrong hole.
Aft side all riveted with the switch bracket.  

Front side all finished. 

Next was riveting these roll bar braces together.  These get the small universal head rivets.  Strange Van's calls out so many of these but does not recommend a 3/32 universal head set in the tool recommendations.

Then I drilled the rollbar to the heavy roll bar brackets that are bolted to the fuselage.  Ensure the rollbar is sitting flat against the face of the machined bracket.  Then check it again as this is important!


Rollbar riveted to the heavy brackets and the reinforcement braces all riveted on.

Other side....

Then I drilled these two holes full size.  Have no idea why yet.

Next visible milestone completed!  Won't be long till we are making airplane noises.


Wednesday, October 18, 2023

Fuselage center section #67 - Rollover bar part 5!

 Started riveting the rollbar together tonight.

Top side gets flush rivets.

Other side done.

Bottom side gets LP4 rivets.

Other side done!

That is a ton of rivets and the upside down ones are fun.


Tuesday, October 17, 2023

Fuselage center section #66 - Rollover bar part 4!

 Priming day!

After scrubbing the rollbar parts with scotchbrite and PreKote, I primed the parts.  I am trying PreKote over the acid etch just to see how well it works.


Parts all primed and hanging to dry.  The days are getting much cooler, priming in the winter may become problematic to do outside.


Monday, October 16, 2023

Fuselage center section #65 - Rollover bar part 3!

Final prep to the rollover bar parts tonight.  

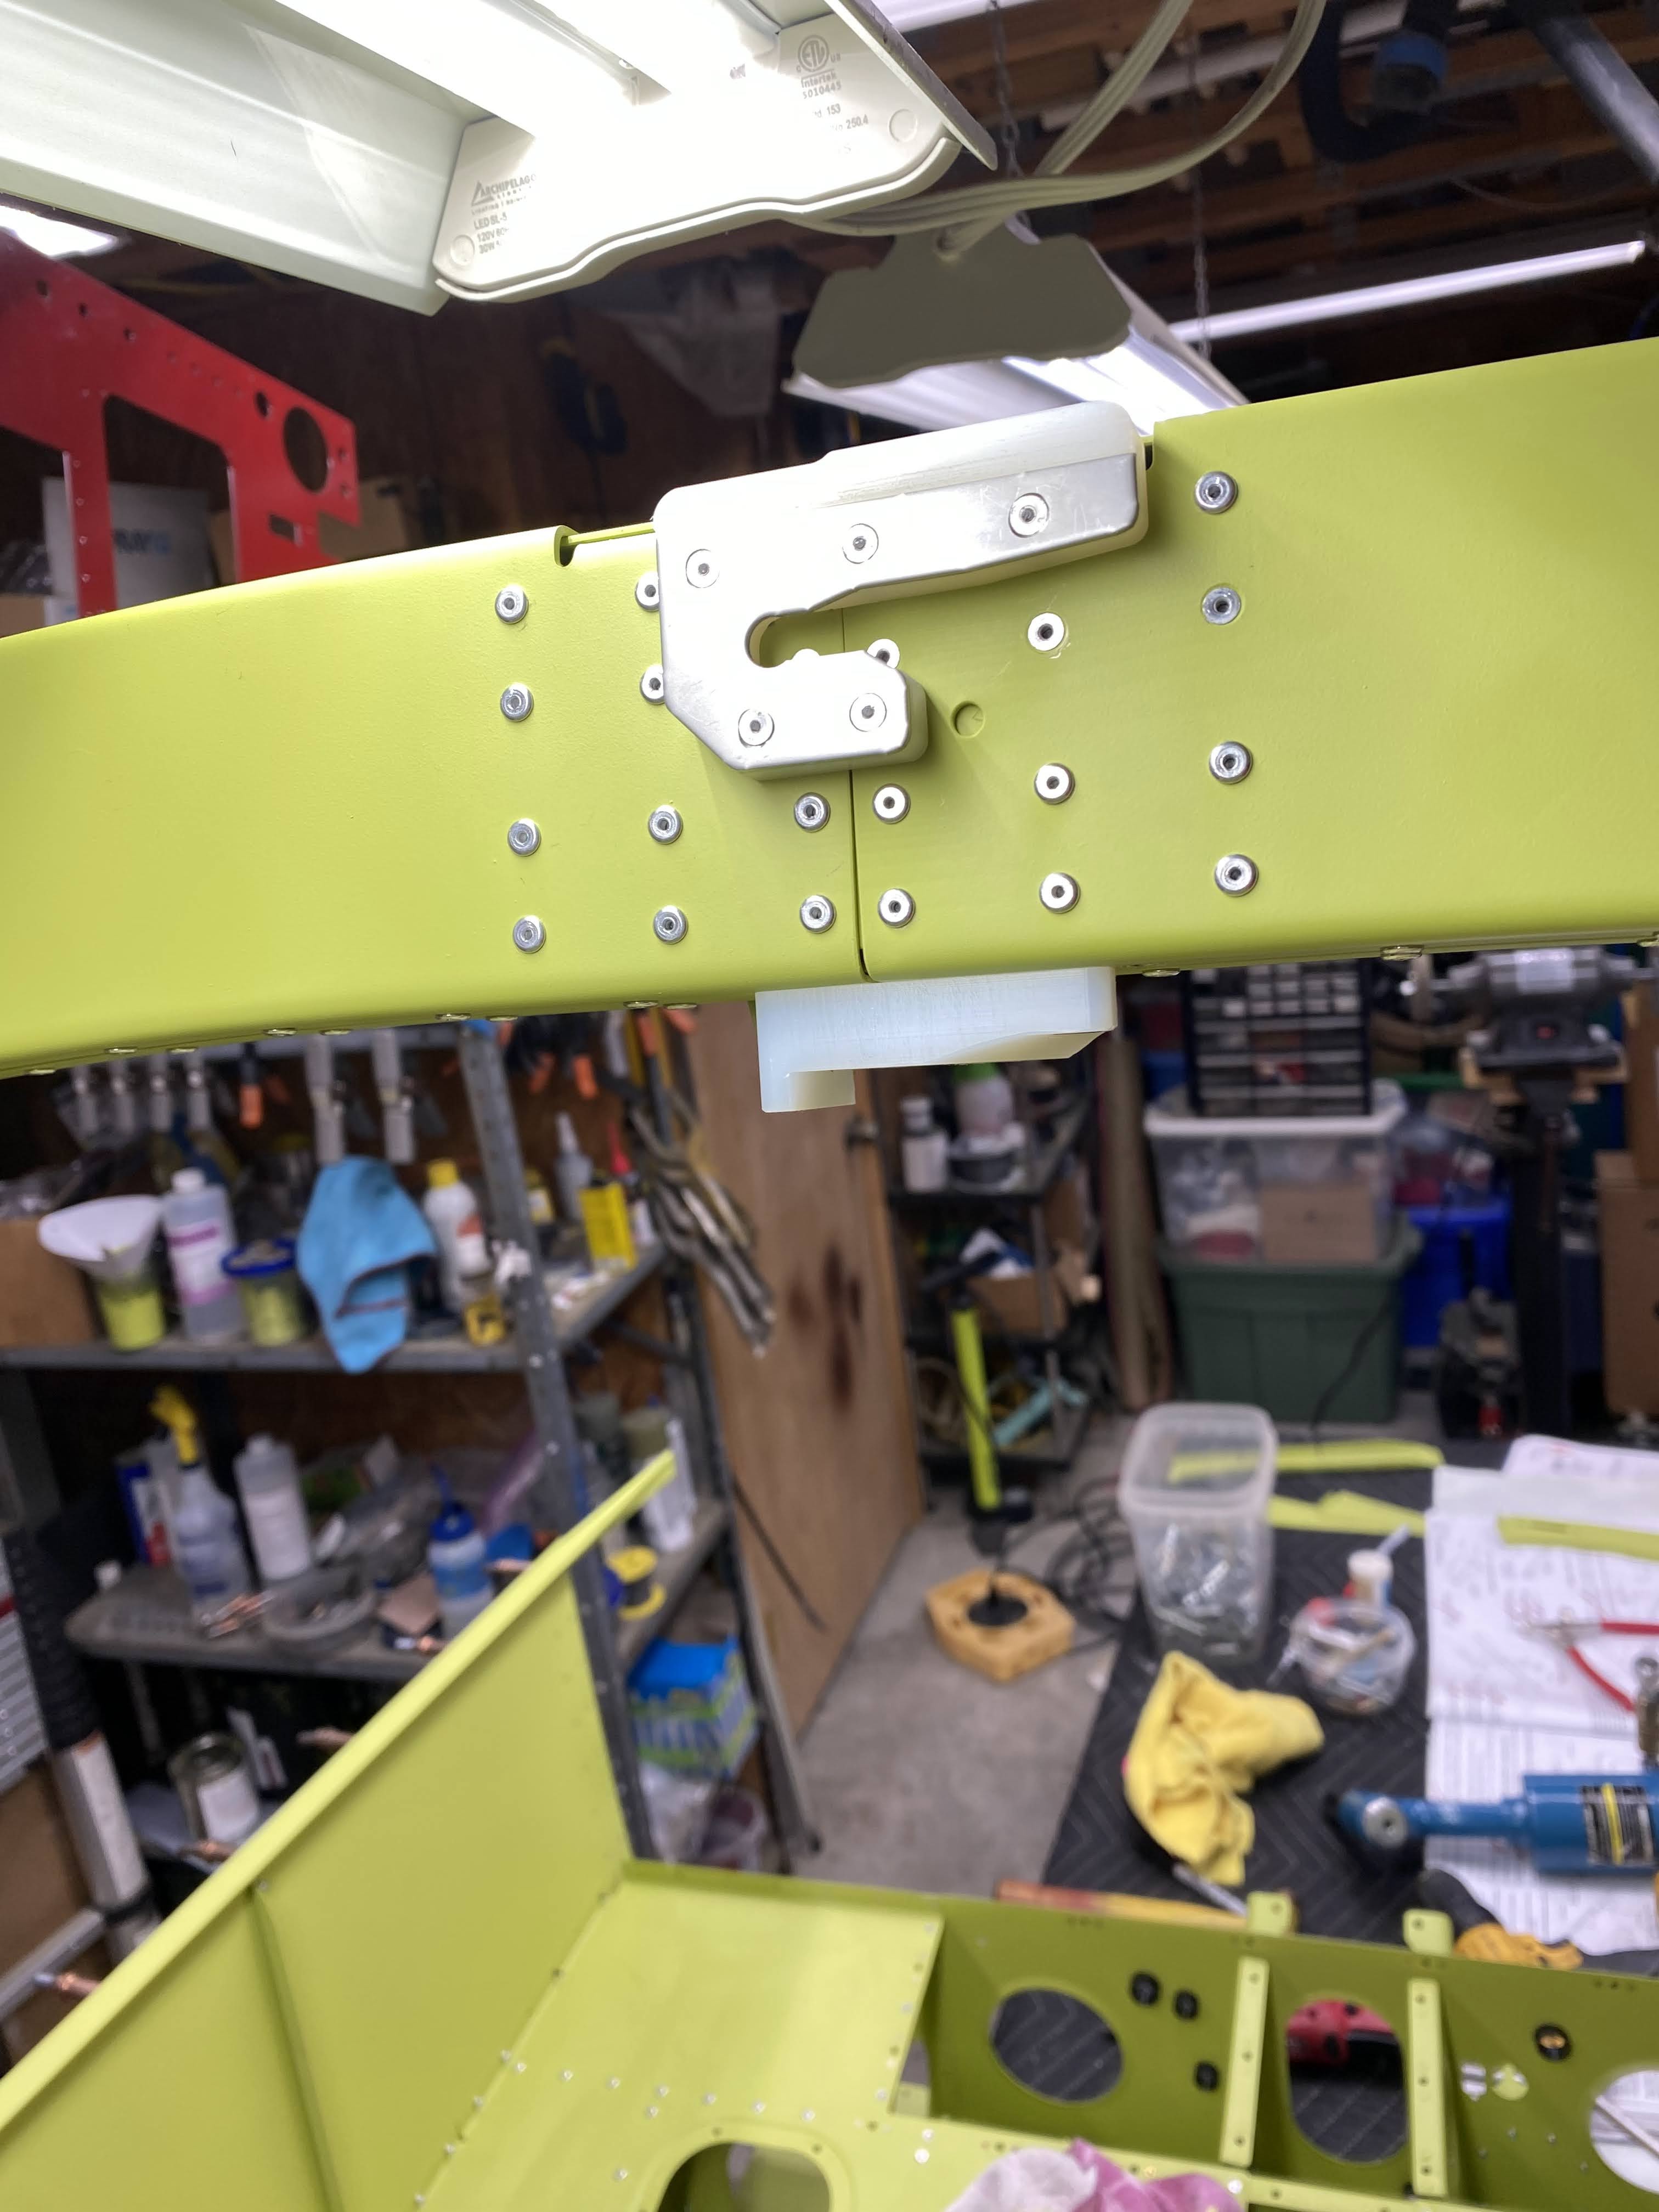
Match drilled the latch bracket to the rollbar.

Match drilled the latch switch bracket to the rollbar.  The #43 hole gets drilled then you drill the rollbar and the rollbar reinforcement plate to #30.  This serves as a relief for the switch bracket screw.  Or at least I think it does.

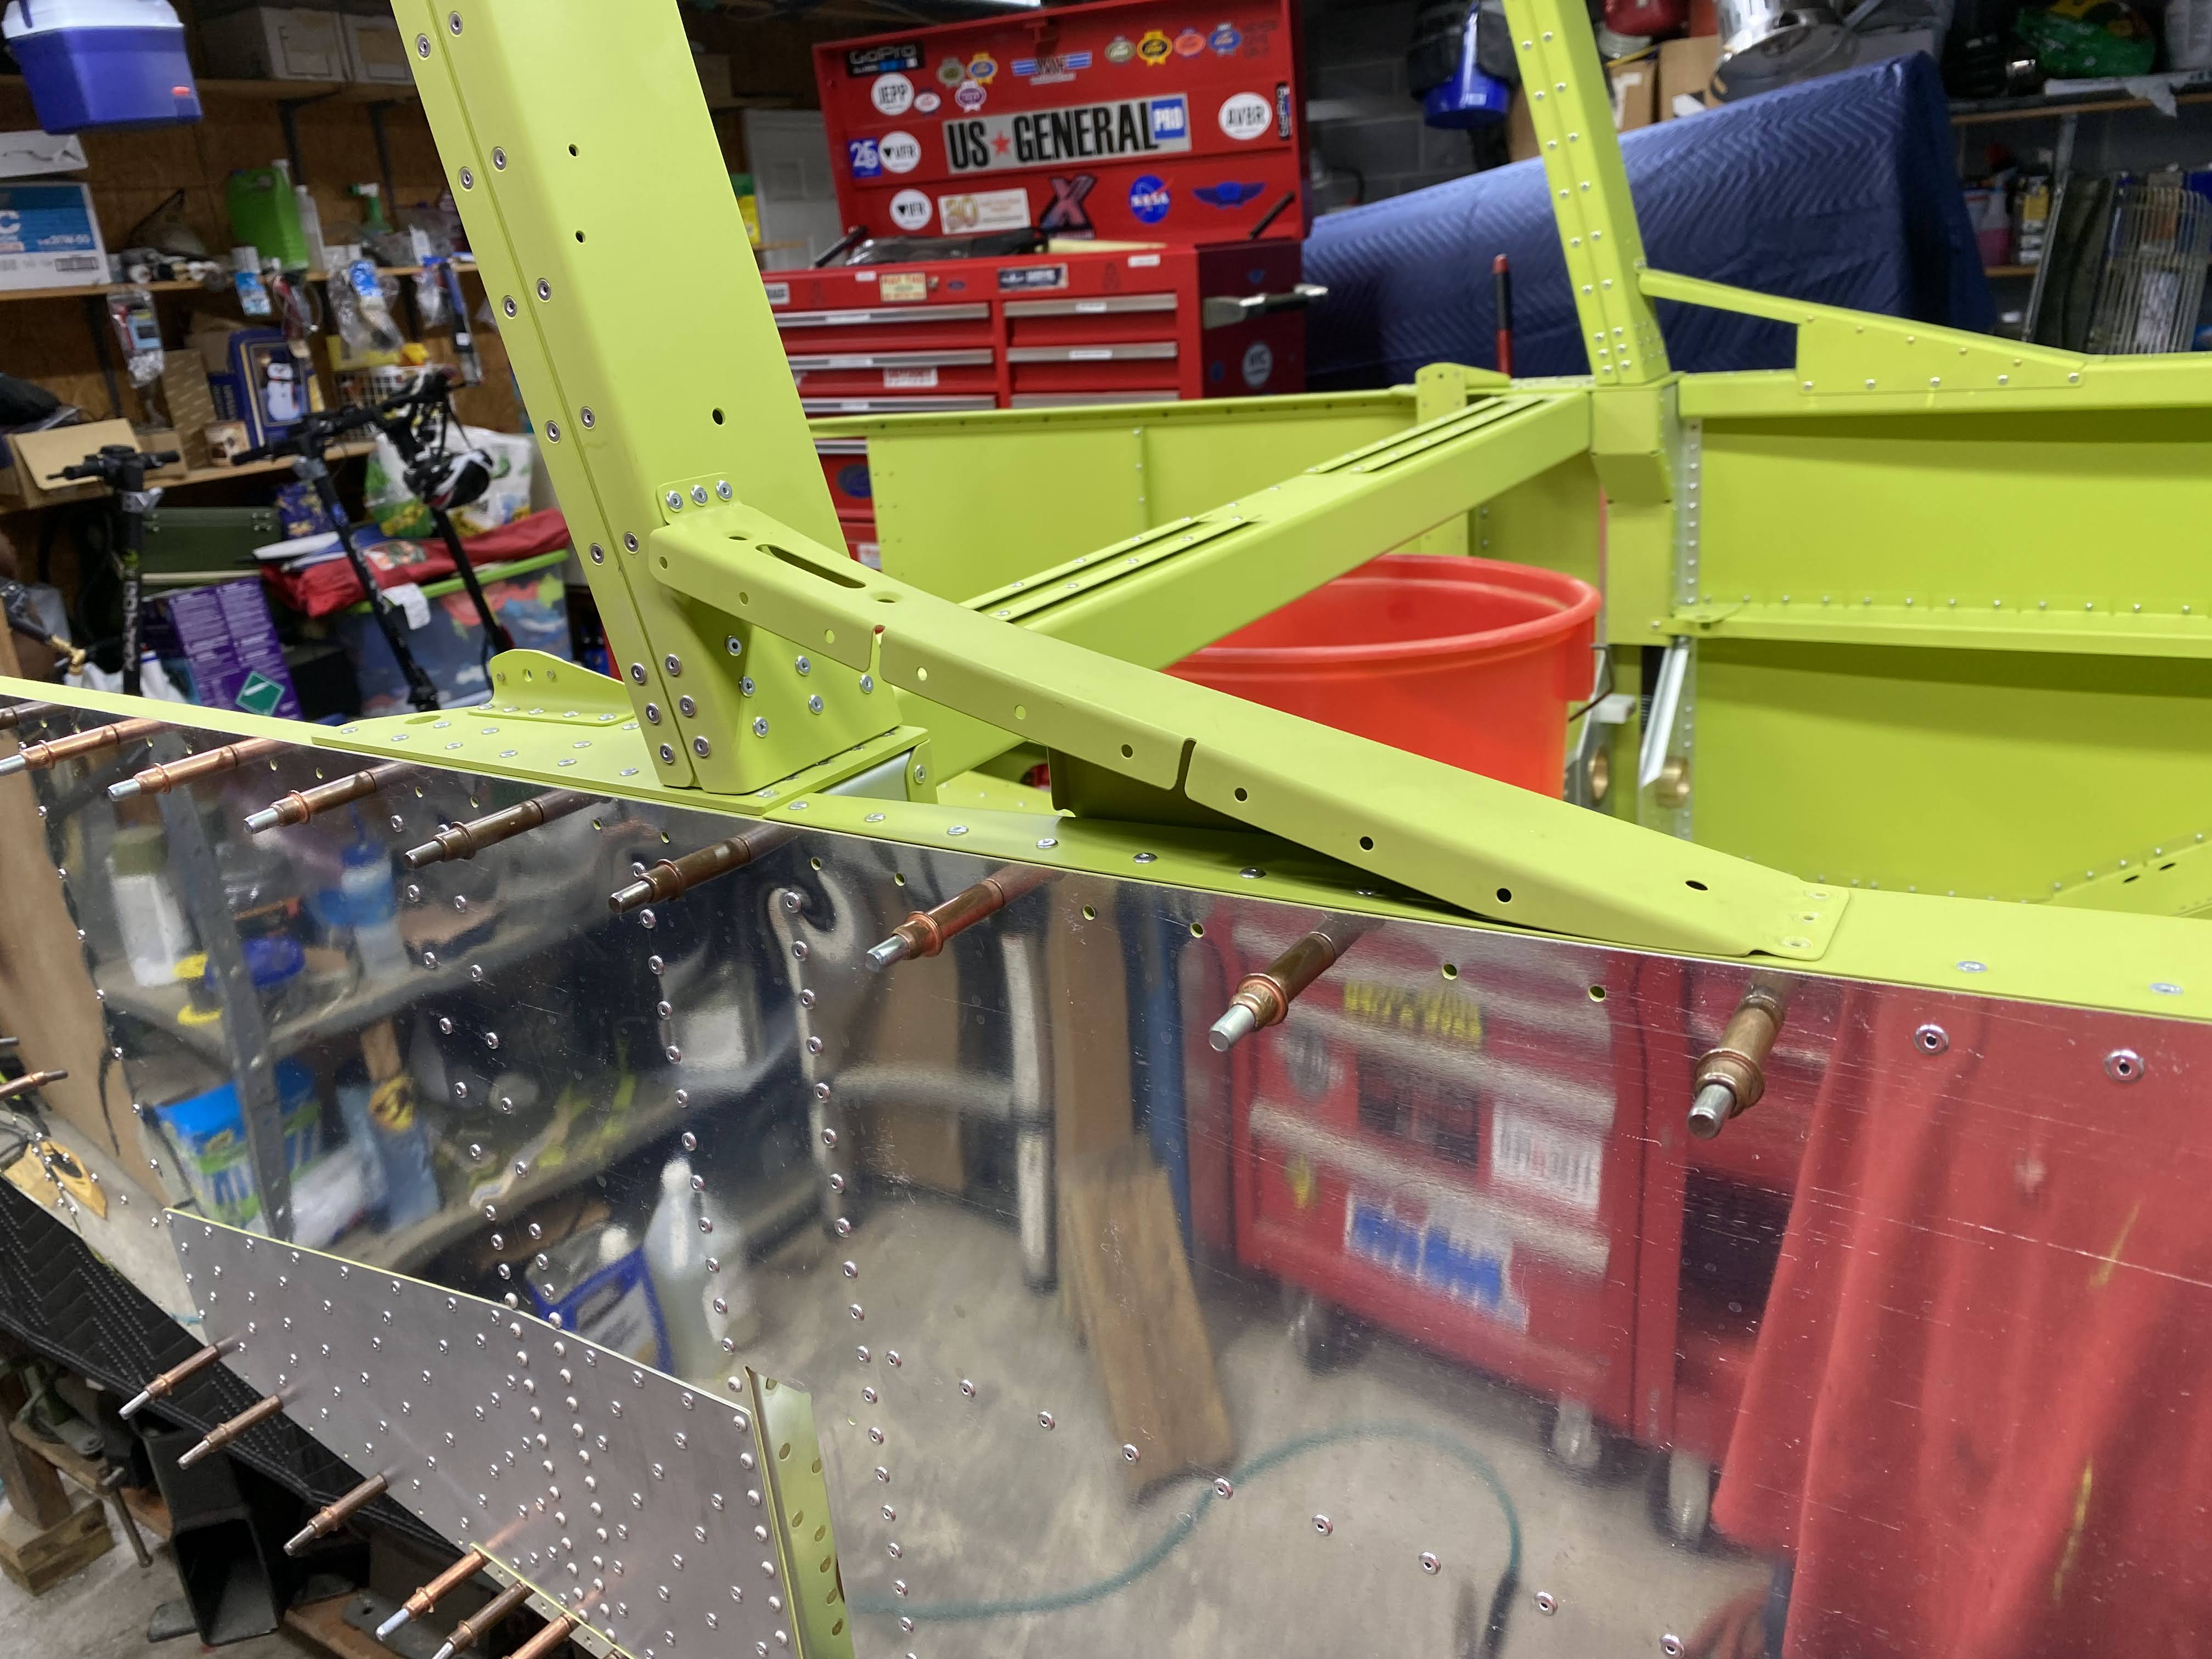
Next I had to clip the corners off of these rollbar support braces.


Then I dimpled these braces per the directions.  Be careful here as you will likely have to grind a flat on the side of your dimple die to prevent it from bending these tabs.

Then they have you dimple these two screw holes to #8 after drilling them to #17 which is a weird size but I just do as I am told.  One of them is a tooling hole and is already larger than #17.

Then I used this template to drill the holes for the latch guide block.

Then you have to countersink these holes for flush rivets because the latch bracket sits on top of them.

Then I countersunk all the top rollbar holes that will end up under the plexi canopy.  I went a tad deeper than flush because I don't want these rubbing on the glass.

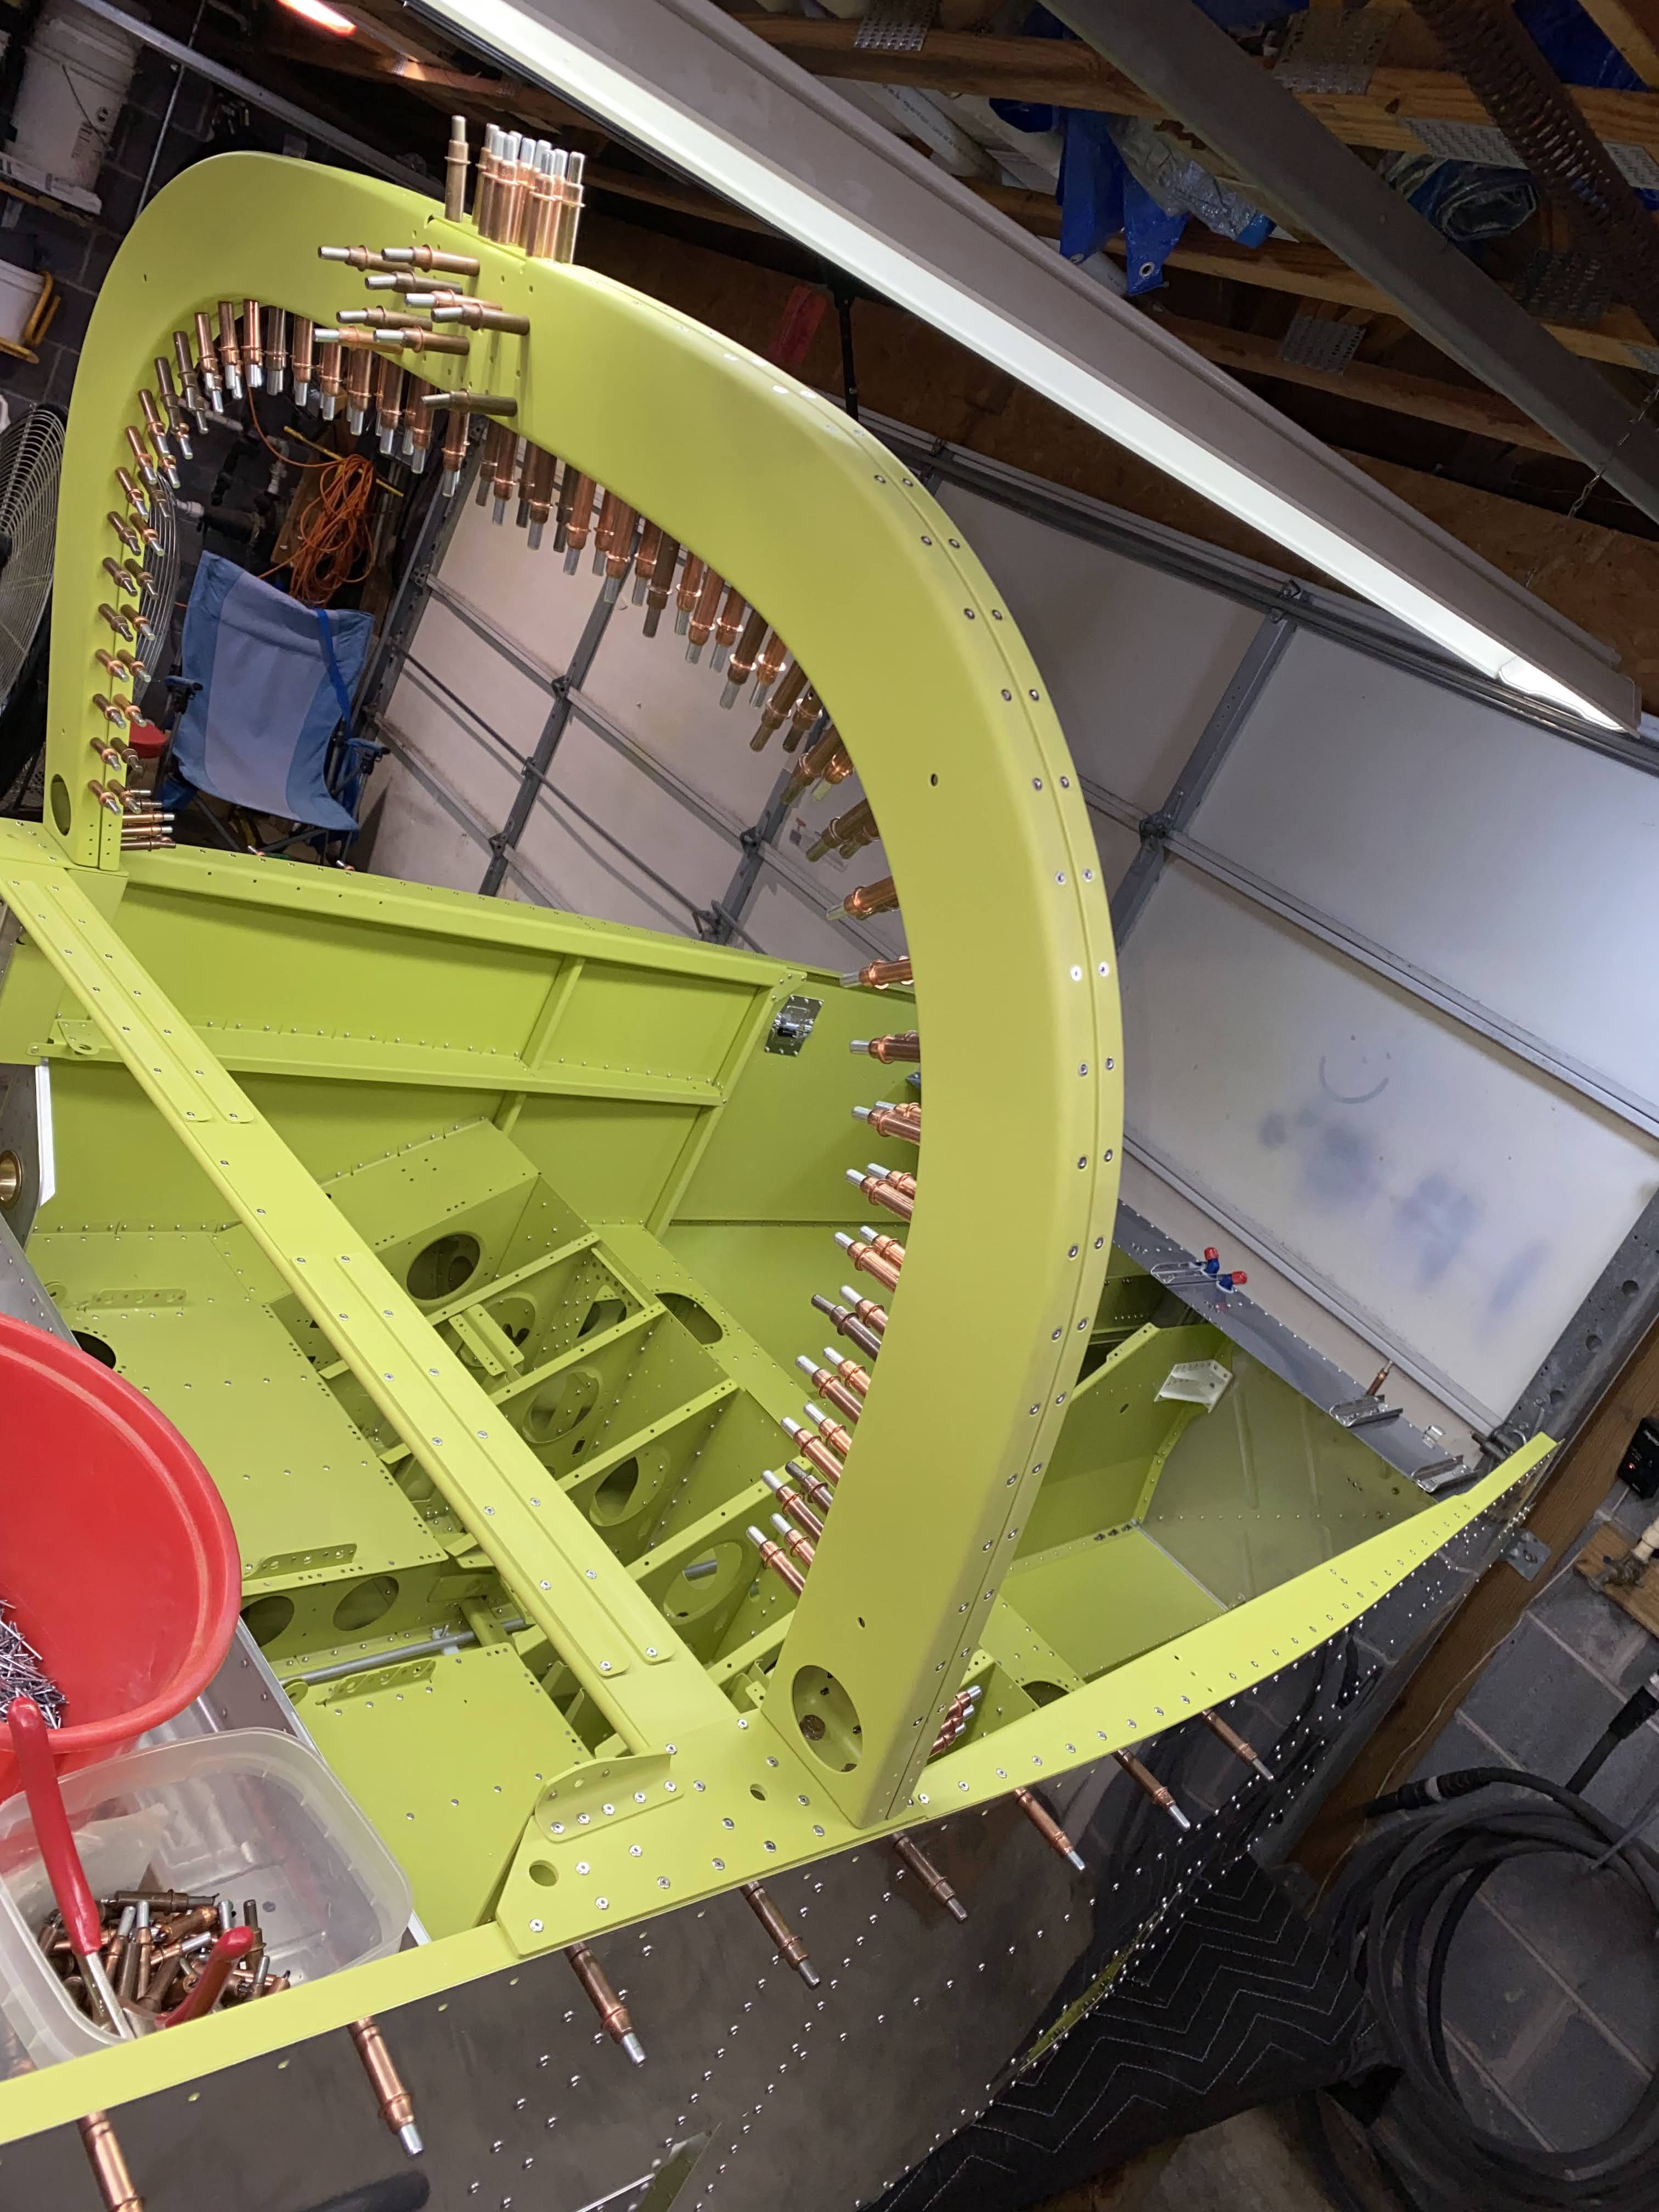
Next I countersunk this piece of kryptonite!  Some engineer at Van's is laughing at us I know!  Use an old bit because this thing will wreck the bit instantly.  Just go slow, use a ton of boelube and swear allot.  

Sunday, October 15, 2023

Fuselage center section #64 - Rollover bar part 2!

 Match drilling the rollover bar today.

Drilled the top side from the center out and down.

Left top done!

Right top done!

Right bottom done!


Left bottom done!

Yes that is a ton of drilling!  The bottom side kinda sucks to drill and keep the holes nice and straight!

Caught most of the chips in an old sheet.