Saturday, October 7, 2023

Fuselage center section #56 - primer prep day

 Today was disassembly, deburr, chamfer holes, treat edges etc.  Then scrub with acid and scotchbrite and hang up to dry.

This massive pile of parts took a long time to get ready for primer!


Friday, October 6, 2023

Fuselage center section #55 - Longeron and side skin fitting


Dimpled the side skins where the nutpates go.  I used my 1.5" yoke to be able to get to all of these.


Then countersunk the appropriate holes in the side skin tripler.  


Wednesday, October 4, 2023

Fuselage center section #53 - Longeron and side skin fitting

 Just more side skin drilling.

First I match drilled the side skins and roll bar mount plate to the longerons.  Yes Virginia that is a ton of holes!  This was the left side.  I still have the right side to do!

Then I match reamed the doubler and tripler to the sub structure.  I also match reamed any other holes that felt tight when cleco’ing the side skin on.  


Tuesday, October 3, 2023

Fuselage center section #52 - Longeron and side skin fitting

 Cleco’ed on the left side skin in prep for match drilling.

Cut these little gussets apart.

Their home…

Dimpled these holes.  Big one is for a #8 screw.  Small one for a nut plat mount rivet.

Side skin cleco’ed on and ready for match drilling.


The aft end of the longerons bend down at the factory bend location on the aft end.  No way the angle will give enough to allow the skin to align with the vertex without undue stress and twisting of the skin.  

The VAF brain trust states that Van’s support directs to just drill it per the skin and do not try and straighten the angle or pull the skin down to align.

Scott McDaniel agreed and I trust him 100% to know what he is talking about.


Monday, October 2, 2023

Fuselage center section #51 - Longeron and side skin fitting

 Short night tonight but got started by inserting the longerons into the fuse assembly.

The longerons fit the sub structure like a glove.

Then the KAI's have you create a left and a right side skin by removing the excess material from the main wing spar opening.  One side gets the front section removed and the other side gets the other side removed.  Be careful not to cut them both on one side or the other of the opening.

Marked the cuts and triple checked that I had everything layed out correctly.

Then used the Dremel to surgically remove the excess material.  Used a file to clean up the openings.

Then I hung the skins on the sub structure to check the fit.  Everything is looking good!


Sunday, October 1, 2023

Fuselage center section #50 - upper fuse side skin sub structure fitting

 Today I worked on the fitment of the sub structure of the fuselage side skins.

Several machine countersinks for a couple large nutplates and the fwd end of the roll bar attach plates.

Seatback brace fitted.

Fuel tank attach plates fitted.

Cutting the seat back adjustment spacers apart.

And the seat back adjust guide plates.

Funny, I never used these on the RV-7.  I even removed the parts from the back of the seat backs that slide into these slots.

Countersunk all the rivet holes in these two bulkhead cover/joining plates.  They are not symetrical, the holes at the very top on each side of the bolt hole are different.  Make two mirror images! 

Cutting the armrest brackets appart.

Dimpled the top flange of the armrest middle support.

Cleco'ed this middle support into place.

Removing the unwanted bit from the middle of the armrest.

Cleco'ed the armrest into place.

Installed the fwd armrest vertical support and then match drilled the armrest to it.

Matchdrilled the aft end of the armrest to the center bulkhead covers.

Fitted the brackets that are for the spar pin locking point.  I think that is what they are for????

Dimpled the cockpit side rails.  Some  holes toward the aft end don't get dimpled.

Had to switch yokes to be able to dimple these holes that are so close to the inside of the part and the bottom flange.  Without this modified yoke, this would have been impossible.  Don't be afraid to modify your yokes within reason.  Taking away too much material will result in flexing or breakage of the yoke.


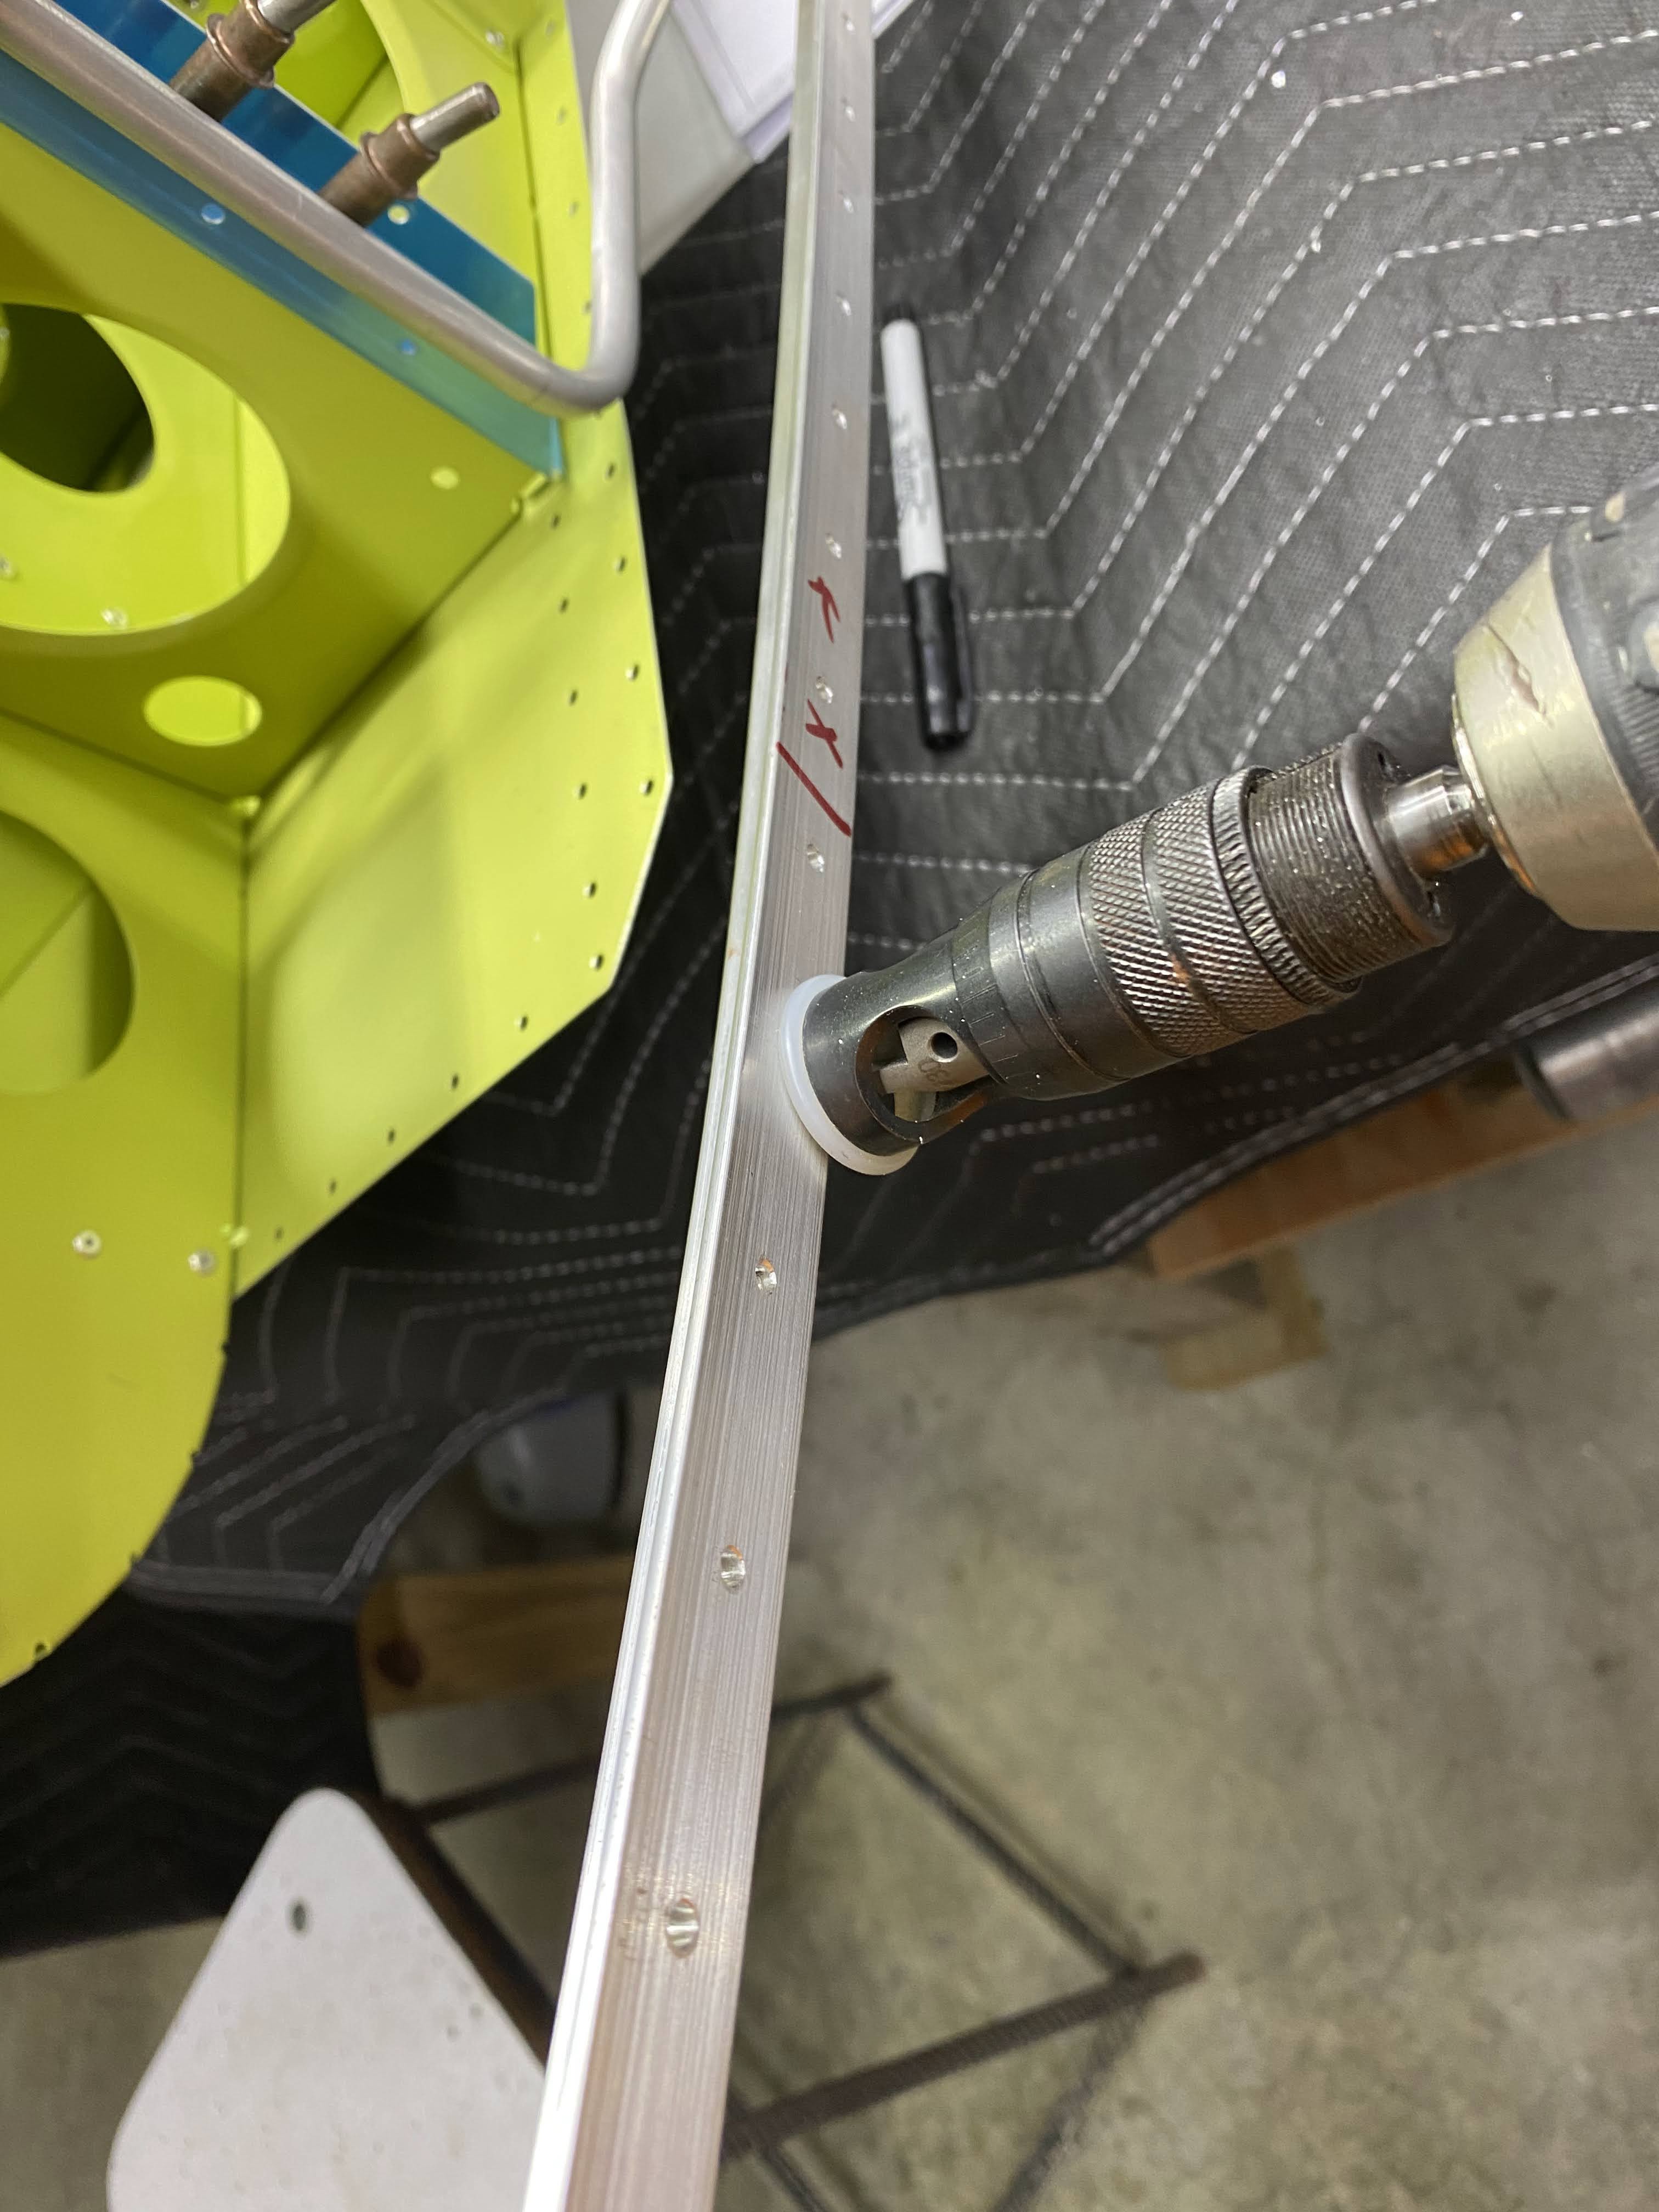
Finally, I machine countersunk all the holes in the longerons that receive the dimples in the cockpit side rails.  Current advice is to only go 0.007" deeper than flush on these.  The old way of going deep enough to receive the entire dimple has been retracted and is no longer advised.