Saturday, July 8, 2023

Fuselage Center Section #11- Extended baggage compartment part fitting

 Extended baggage compartment part fitting:

Dimpling for nutplates.

Cleco'ed more together.

Matching up the bearing mount block parts.

Making them match pairs.

I marked every thing to ensure they go back together properly.

Had to fabricate two parts from this piece of angle.  Used the red marker then used a scribe to mark the cut lines.  This creates contrast you can see better,


I cut but leave the line.  I then take the wheel to the part to clean up to the lines.

Cleco'ed in for fitting.

The angle part cleco'ed in.

This part gets dimpled for a nutplate but only on the one side.  Not sure why because it has provisions for two nutplates, one on both sides.  There must be a reason so I just do it...


All fitted....


Friday, July 7, 2023

Fuselage Center Section #10 - More baggage compartment riveting

 More baggage compartment riveting:

On to riveting the right side ribs to the assembly.


And the nutplates.

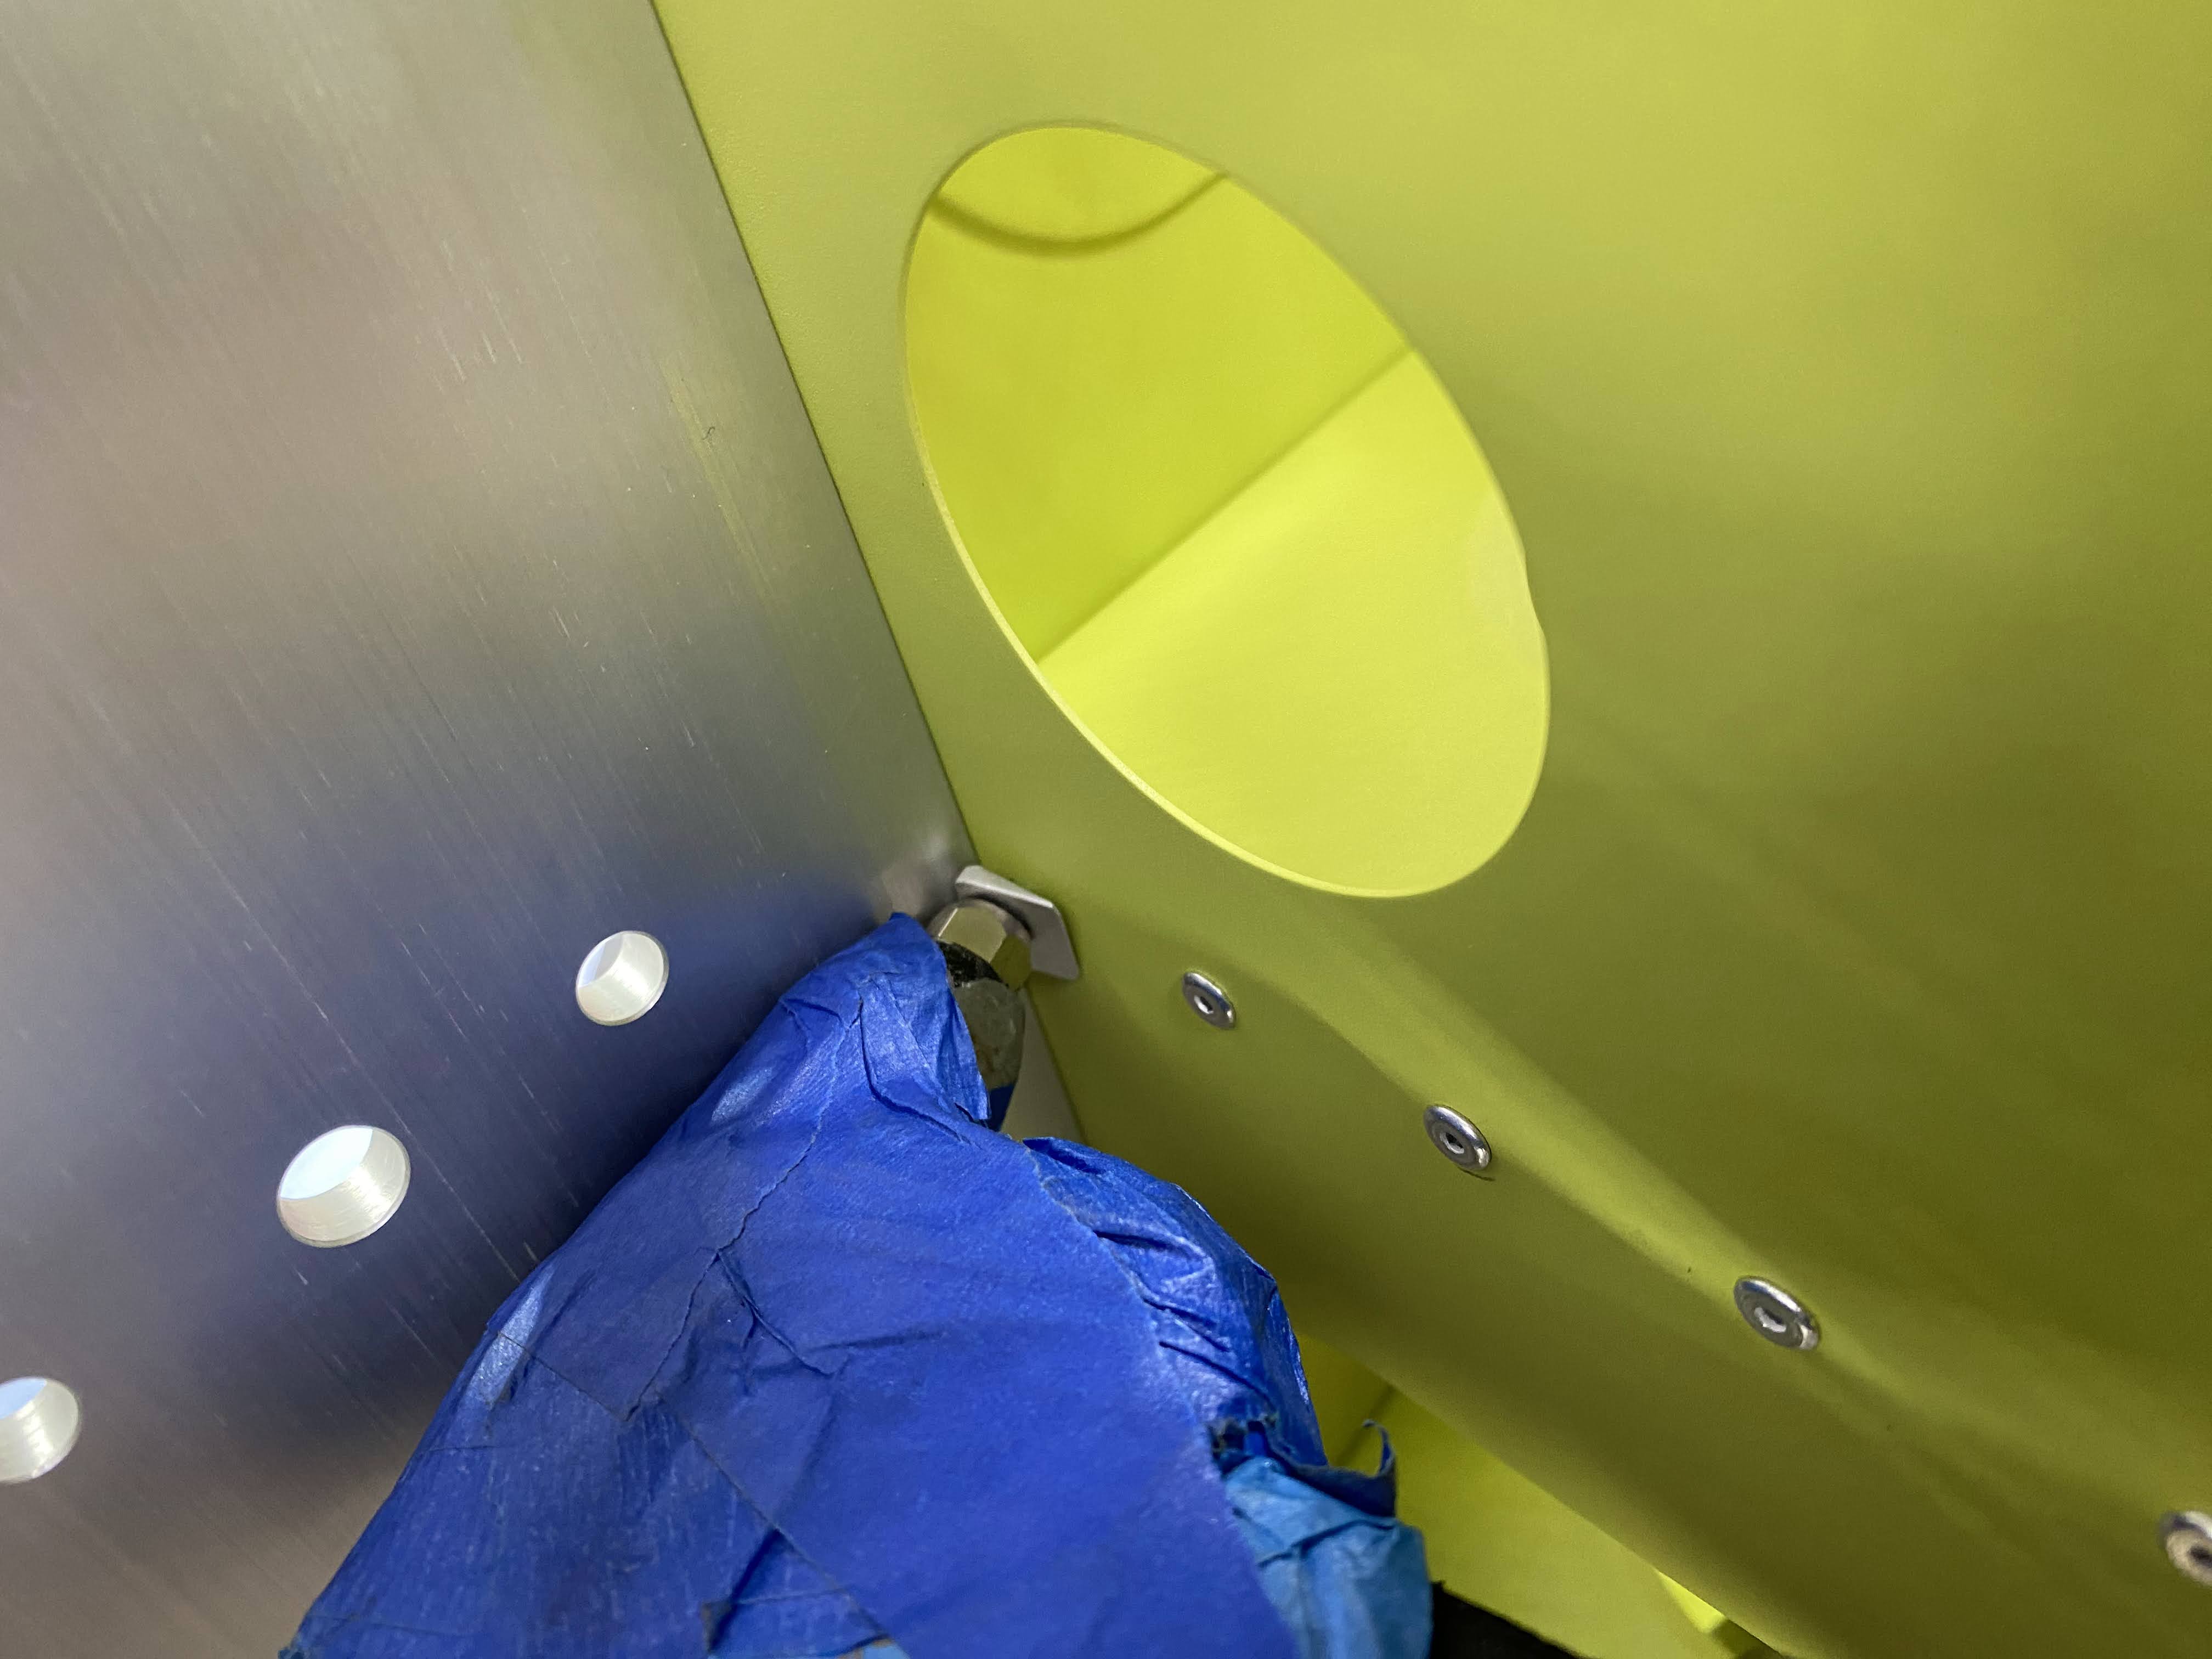
And the rivets in between the nutplates

And the standoff clips.


And the floor to ribs.

More nutplates.

In order to rivet the front of the ribs to the center section bulkhead, I had to insert the rivet with the puller collapsed.

And then once it is in the hole, release the handle and do the pull.

The top rivet has to be bent after inserting in the puller.

Also requires the use of the angle tool.

Looks like this before getting inserted in the hole.


All done!
Separating the aft stub spar doubler plates.

Removing and deburring the flashing.

Cleaning up the aft wing stub spars to check the fit with the pockets that get installed in the fuselage.

One side looks good!
The other side looks good!  I marked all of these to ensure they go back in the correct places.

Fitting the pockets and doublers to the aft bulkhead.

Other side done.

Deburred all the parts!

Dimpled the 120° holes in between the nutplates in the aft ribs.

Dimpled some more nutplate holes in the aft ribs.

Checking the fit of the aft bulkhead.
Deburring the rest of the ribs.

Even more dimpling for nutplates.

Had to switch yokes to dimple these holes as the nose of the longeron yoke was too long to allow for the dimpling.

Installed the nutplates.

Cleco'ed the aft ribs.


Thursday, July 6, 2023

Fuselage Center Section #9 - baggage floor and rib riveting

 Baggage compartment riveting.  

Ordered some long reach cleco's.  These puppies can get up to a 1/2" where all my older ones are only good for a little over 1/4".  The extra reach helps when dealing with this thick center channel.


Riveted the holes left over on the vertical bulkhead to center channel rivets that also go thru the baggage floor.  These get these different kind of pulled rivets.

Then I riveted the front flange of the baggage floor to the assembly.

Next I riveted the ELT bracket assembly together.

And installed the nutplates.

Finally riveted it to the ribs.


Then I riveted the ribs.


Baggage floor to rib rivets.  The ones that go thru the fuel tank pads are flush rivets.  UPDATE:  Do not do what I did and cut these out of the thinner strip that has the sticky tape on it.  This is the wrong strip to use!  Cut them from the thicker strip that does not have tape on the back!


So here I goofed up and installed the rivets backwards to the orientation called out by the directions.  Not sure why it matters but if they specify it, there is usually a good reason.

Figured it out after I had pulled these 6 rivets.

They are supposed to go in from this direction.

Riveted the flush rivets that go in between the nutplates on the baggage floor and the ribs.

This top rivet on the outboard rib gets a flush rivet.  Seems it is to provide clearance for the gear leg bolt or nut.

Riveted these standoffs to the ribs.