Saturday, September 30, 2023

Fuselage center section #49 - Join the front to the back and longerons

 So today, I permanently joined the fwd fuse to the mid fuse.  I broke from the KAI's order by leaving this step to until I got the center channel fuel lines installed.  Worked like a dream!


First, I removed the front fuse section and final riveted the bottom skin's fwd area that I left loose before so I could push the skin out of the way of the flaring tool.

Then I final riveted the fwd fuse section to the mid fuse section and reconnected all the fuel lines.  Everything aligned great!  No issues with this approach were noted.  I am now back in alignment with the KAI's but I have a bonus, all my center channel fuel lines are complete!  YAY!

Got started on the longerons.  These come with some of the work done from the factory like the large radius bend in the shoulder area of the cockpit and these bends at the aft end on the angle.   They have you tapper the longerons from this bend to the aft most end of the angle.  Here is the mark to cut.

Used the bandsaw to make quick work of this cut.

All done!

Then they have you mark the location of the start of the forward splay that you have to put in the longeron.  Also the root of the twist that must be reintroduced into the front of the longeron to cancel out the splay and to get the top of the longeron all on one plane again.  This is also the fwd locating point of the cockpit rail that finalizes the shape of the sides of the cockpit area.


Spreading the longeron open 5.4 degrees is super easy with a huge vise and a large diameter cylinder of aluminum.  The recommended 1/2" socket is an accident waiting to happen.  Don't even try it.  Use at least something this size.  Also, go slow and work progressively from the mark to the fwd end of the longeron.  Don't try to do it all at once and realize that the angle to open it up starts at 0 at the mark and goes to 5.4 deg at the fwd end.  One more piece of advice.  Use a solid rod.  I tried a large hardened impact socket and the open end of the socket started to oval out instead of opening the longeron angle.  Trust me, use a large diameter solid rod to make this happen!  Forget using a small 4" vice as well.  Use a big honkin vice like this to make your life easier.  Find someone with a big vice if you don't have one.

Here I am twisting the longeron to take half of the splay out of the equation and put the top surface of the longeron back in plane with itself from the mark all the way up to the fwd end.

Yes engineers do have a sense of humor.  May be a crappy one but at least they have one.

Match drilling the fuselage side rails with the longerons.  

FWD end starts at the mark.....

Start at the mark and drill aft ensuring the rail overlaps the side of the longeron by 0.025".  Use a piece of scrap to make a guide.  Go one or two holes at a time, constantly adjusting the overhang.  Use whatever force is necessary to ensure the longeron matches the rail and that the overhang is 0.025".
 
All done!  Van's did a great job with their bends on the aft end as well as the large radius bends in the middle.  They almost matched the side rails perfectly with very little tweaking required.  The front end was super easy with the huge vice I have.  These were child's play compared to the RV-7 longerons I made with just a hammer and a template.  Those had no prep work from the factory!  This is one of those task that many dread but if you have the right tools and approach, it is super easy!


Friday, September 29, 2023

Fuselage center section #48 - Fuel Lines!

Finished up the second of the two long fuel lines.  This one goes from the bypass assembly to the fuel filters.


First bend compete.


This bend is off plane to the first bend.  This allows the tube to be at the same angle as the rear bulkhead relative to the tube path.


Next three bends are claimed to be in the same plane per the templates but this cannot be true.  All three bends are on a different plane.  While the 3D model is technically correct, the notes are not.  Also there are not enough details provided to accurately make this tube per the model.  There is more guess work required than necessary to make this tube.  Is it doable?  Yes, but it could be so much easier if these directions were tweaked.


Last bend done!


The long end gets inserted into the center channel.  Just have to work the tube through all the bushings and tweak as necessary to get it all the align.  Watch the end of the tube, it will scratch the bottom skin if you don't take precautions.

I mocked up this area to simulate what I will end up with to ensure the fwd end of the tube is cut correctly.


Tube running through the center channel.

And through the systems guide blocks.


Marked the tube + 0.100" at the end of the bypass fitting assy.  Used the close quarters tubing cutter to cut the tube.


Don't forget to install the bushing and the nut!


And to deburr the inside diameter of the tube!


All done after the flare!  Having the bottom skin loose at the from was key to making this doable!


Thursday, September 28, 2023

Fuselage center section #47 - Fuel Lines!

 Started working on the long fuel lines that travel from the bypass fitting assembly in the center channel all the way back to the tank and fuel filter.

Its been a loooong time since I used this bad boy.  Flared the end of the line after straightening and cutting it to length per the KAI's.

Don't forget to put the bushing and nut on the tube!

Measuring to the start of the first bend.

Then bending to 89 degrees.  There is a little bit of spring back.  You have to go past the desired angle but this is done by feel and experience.  Will have to learn that again!

Checking the bend per the plans.  Perfect match!

To get this thing in, you have to bend it in a huge arc.  Make the radius as large as possible.  Don't let the edge of the bulkhead scratch the tube and don't let the tube scratch the bottom skin.


Work the tube into the snap bushings and into the slots on the systems mount blocks.  The tube starts in the third one to the left but then moves to the second notch on the fwd two blocks.  Go slow, work the tube by hand and it will bend.

I then mocked up the fuel tank so I can land the aft end of the tube on the tanks fittings.

Looks like it may work!

Temp connected the tube to the tank fitting.

Then after massaging the tube bends and putting the joggles in at the bulkhead bushings and the system blocks, I was able to mark the end of the bypass assembly fitting.

I then added 0.100" to this mark to allow for the flare.

Don't forget to put the bushing and nut on the tube!


After cutting the tube with a small tubing cutter, I used the 90 degree drill and a countersink bit to deburr the inside of the tube.

I then blew out the tube from the tank side to clear any chips.

And here is where not having the bottom skin fully riveted allows me to use this flaring tool to flare these tubes.  Worked great!


All done!  The flare came out great!

Temp connected to the bypass fitting assy.

Very pleased with how this turned out!


Wednesday, September 27, 2023

New tool! Will come in handy for the fuel tank build!

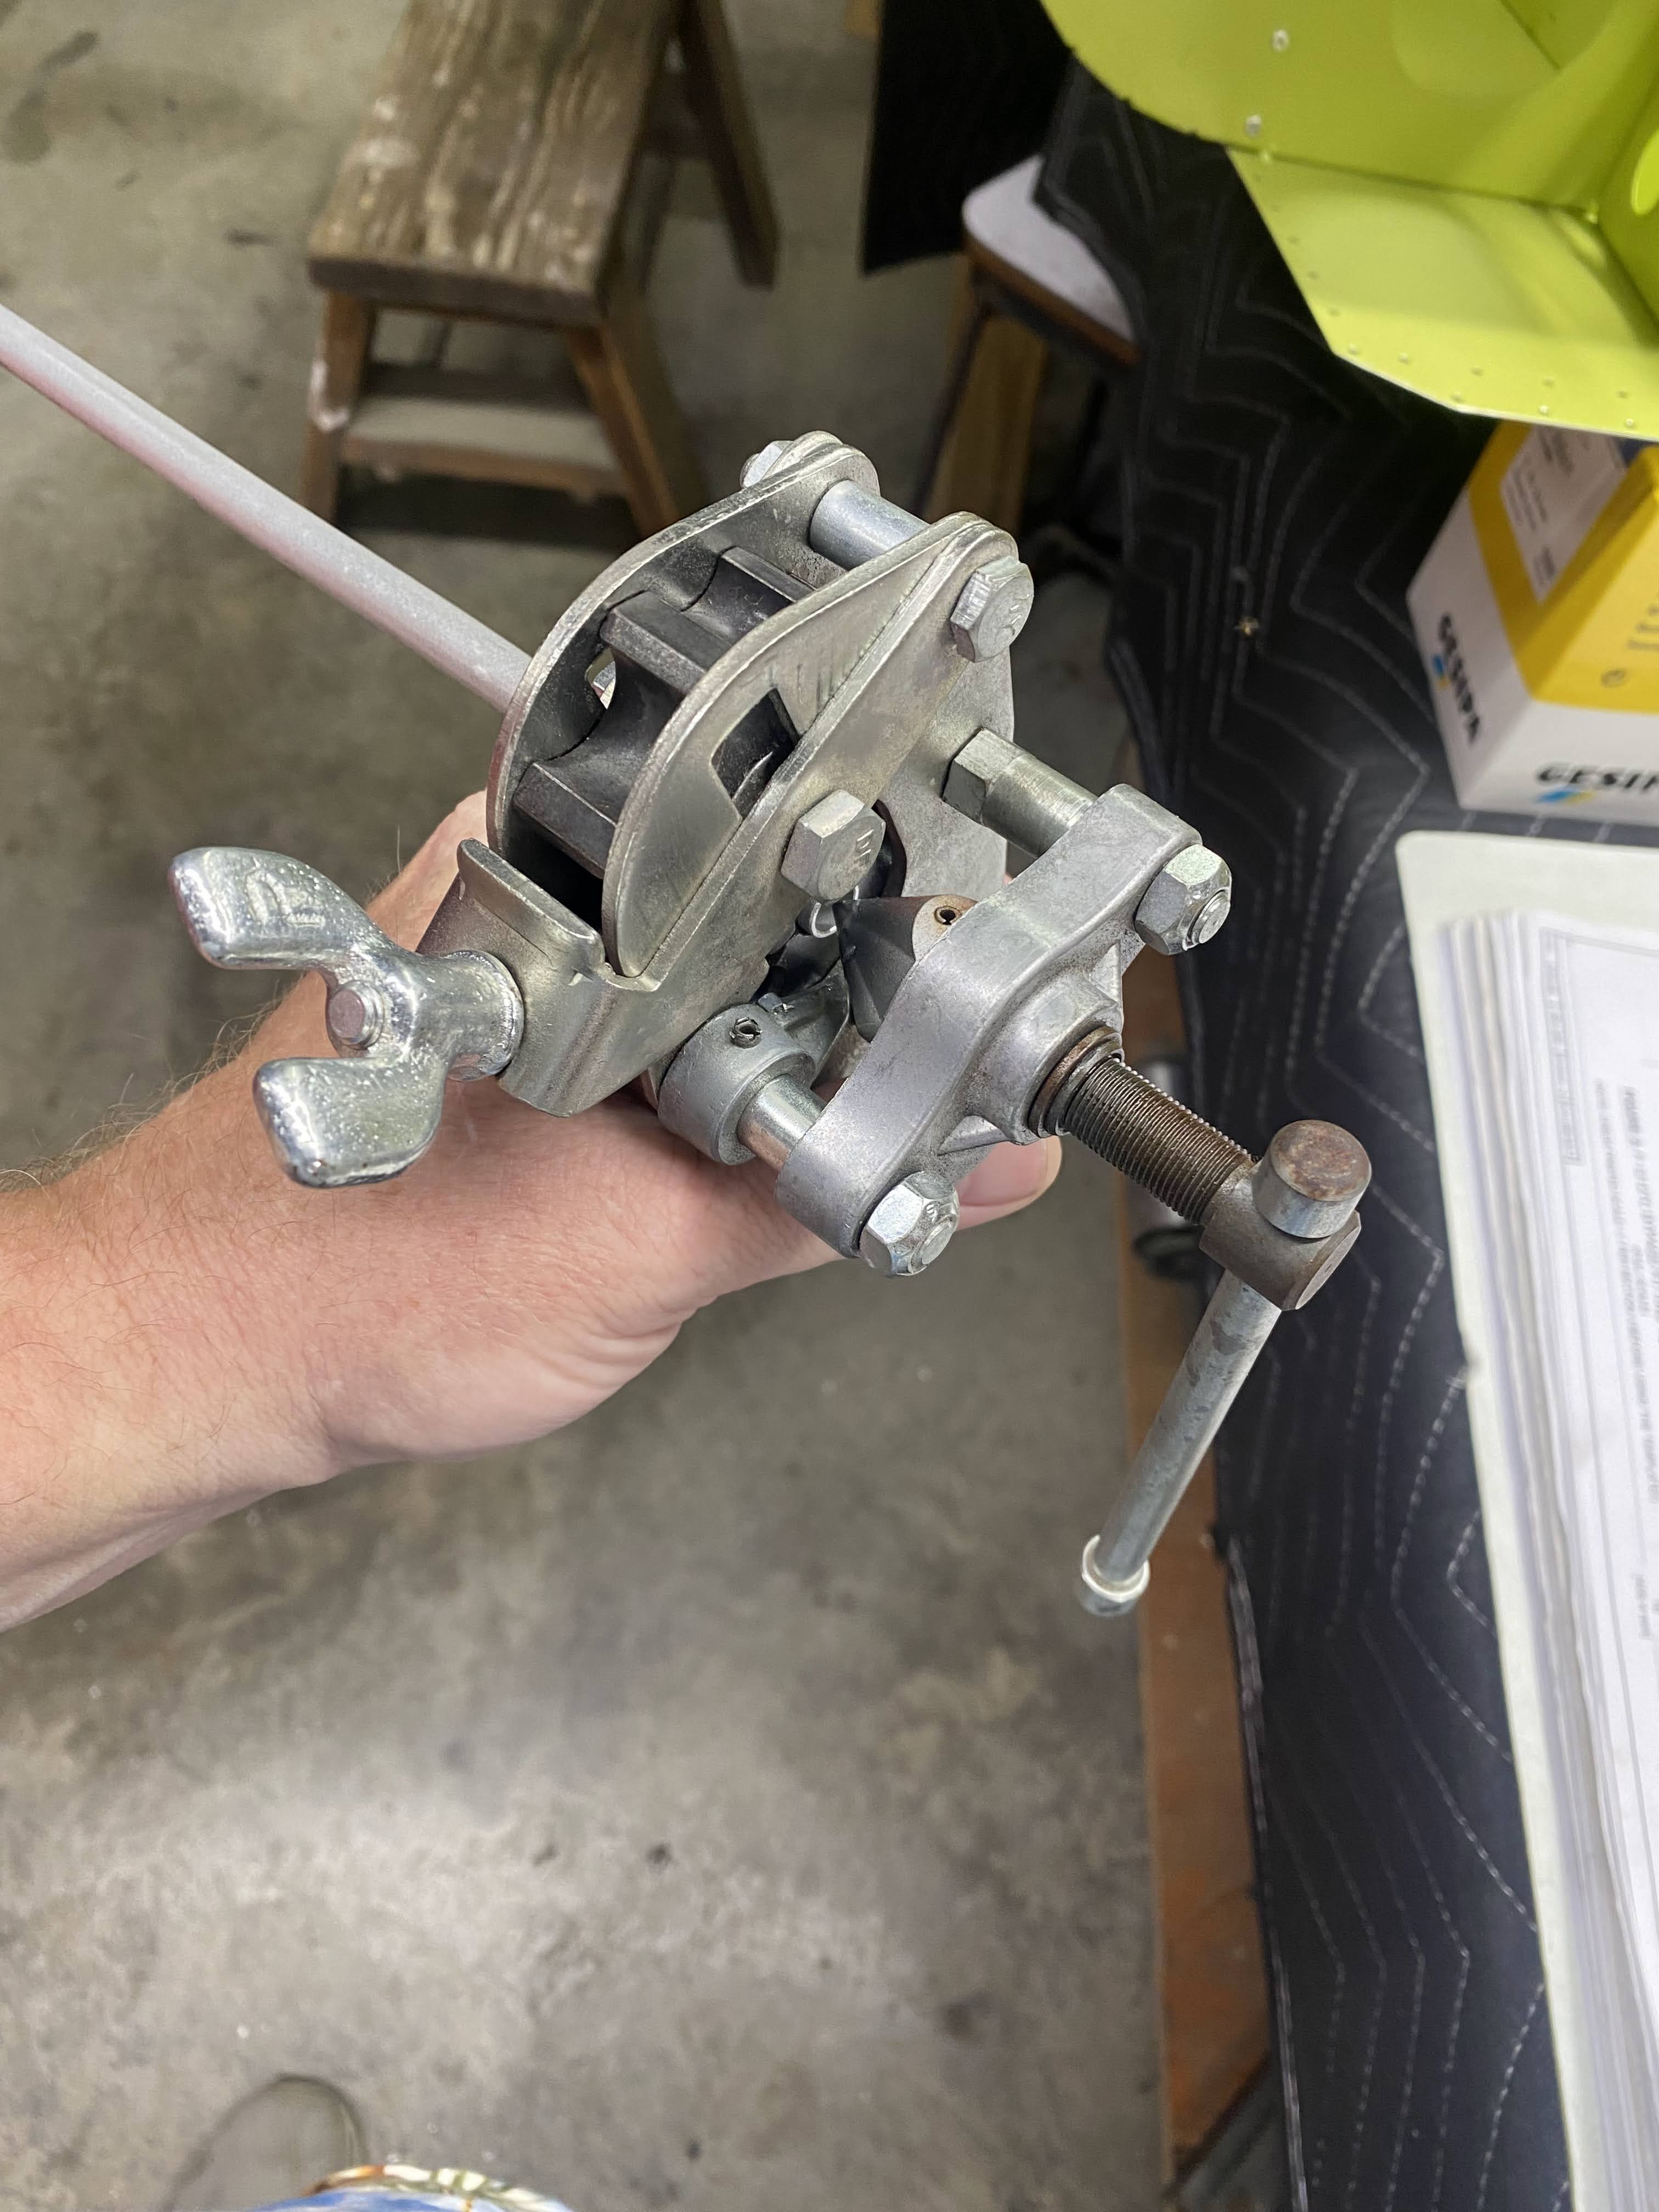
 This showed up today.  It will come in handy to mix the SEM cartridges of fuel tank sealant I have on order from Vans for building the fuel tank.


Fuselage center section #46 - Firewall/footwell attach to fuse and fuel lines!

Got started tonight by clecoing the firewall assembly to the fuse center section.  I am not riveting it on yet because I want to go ahead and work on the long fuel lines that go in the center section first.  This will allow some more flexibility to flare the lines.


Skipped ahead to these fittings that penetrate the firewall shelf.  This is so I have a landing point for the fuel lines.

These get installed with sealant and clocked as shown.

Then I skipped to the part where this bypass assembly gets put together.  I used teflon paste here per the KAI's.

All done!

First two fuel lines mocked up and temp installed.


To flare these ends, I ended up detaching the firewall assembly and pushing the lower skin out of the way.  This is why I left the forward section of the bottom skin loose for now.

This thing is getting big!


The fuel bypass assembly temp installed.  Now I can make the line that goes all the way to the filter and the other one that goes all the way to the tank.  Having this mocked up allows me to measure and cut the lines properly and be able to flare them with the flaring tool I have.

I then straightened a huge section of fuel line that will become these two long lines.