Assembled the Stabilator Spar Assembly - 1.5 man hours
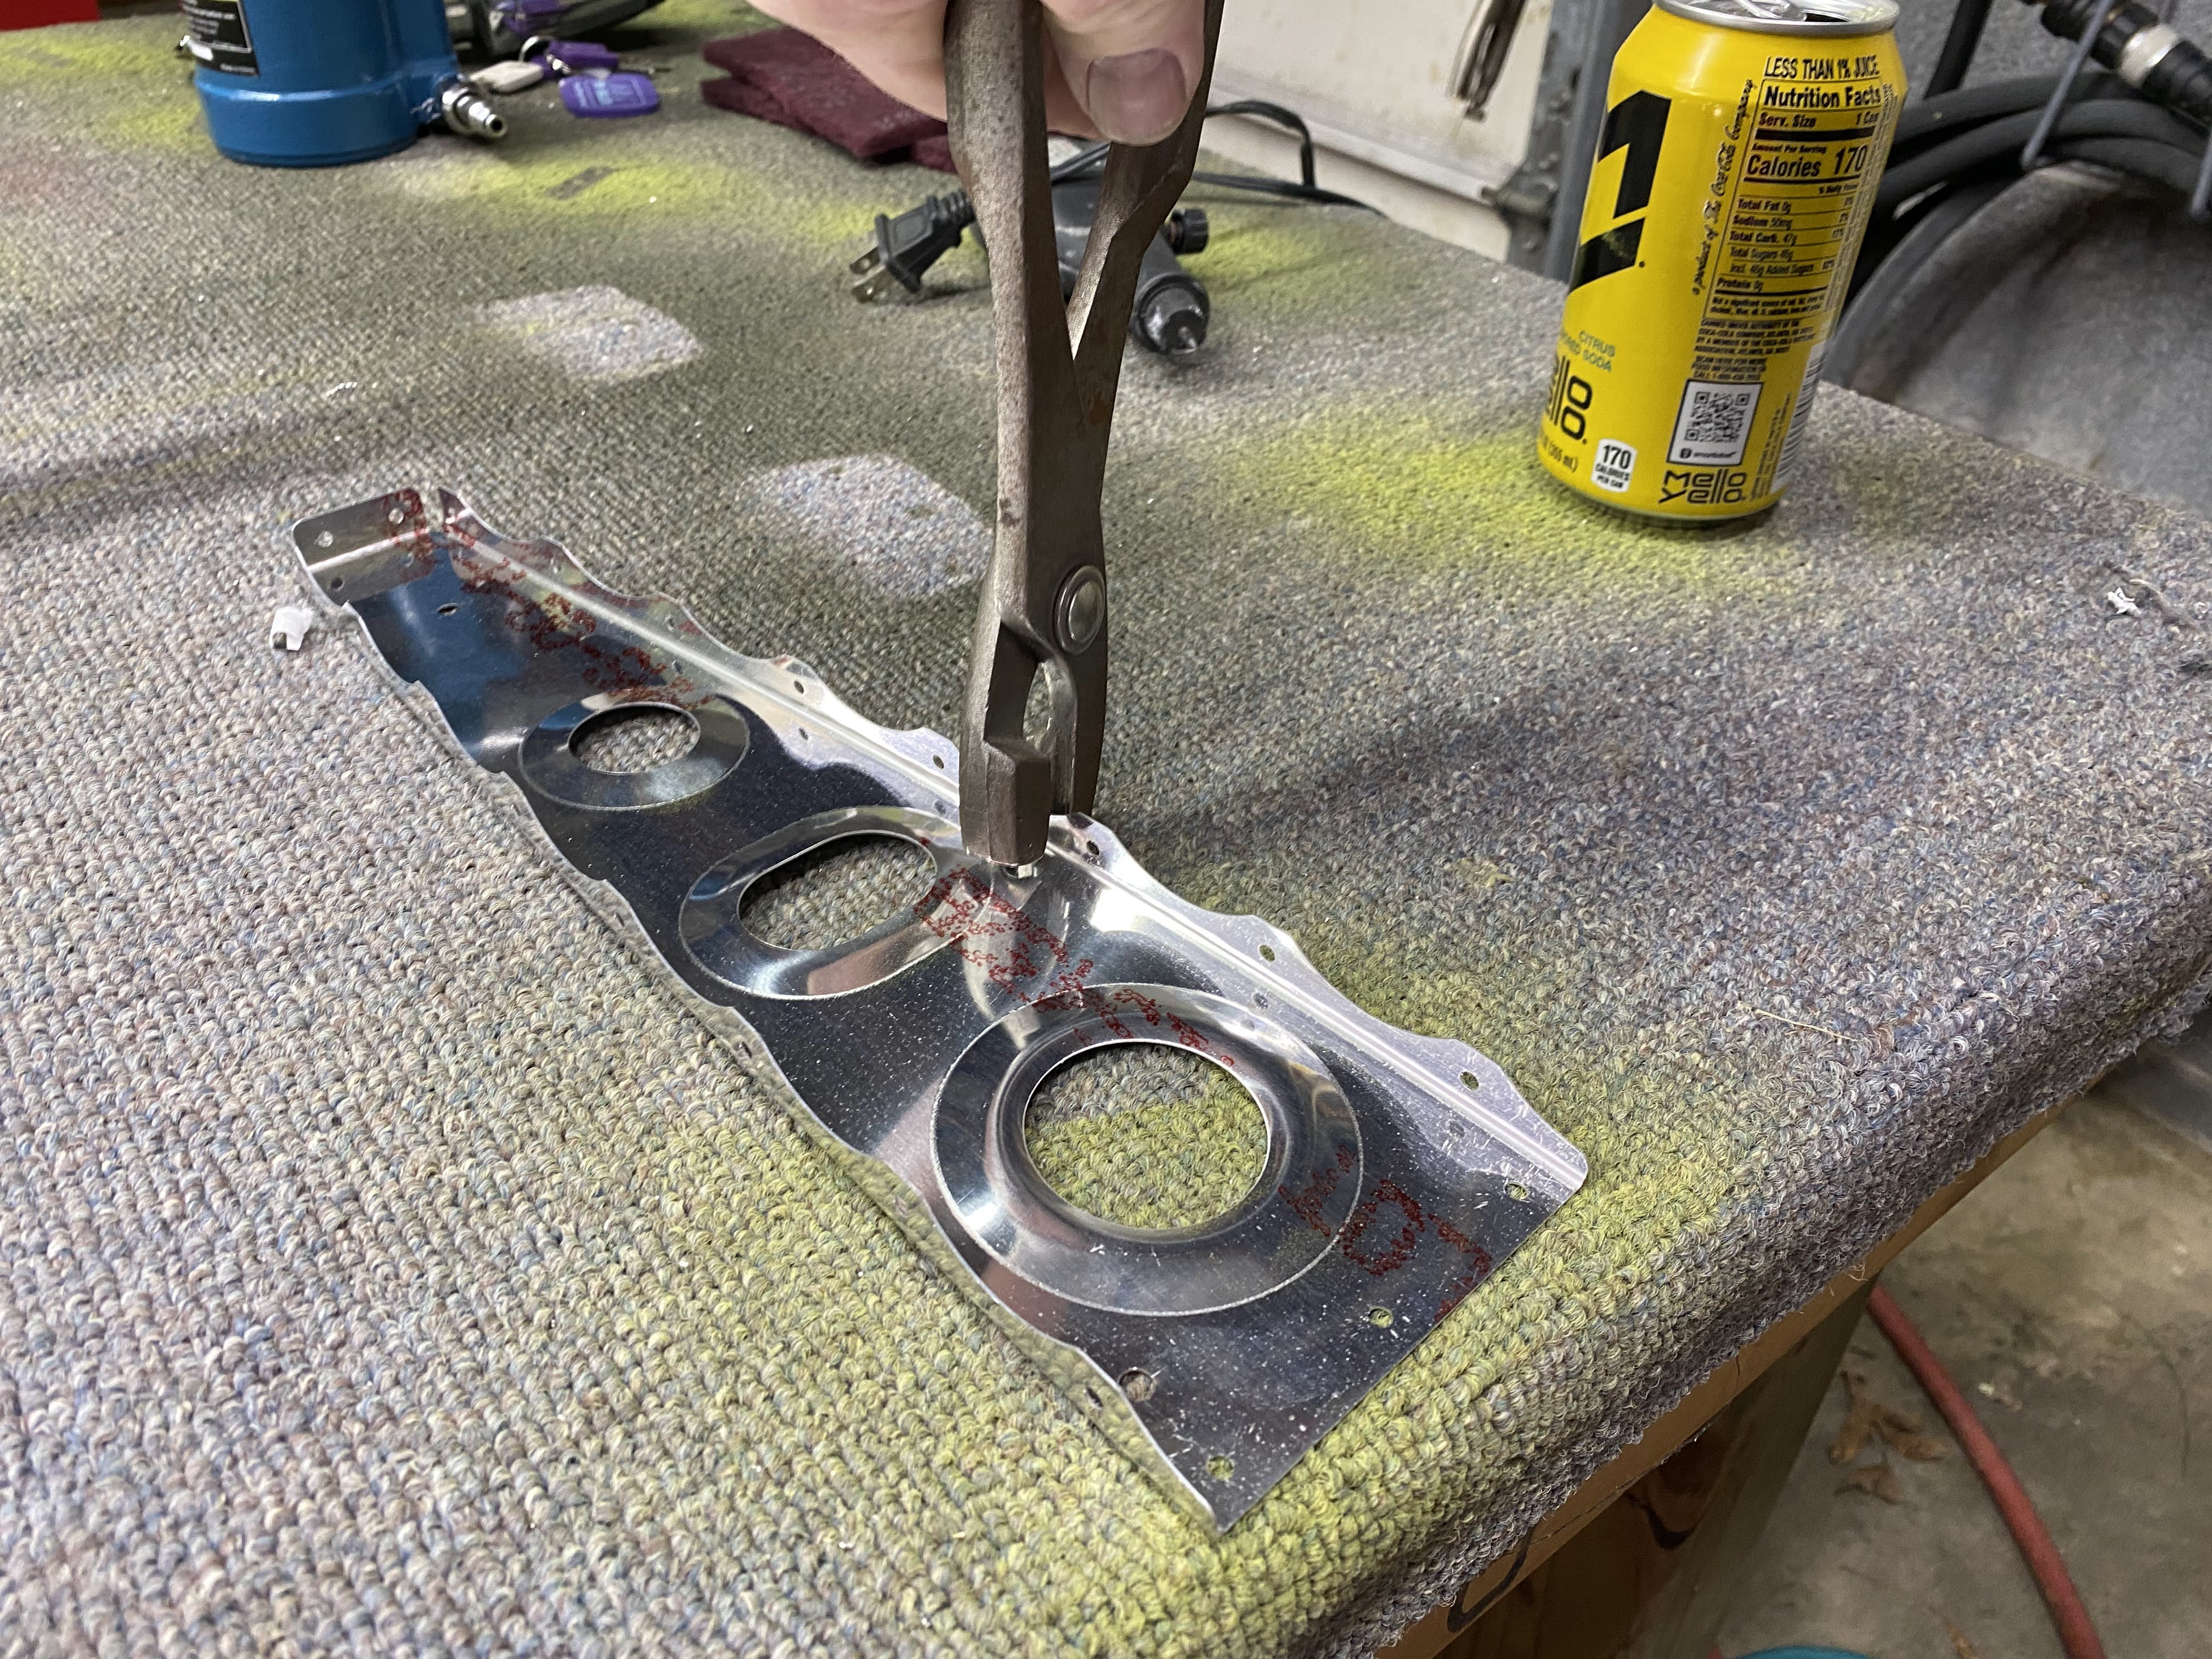
For some reason these pics are coming out all weird with what looks like splotches all over my parts. That is the lighting or something strange as it is not that noticeable in person.
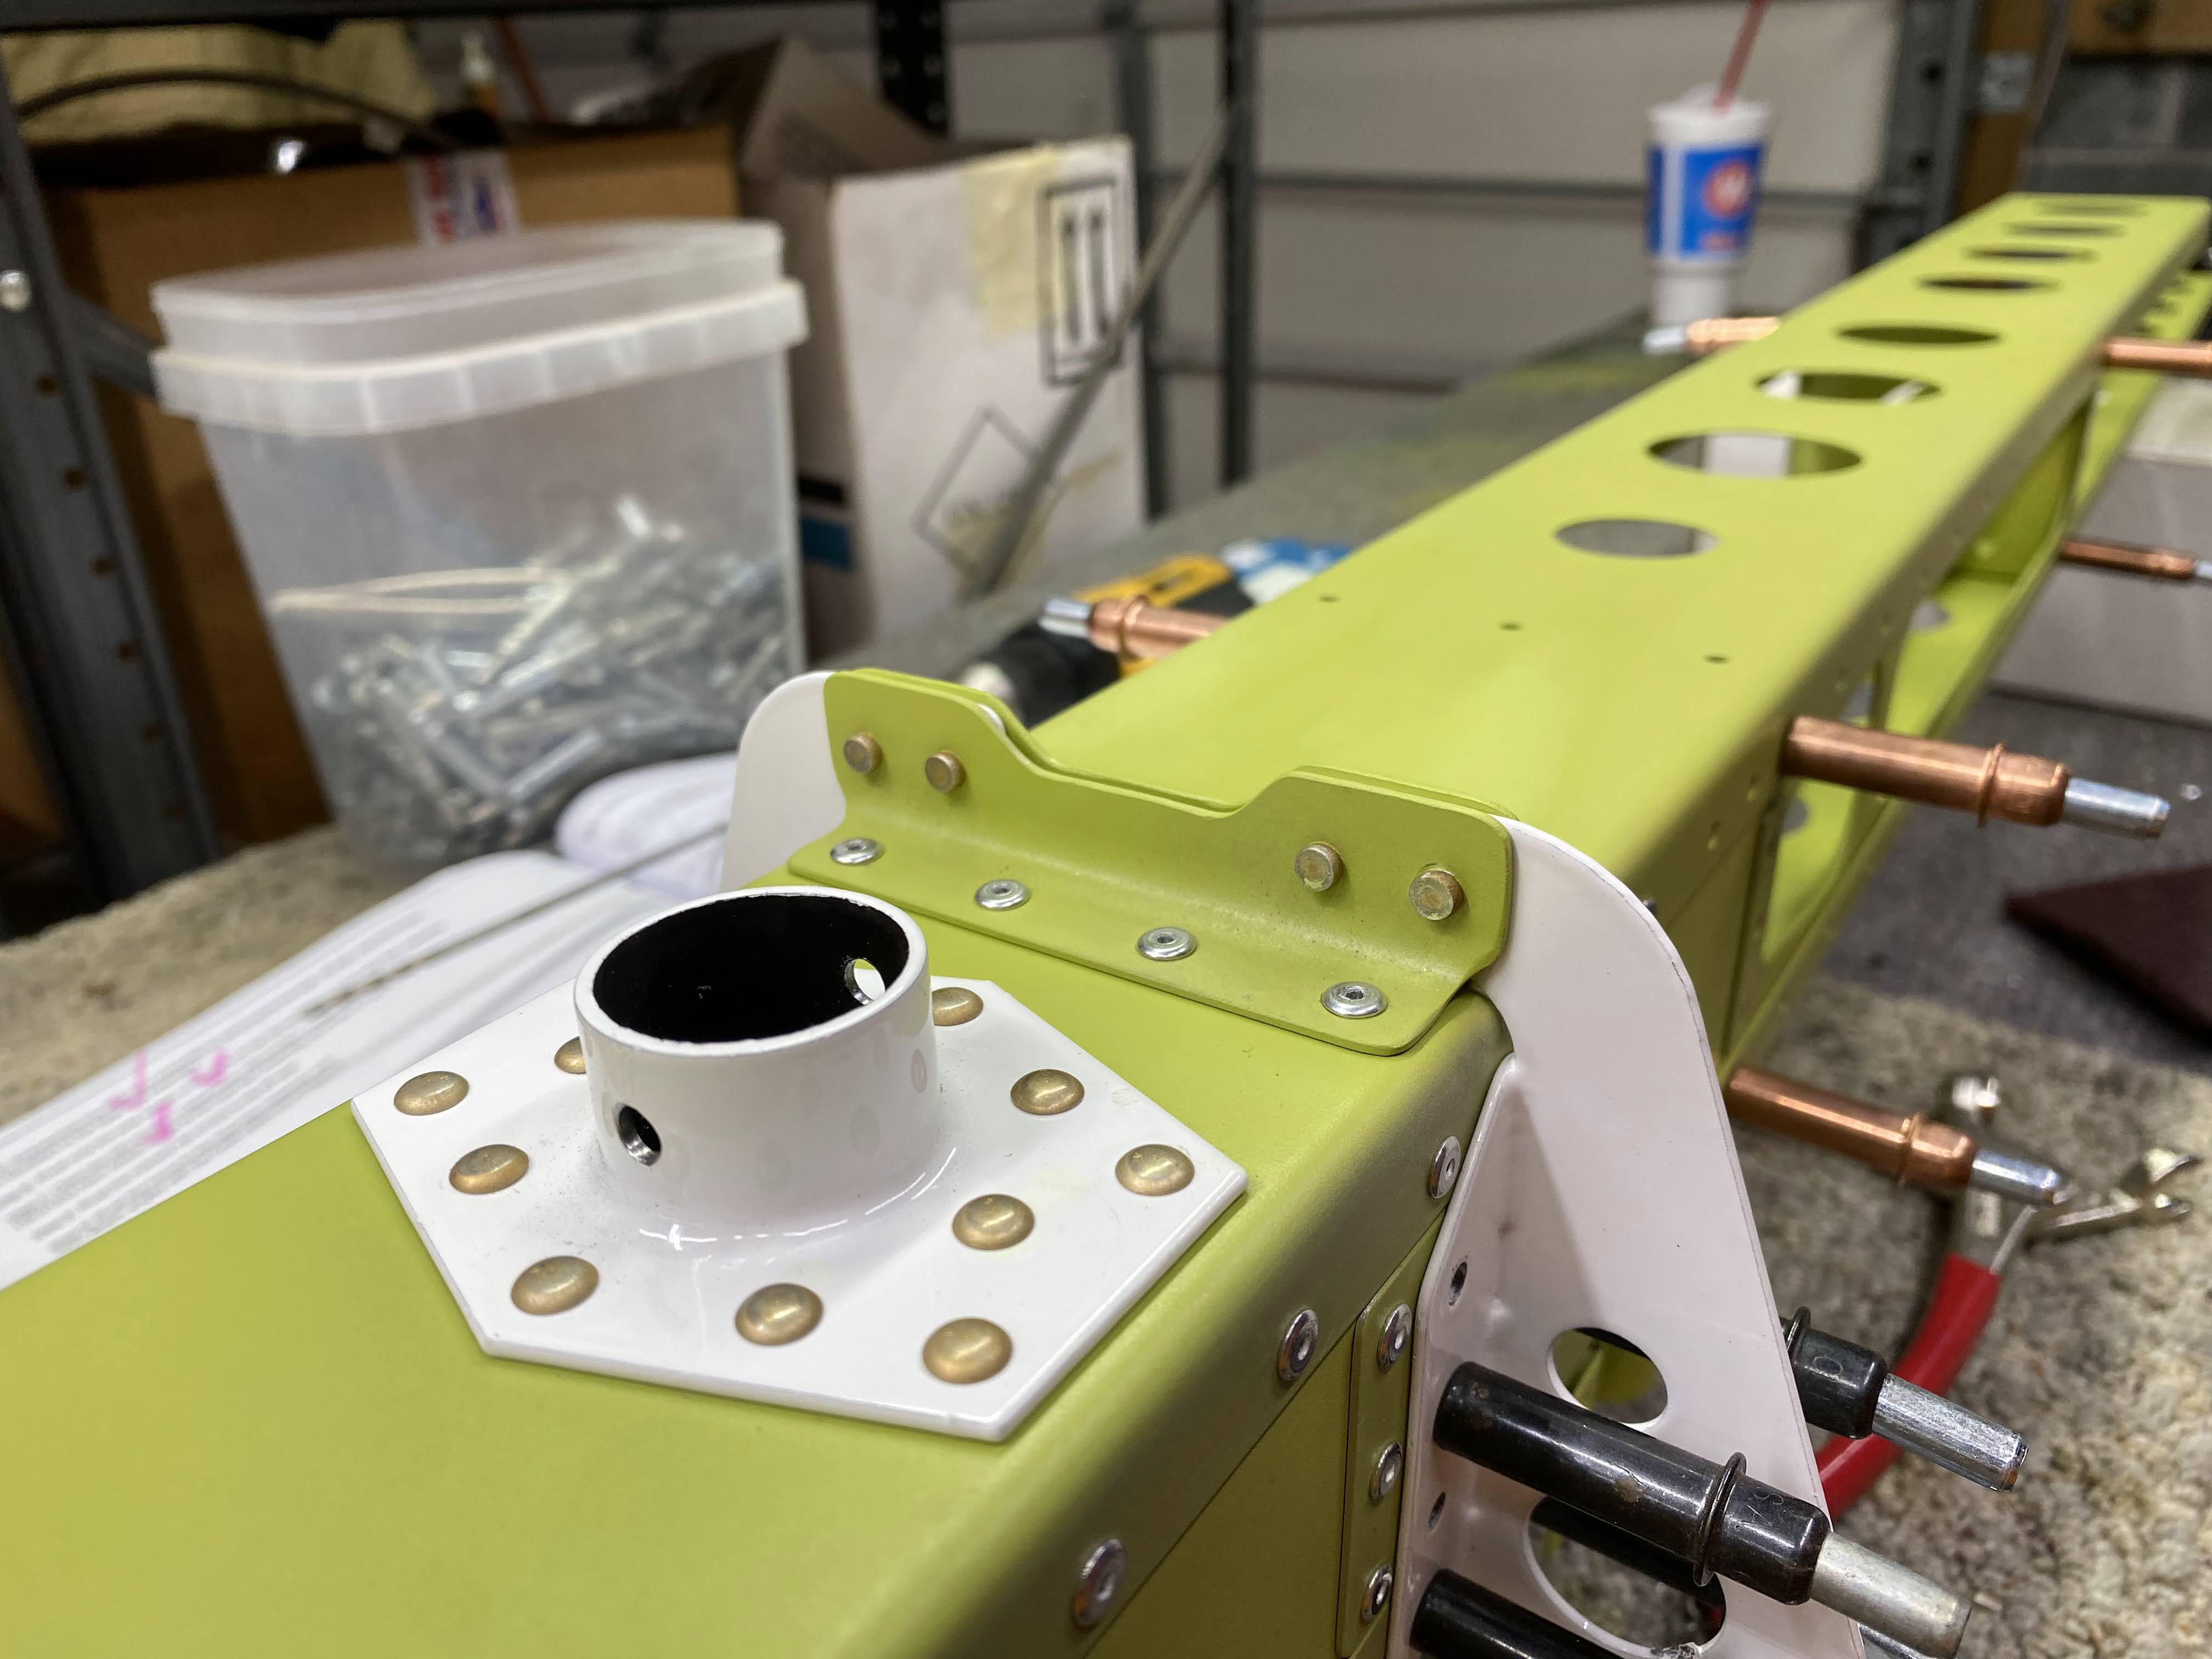
Next step is to rivet the hinge assemblies to the fwd spar.
Pay attention to the orientation and ensure the ones with the nutplates are installed outboard.
All done. You will need the wedge tools to rivet these.
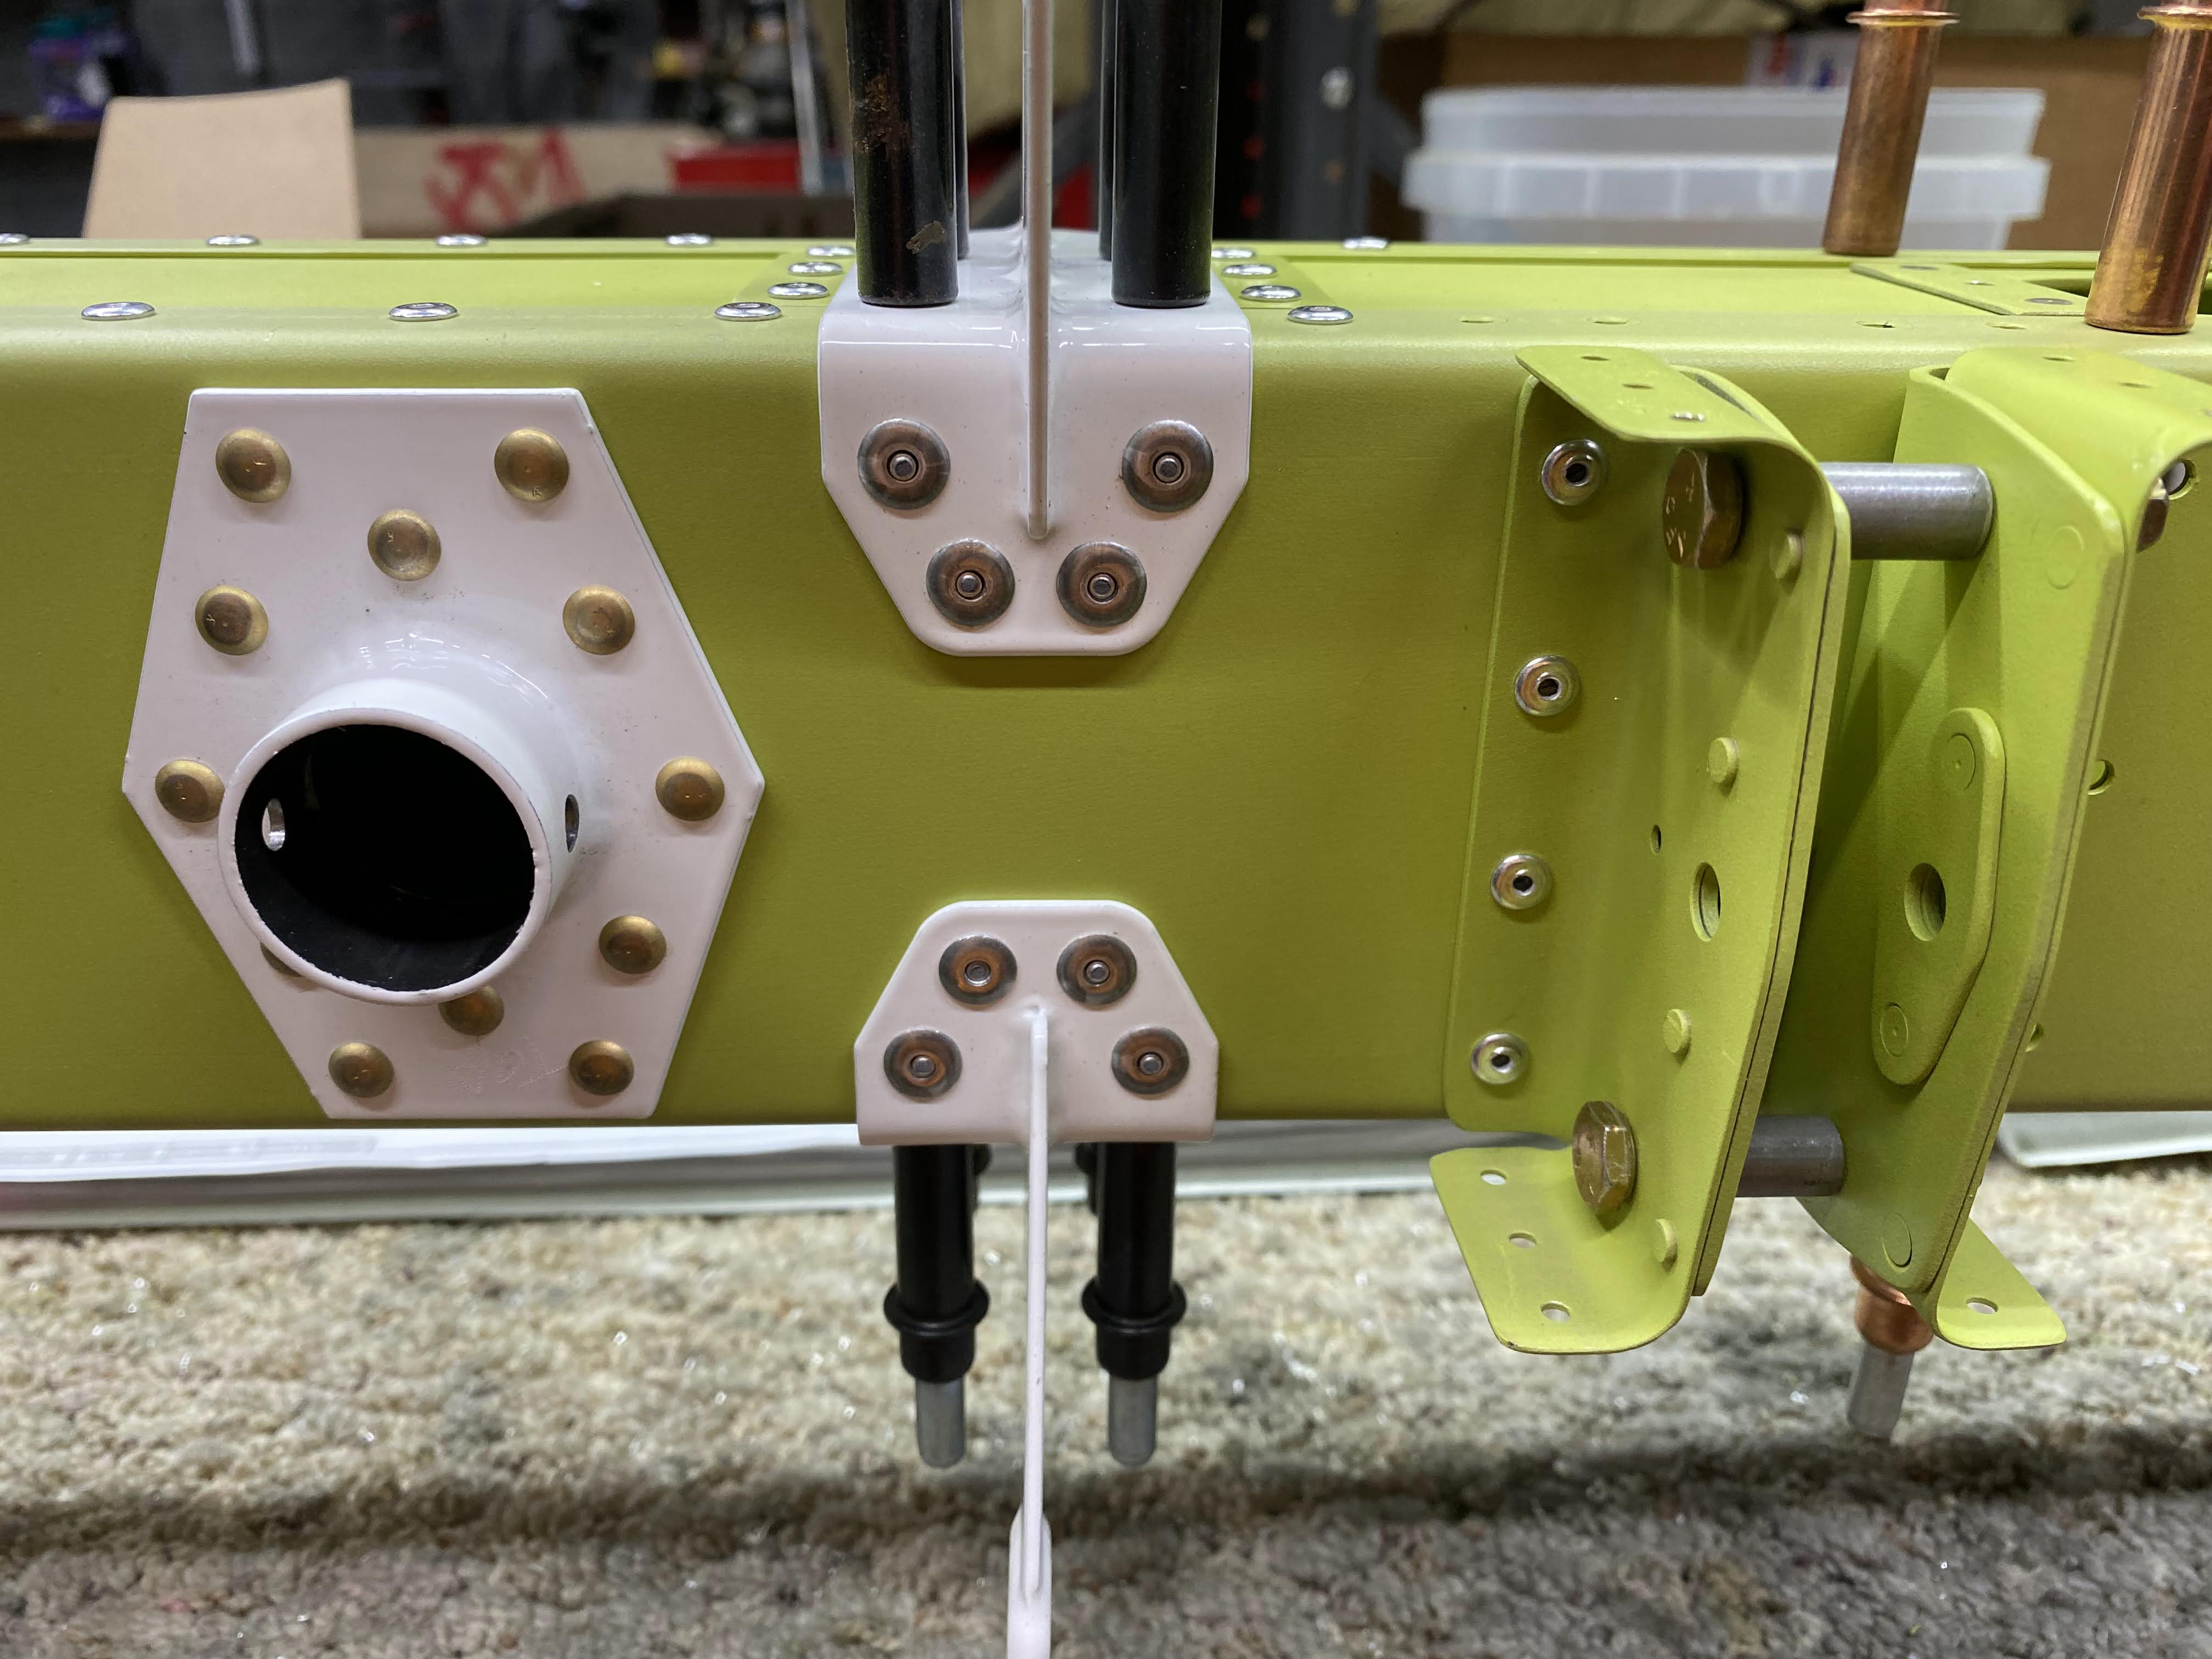
They want you to temporarily install the hinge stop hardware in the hinge bracket assemblies for some reason. I did not tighten them down at this point because I don't like reusing locknuts multiple times.
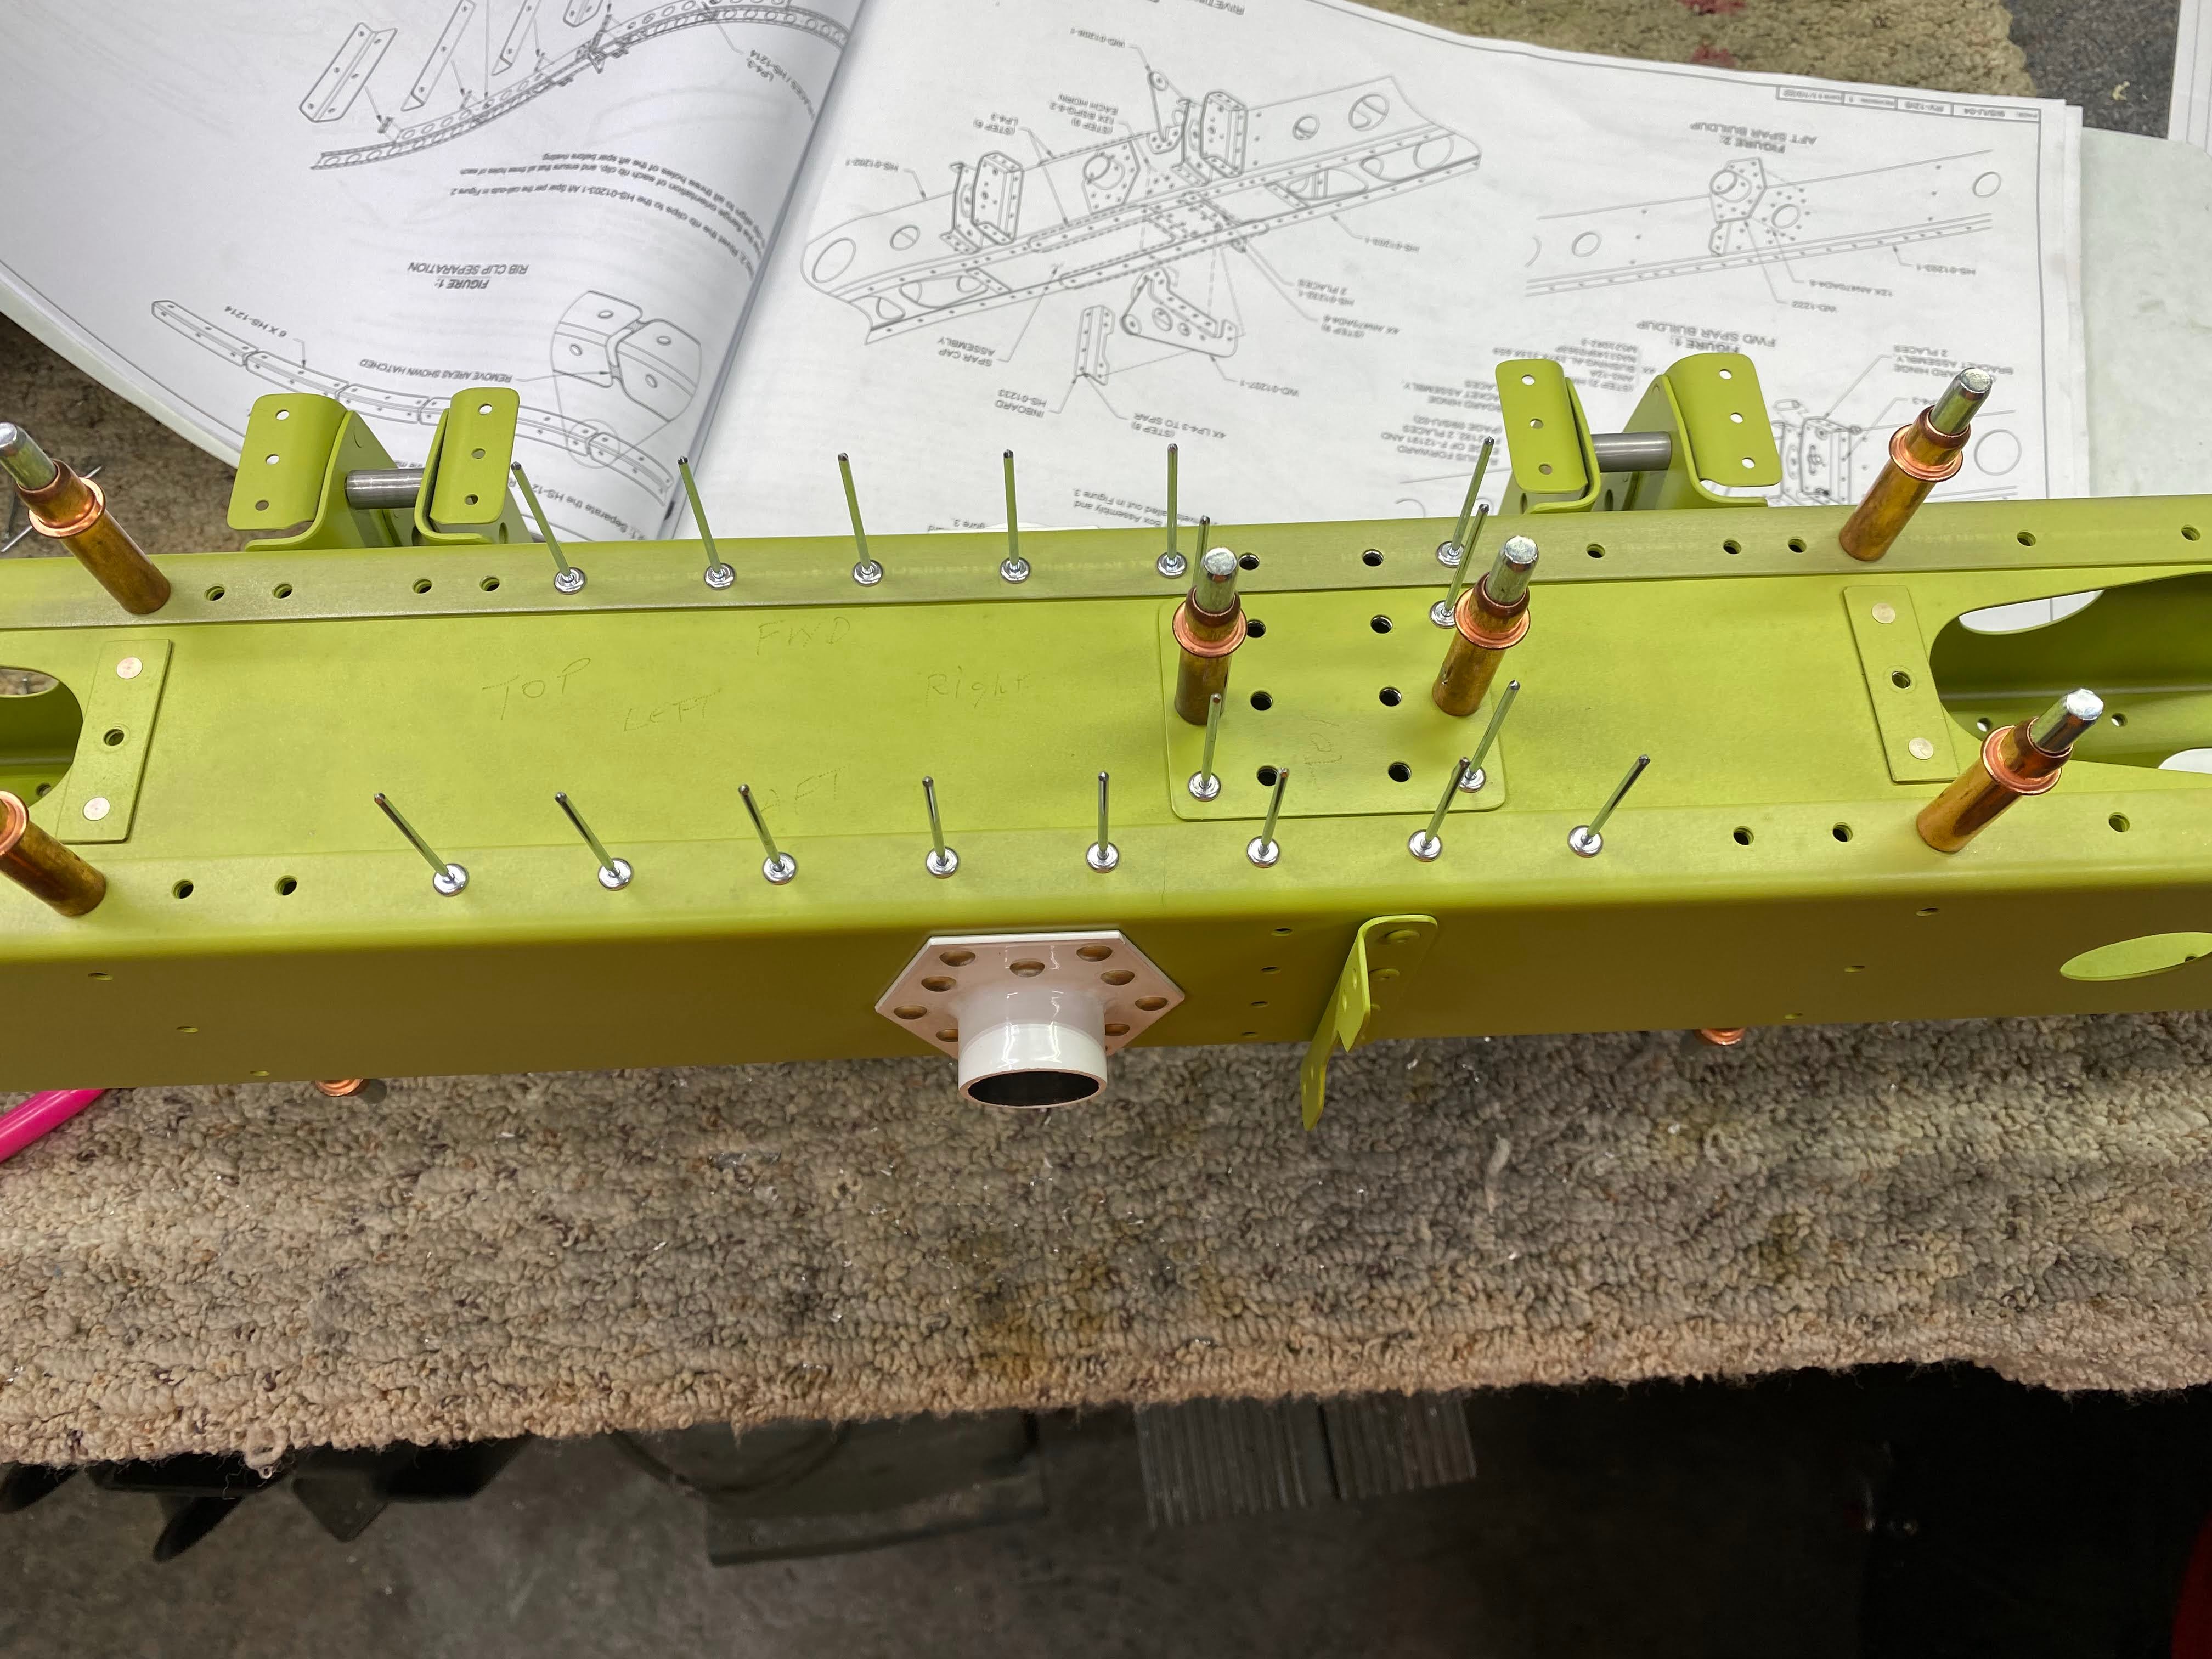
Used the squeezer and the longeron yoke to rivet all the counterbalance arm brackets to the spars. Ensure you align them properly or it will be impossible to get those bolts in while assembling down the road.
Next cleco the horn spacers back in their proper place and orientation.
Rivet the holes called out in the plans only.
Next comes clecoing the inboard horn attach angle and control horns.
Riveted the attach angle.
Riveted the angles to the horns.
Not much clearance between the squeezer and the spar web during this operation.
Next comes the 5/32" blind rivets. These are some heavy duty suckers!
This was definitely the most complex assembly so far for the project. Takes some head scratching and triple checking that everything is where it belongs and oriented properly.