Saturday, December 23, 2023

Wing rib prep, wings part 8

Since it appears that I have no reason to hurry while I wait on my finish kit, I have been working on these wings a little at a time.

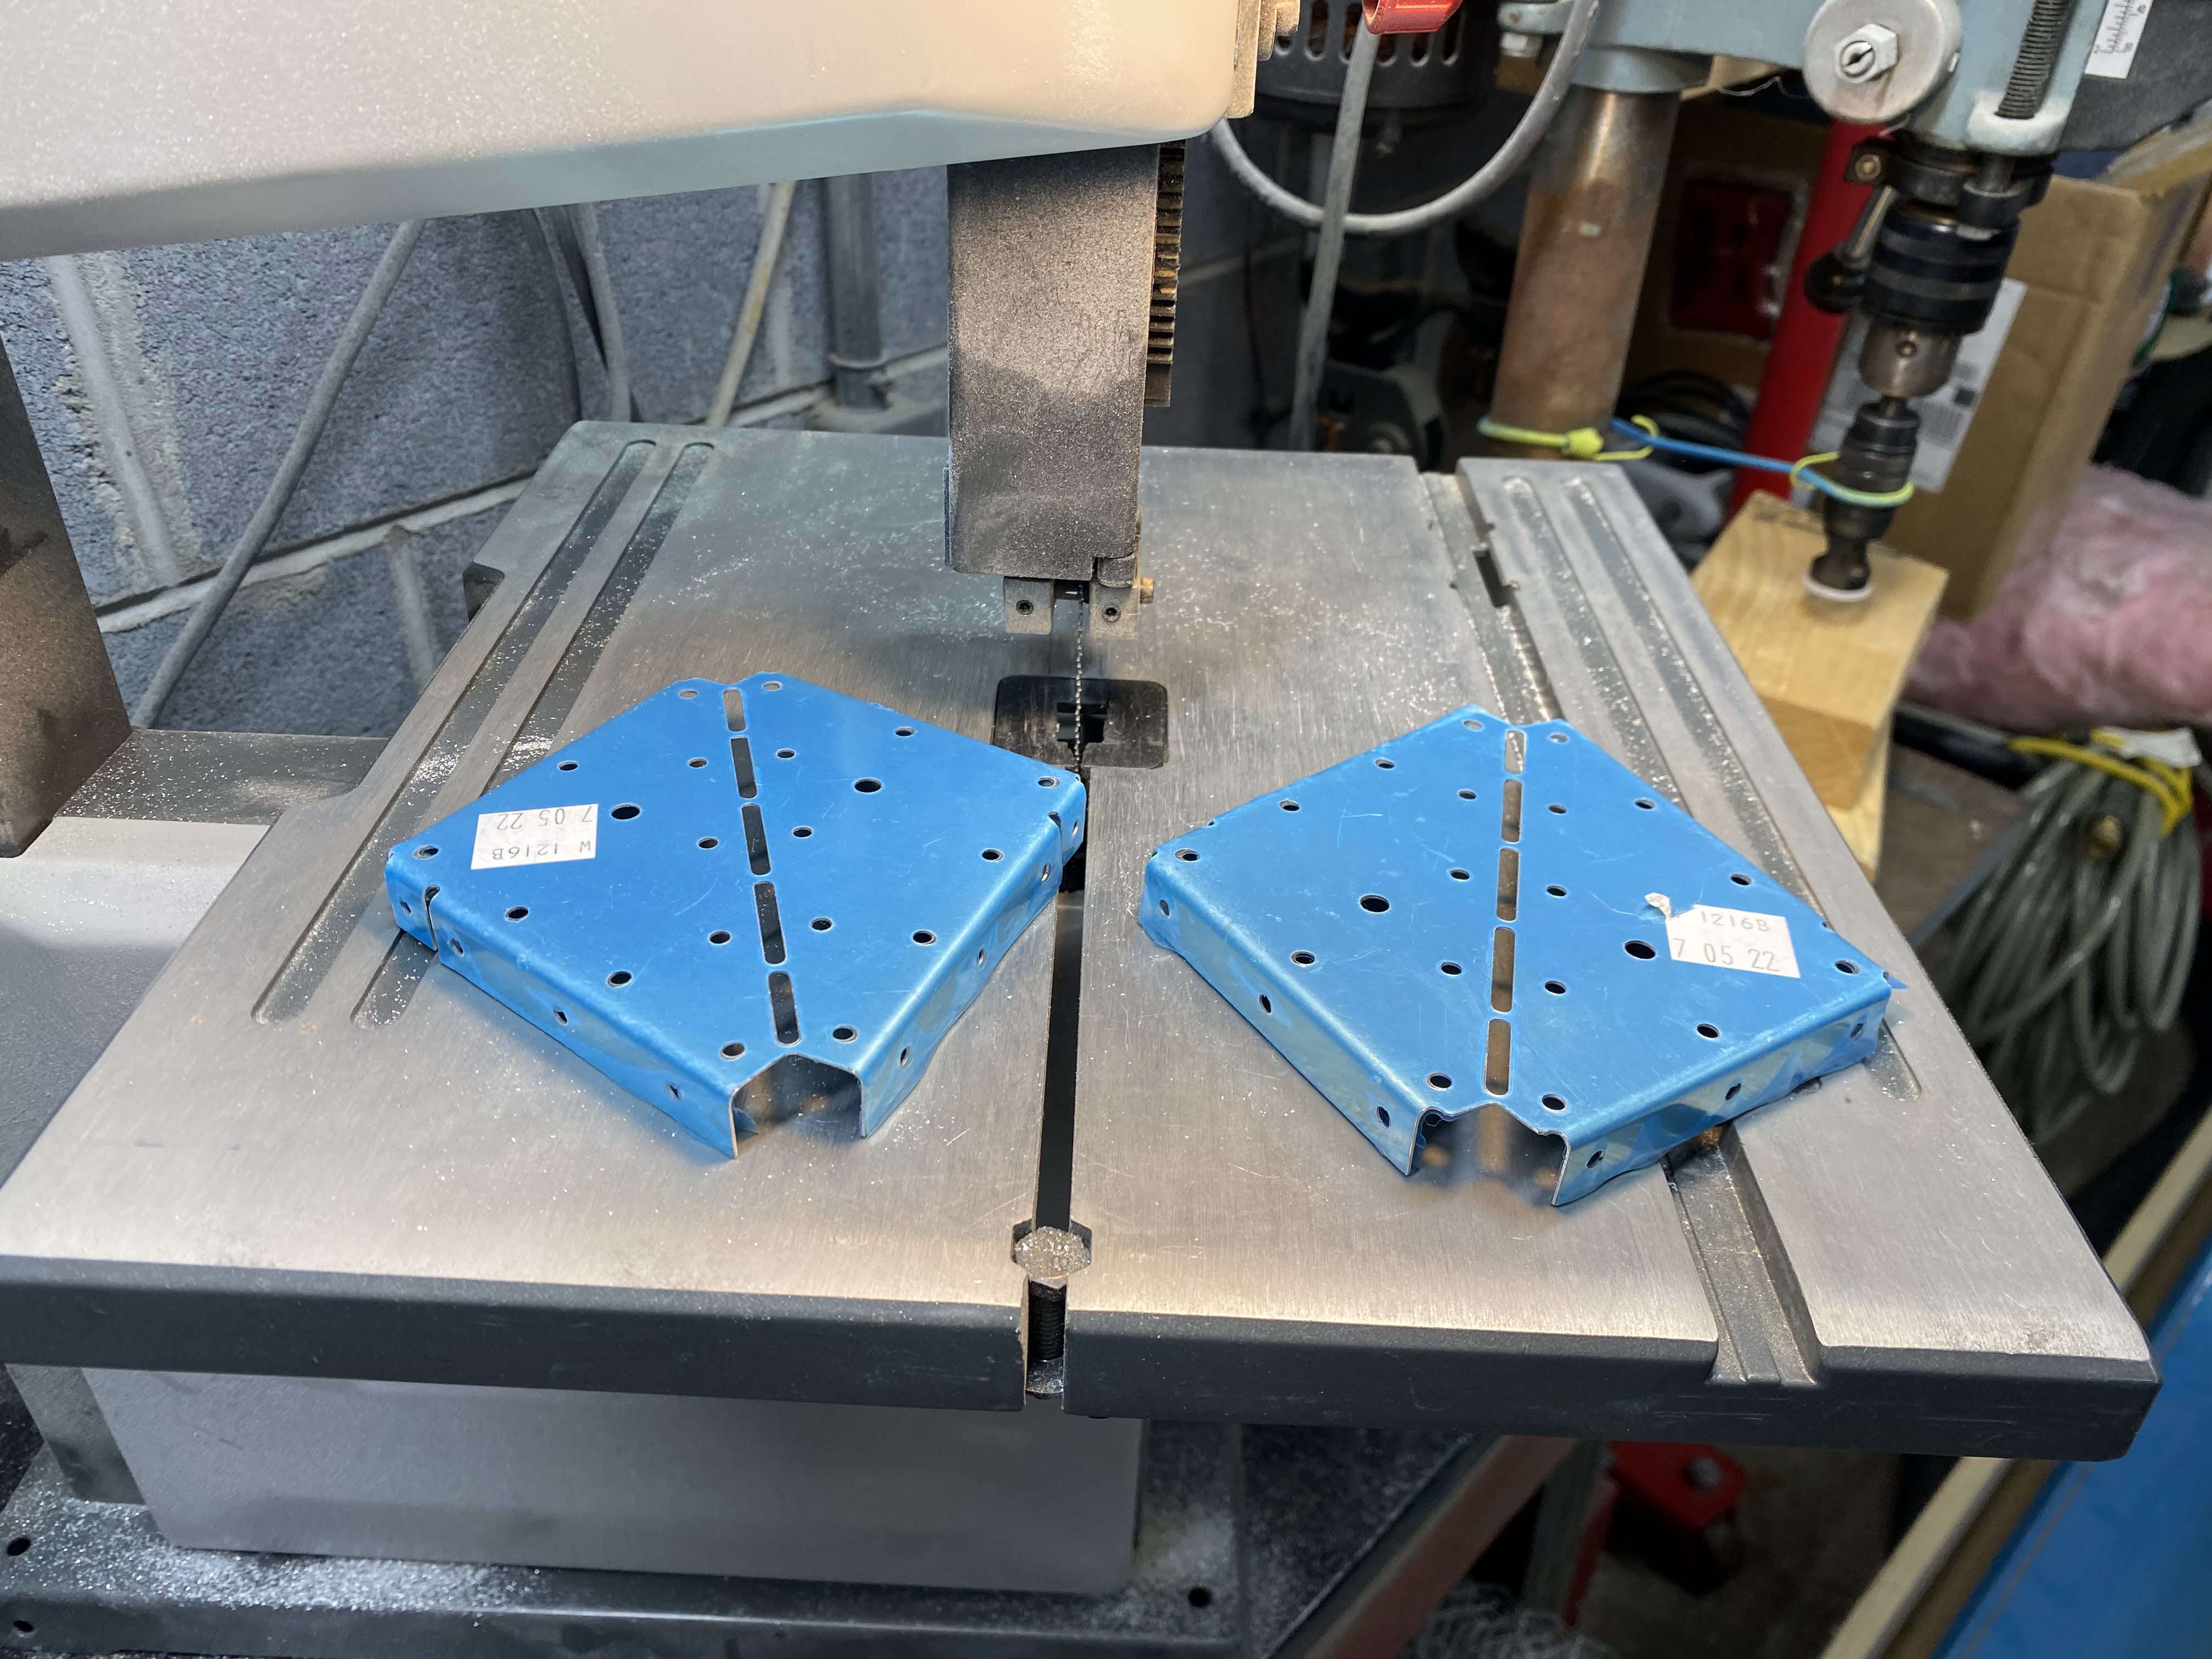
For days I have been doing a little processing of the wing ribs a little at a time.

I have fluted them all.

I have trimmed them all per the plans.

I have deburred the trimmed edges.

I have deburred all the lightening holes.

Sill have to deburr all the rivet and misc holes and then debur the flanges.

Finally they will all have to be scrubbed and primed.

Since there are 56 ribs in total, this is a ton of repetitive, brain numbing work that just has to get done.

I won't bore you with this process, I will just let you know when it is done!  Until then, have a Merry Christmas and a Happy New Year!

Saturday, December 16, 2023

Wings part #7

Started the task of prepping all the wing ribs today.


Fluted all the fwd ribs.

Marked some of the FWD ribs for removing the built in mount flange.  Why they put them there just to have you cut them off will remain a mystery.

Goodbye mount flanges.

For the inboard ribs that connect to the front stub spar, they have you remove these front most flanges.


Cut these hinge mount ribs appart.

Fluted all the aft ribs.

And for some they have you cut the mount flange off.

Then I spent about two hours pulling all the blue film off the ribs!

Thursday, December 14, 2023

Wings part #7

Wing spar assembly....

Riveted the inboard hinge brackets together.  The KAI's say to put the rivets in random.  I did not and they turned out fine.

Tip attach angles get riveted to the aft spars.

Aft spar doublers  get riveted.  Pay attention to which ones to leave out and what type of rivet goes where!

These get riveted on with solid rivets.  On the inboard side only for now!

Wednesday, December 13, 2023

Wings Part #6!

Primed all of the spar and hinge parts of the wing.


Monday, December 11, 2023

Wings part #5!

Prepping the wing structure for priming.


Should be able to get these primed after work tomorrow.  It is getting harder to have good weather for priming,  

On top of all of this Van's filled chapter 11 and we are trying to determine what our path forward is.  More to come here!

Saturday, December 9, 2023

Wings part #4!

Working on all the operations needed for the wing structure parts.  

Countersinking all the front spar flange holes.

Countersinking the rear spar doublers.  This is for the flaperon clearance.

Front spar doubler countersinking.  This ends up being double flush riveted.

Front spar stub countersinking.  This is the other half of the double flush rivets.

Hinge bracket countersinging.

Friday, December 8, 2023

Wings part #3!

 Working on the front and rear wing spars and hinges.


Front spars are prepped.
Cleaned up the rear spar doublers.

Cut out the tip attach angles.

And prepped all the hinge brackets.


Wednesday, December 6, 2023

Wings part #2!

After priming all the wing main wing spar parts, I riveted them to the main spars.


Another thousand rivets bites the dust!


Just follow the KAI's  and the rivets called out.  


Monday, December 4, 2023

Wings part #1

Got started on the wing kit!


Cutting the wing tip attach angles apart.

Cutting all the wing spar to rib attach brackets apart,


After deburring. There are a ton of these!

Match drilled these per the KAI's.


Friday, December 1, 2023

Fuselage center section #92 - Fuel Tank part 4!

 Today I declared the tank leak free....  Here is how I pressure tested my tank.


I found this plug that is intended to be used for pressure testing household plumbing and it fits the fuel tank filler port perfectly.  It was $8 at Lowes.


The only problem is that it leaks like a screen door around the center bolt.  I tried everything to stop the leak.  Put grease on the seals and everything else I could think of.  Nothing helped!

Then I had an idea....
I cut a balloon like this.....

And stretched it over the fuel filler neck.  Ensured there were no wrinkles or creases.

Then shoved the plug into the port and tightened. This worked perfectly!  Stopped the leak path up thru the center of the plug.  The balloon conforms to the shape of the inside of the plug and forms an air tight membrane.

I used an old fashioned U tube water manometer and a digital manometer to monitor the pressure in the tank.

After three days of watching the pressure, I declared it leak free.  The ambient temp and baro does cause the pressure to rise and fall but on consecutive days I checked it at around the same temp and corrected for the minor changes in baro and the pressure remained constant.

I also soaked the tank in soapy water several times looking for any signs of bubbles and found none.

Success!


Tuesday, November 21, 2023

Fuselage center section #91 - Fuel Tank part 3!

 From 11/16 till 11/21, I worked on finishing and sealing up the fuel tank.  I then waited a week to pressure test the tank.  Here is a video that I put together detailing the process of assembly and sealing.  Later will come the process of pressure testing.


Wednesday, November 15, 2023

Fuselage center section #90 - Fuel Tank part 2!

Continued the prep for the fuel tank assembly.

They have you cleco all the ribs into the top skin.  Then cleco the bottom skin onto the assy.

Then match drill these two outboard holes in the outboard ribs.

Then the fuel inlet is match drilled to the assy.  At first I cleco'ed the unit to the skin but it left a huge gap. So I removed the clecos and just held it into place while match drilling up to #30.  This virtually eliminated the gap :)
There is one hole that must be drilled and cleco'ed from the inside.

Next they have you test the fit of the fuel level indicator,

And then you bend the fuel level sender per the directions.  The sender I received was not made like the one in the KAI's.  Therefore I just made it look as close as possible to the full size template in the directions.

Next I had to countersink the nutplate attach rivet holes in the inspection cover.   Make sure the little notch is on the left of the large notch at the bottom.

Then they have you rivet the nutplates to the cover.  I only have a 2.5" yoke so two of the rivets could not be squeezed.  So instead I just back riveted those two with the rivet gun and back rivet set that I have used for prior projects.

Temporarily screwed the inspection cover onto the tank.  Also have the sender screwed to the cover.

Tweaked the sender float arm to ensure accuracy on the low end.