Thursday, May 16, 2024

Wings part 22

Riveted the bottom two outside skins for the left wing.  Deburred prepped and primed the bottom center skin for the left wing.

After priming the two bottom outside skins for the left wing.

Riveted the skin to front spar rivets on the bottom skin on the left wing at the root end.  These get countersunk rivets.

All done!  Some holes remain empty for now.

Riveted the rest of the root skin nose rivets.

And this doubler plate.  There are 4 different kind of rivets on this doubler.

Nose ribs all riveted.

Riveting the nose ribs on the left bottom outboard skin.

Nose ribs done.


Turned the wing around and riveted the main ribs to the bottom skin.


All done....

Prepped and primed the left wing's bottom center skin.

All primed.  Those splotches are sunlight that was making shadows.

Riveted the bottom center skin nose ribs.

Another 1000 rivets down!  Over 7000 so far!.

Riveting the bottom center skin main ribs.

The bottom of the left wing is all riveted!  Yay!  That is a ton of rivets!


Tuesday, May 14, 2024

Wings part 21

 Today I got started with prepping the left wing skins.

For whatever reason, they leave two holes that they ask the builder to dimple.  The rest of the dimpled holes are already dimpled from the factory.

Then they have you upsize 8 holes for the skin doubler.  This requires a #20 drill bit.  There are a bunch of warnings about drilling into the spar caps but for the left wing, there is no way this can happen.


Then they have you enlarge the wing tie down hole to 3/8".

Next I used the tried and true method to remove the blue film from the wing skins.

Rounded the skin corners to prevent cuts.  The factory corners are like a razor looking to kill you.  A nice little radius helps prevent this situation.

Then I sanded the edges of the skins with this flexible sanding block.  Works like a dream.  I get them at Lowes.

Finally I scrubbed the inside of the skins with Prekote and will prime them tomorrow.


To clarify I only prepped the outside bottom skins for the left wing.  I plan to break up the prep and the primming of the skins into a few sections to keep the monotony down.

Monday, May 13, 2024

Wings part 20

Been working on getting the wings ready to skin.  This includes installing the wiring harnesses and the wing root connectors as well as the stall warning vane switch.

I did the right wing first since this is the one that was on the table.  They have you install this wiring harness by first removing a couple of snap bushings.  Ensure you have the correct harness on the correct wing.  The right wing has female pin sockets on this blue connector and also has one less wire than the left.  Use Loctite on the screws for the standoffs.  Also ensure you clean the primer off of the area where the ground screw attaches.  The #4 washers come in two thicknesses so be sure you measure them to be sure you have the correct ones.  The orientation of this blue connector is important.  Make sure the bigger slot is on the bottom of the wing.

Feed the wires thru all the ribs.  The multi conductor cable goes all the way to the end.  The other wires stop one bay in for the landing light.

Next I worked on the parts for the stall warning vane switch.  These parts get some drilling, some countersinking and a ton of deburring.  I then squirted some self etch primer on them since they are too small for a real primer batch.

Started installing the left wing harness.  Here I have cleaned off the primer where the grounds go.  This one has an extra wire for the stall vane switch.  It came with the connector already crimped on which won't go thru the snap bushings.  I cut it off and then crimped on a new one once the wire was installed.

Connector all installed.  Loctite was used.  This harness has male pins on the connector.

Then I assembled the vane switch assembly.  I followed the KAI's but had to change the washer stackup for the vane pivot shaft.  I had to switch to thin washers to make it work properly.

Here is the stall vane switch all installed.  Still needs to be adjusted.


I then installed the AOA line and wing root connector.  Just followed the KAI's.  


Friday, May 10, 2024

Wings part 19

 Started today with riveting the front spar to the left wing assembly.  Easy peasy.


Then installed the snap bushings in the nose ribs.


Then dimpled the rib flanges on the two ribs that sit under the wing walk doubler.  This is so the wing walk anti slip material sits flush on the skin.


I then installed the nose ribs, front spar and the snap bushings on the right wing assembly.  I also had to fix the root rib due to my mistake a few post back where I put the nutplate and doubler on a rib that had not had the nose flanges trimmed.


Next is the wiring, stall warning switch, and AOA prep.

Thursday, May 9, 2024

Wings part 18

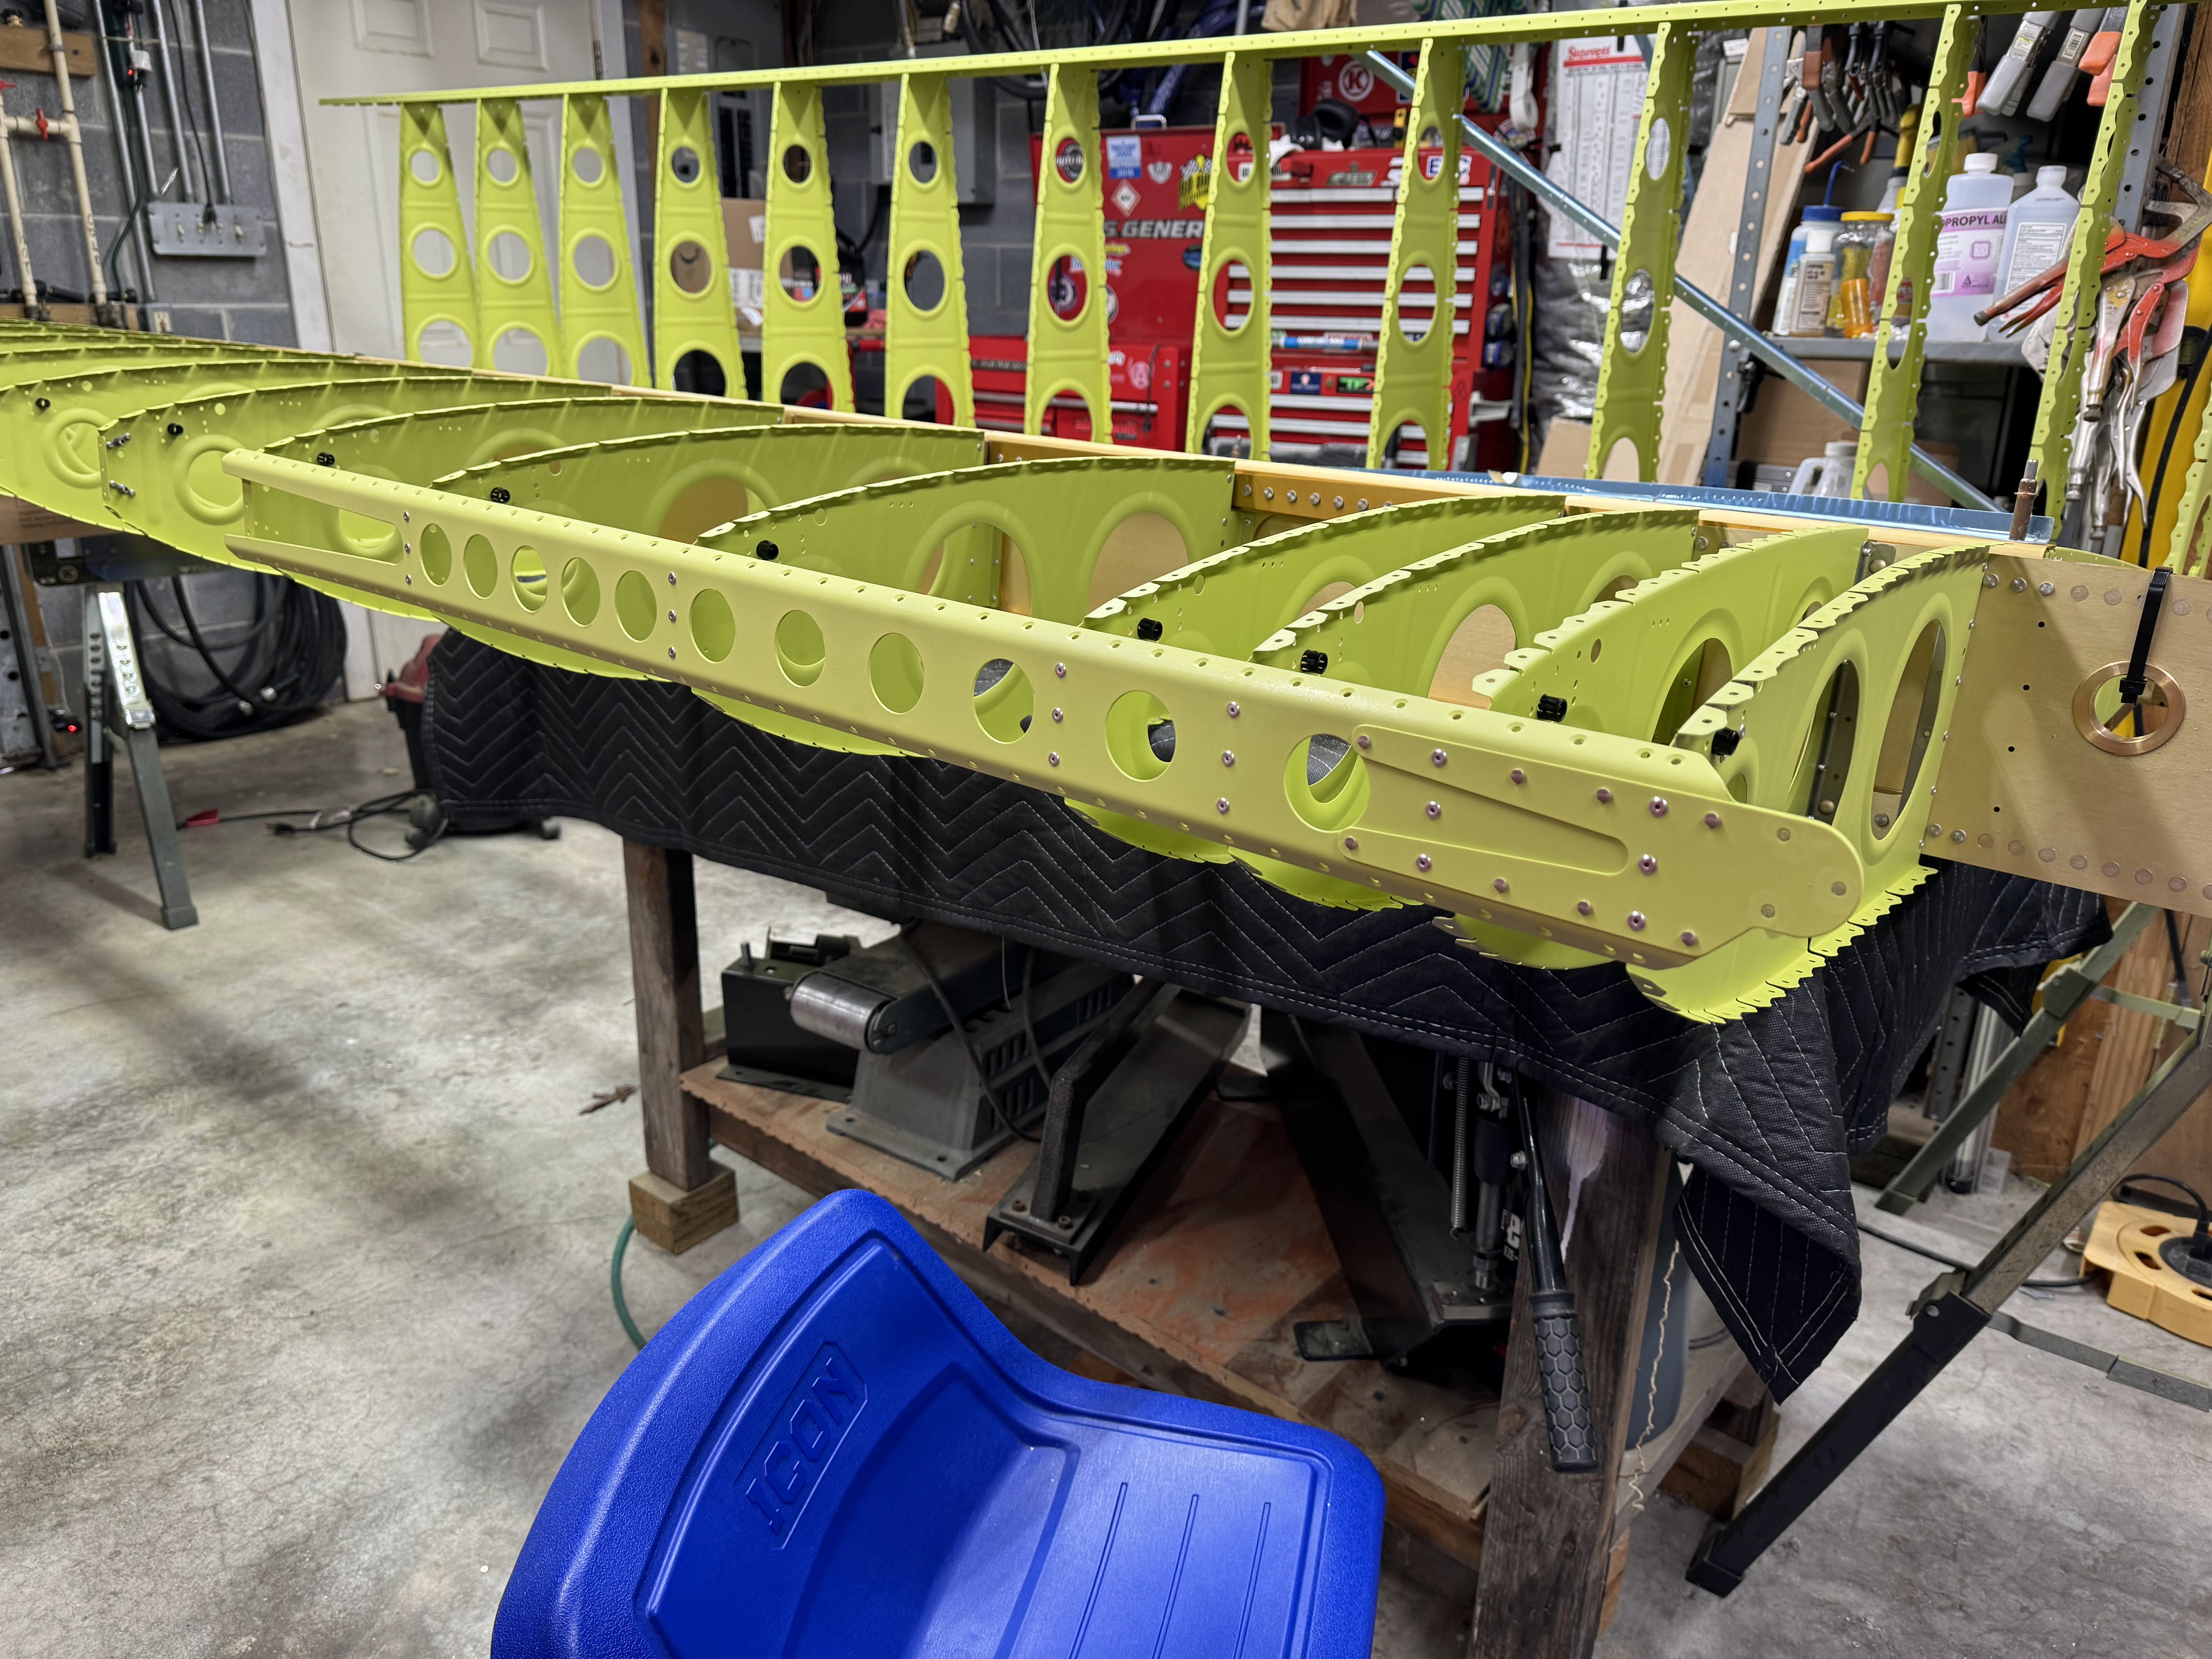
 After reworking all of my mistakes on the nose ribs, (see prior post) I managed to complete the riveting of the nose ribs to the left wing spar.  Make sure you don't forget to use the longer LP4-4 rivets on the rib flange to spar connections!


Wednesday, May 8, 2024

Wings part 17

 Got started today by riveting the aft ribs to the left wing main spar.


Once the ribs were installed, the KAI's have you rivet on the rear spar.  The inboard most rib needs to be match drilled to the rear spar and the hinge bracket.


After disassembly and deburring, I riveted the rear spar to the aft ribs.  Pay attention to the rivet call outs as some are longer than others and some are countersunk flush rivets.


All done!

Next I riveted the aft ribs on the right spar.  Some of these are a bit different as they get attached to the angle and the flange gets attached to the spar web.

I used the angle wedge and the cardboard to pull the rivets and to protect the rib web.

Right aft ribs and rear spar all riveted.


Monday, May 6, 2024

Wings part 16

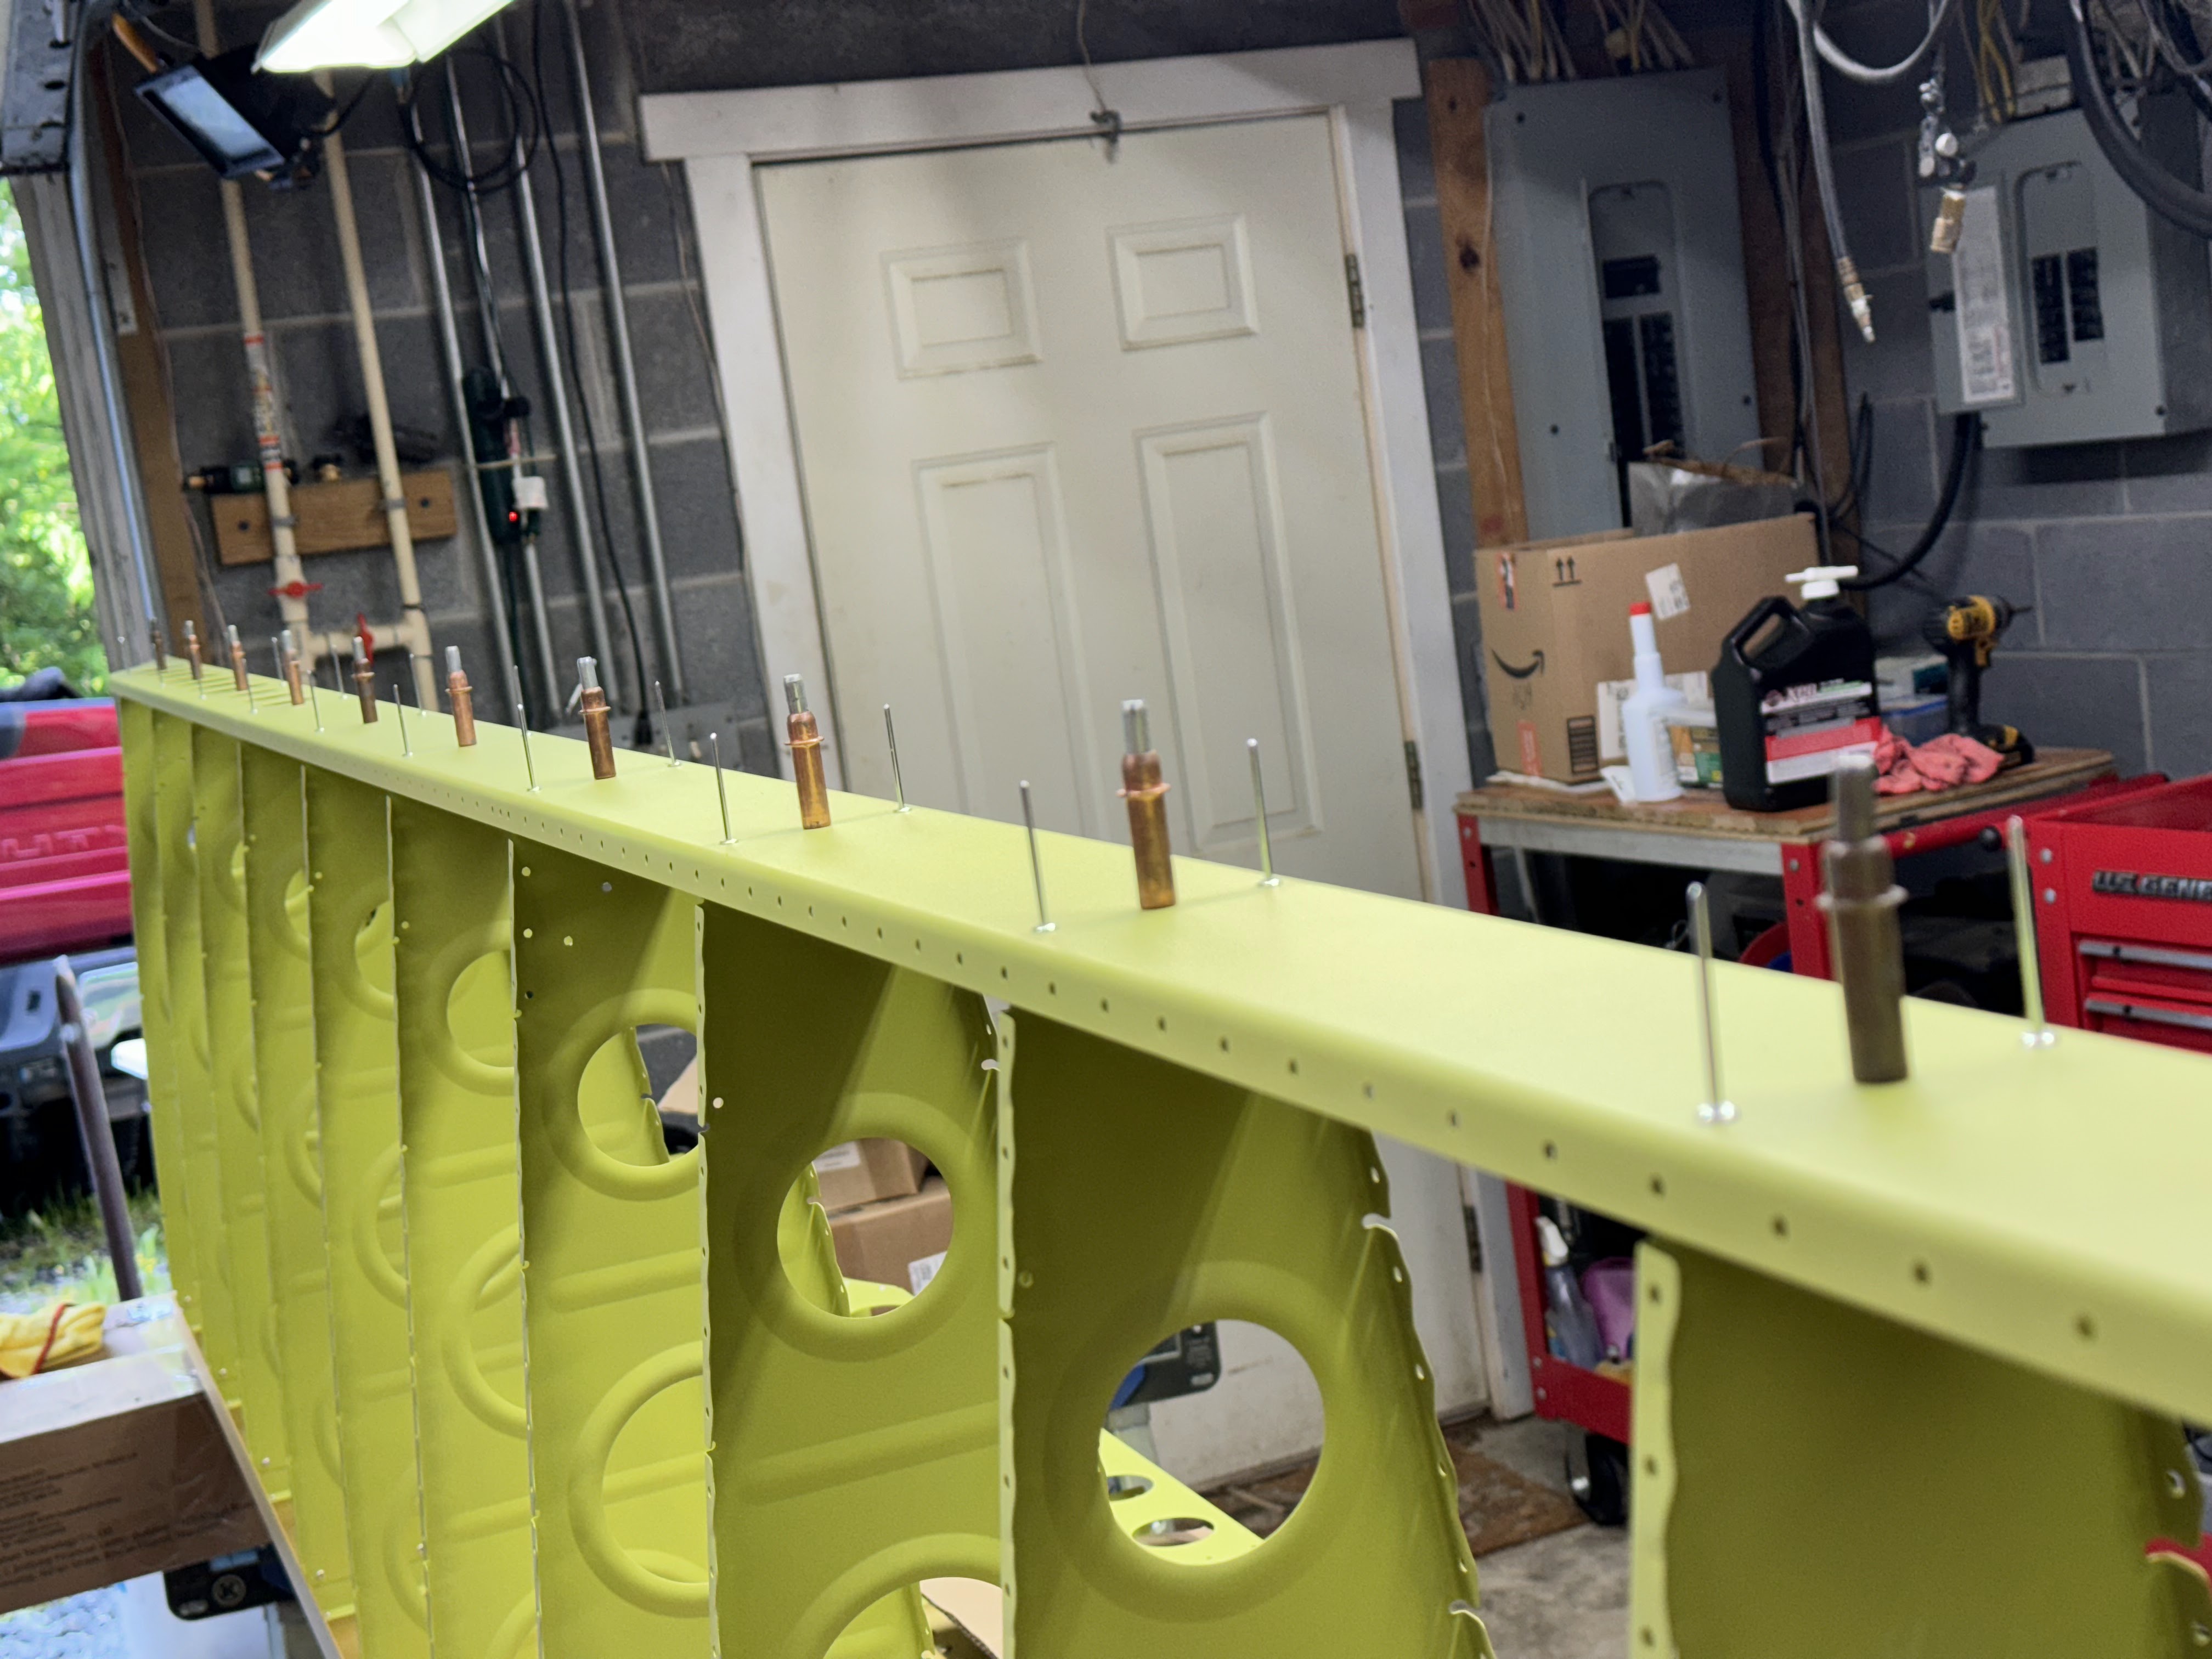
 Started today by making up all the ribs that have some special parts attached or match drilled.


The two wing root ribs get these nut plates.  Make sure they are on the correct side of the web. UPDATE: I made a mistake and installed two nut plates in each rib here.  The plans only call for one.  Don’t do what I did! Updated #2:  I put these nuplates on the rib that was untrimmed at the front!  I must have been drunk and rusty at building when I did this.  This root rib must have the front nose flanges trimmed!  Don't do what I did!


They also get these two doublers.  I think the nut plates are for the electrical grounds and the doubler is for the electrical connector.  UPDATE: I made a mistake and installed two nut plates in each rib here.  The plans only call for one.  Don’t do what I did!


Then this solitaire rib gets two nut plates on the tip for the AOA sensor.  UPDATE: Yes this one is supposed to get two!  Update #2:  Notice that I put these two nutplates on a rib that had the front flanges trimmed.  DUH!  This is a mistake.... Don't do what I did!

Matched drilled these rib extensions.  Pay attention which rib you match drill to, these extensions are different.


All done and riveted.  Plans tell you to put shop heads on a particular side of the web.

Next comes match drilling the hinge brackets and ribs to specific ribs.  


I then did the other two.