Saturday, November 11, 2023

Fuselage center section #87 - avionics deck!

Started by riveting the avionics deck to the firewall.  The IS version fills one of the nutplate holes with rivets.


The other two nutplates get installed.

Next you must start assembling the oil tank/battery box brackets.

These are the first two pieces of the bracket assembly that get riveted to the firewall.

Next the side plates.
Then the horizontal ribs.

Had to fabricate this cover that gives you access to the hinge pins.

This clip gets fabricated and riveted to the closeout plate.  The hinge pins get captured by this clip.

Next the handle ribs and handle get assembled.

Two nutplates get installed to the handle.

Have to pre-bend the turtle deck skin.  Be careful not to kink the skin!

After waxing the area that gets sealant so that it won't stick to the skin, I put down a bead of sealant on the flange and then screwed the skin to the firewall and ribs.


Next I riveted all the nutplates on the upper instrument panel mount flanges.

And then cleco'ed the flanges to the upper skin.


Friday, November 10, 2023

Fuselage center section #86 - avionics deck!

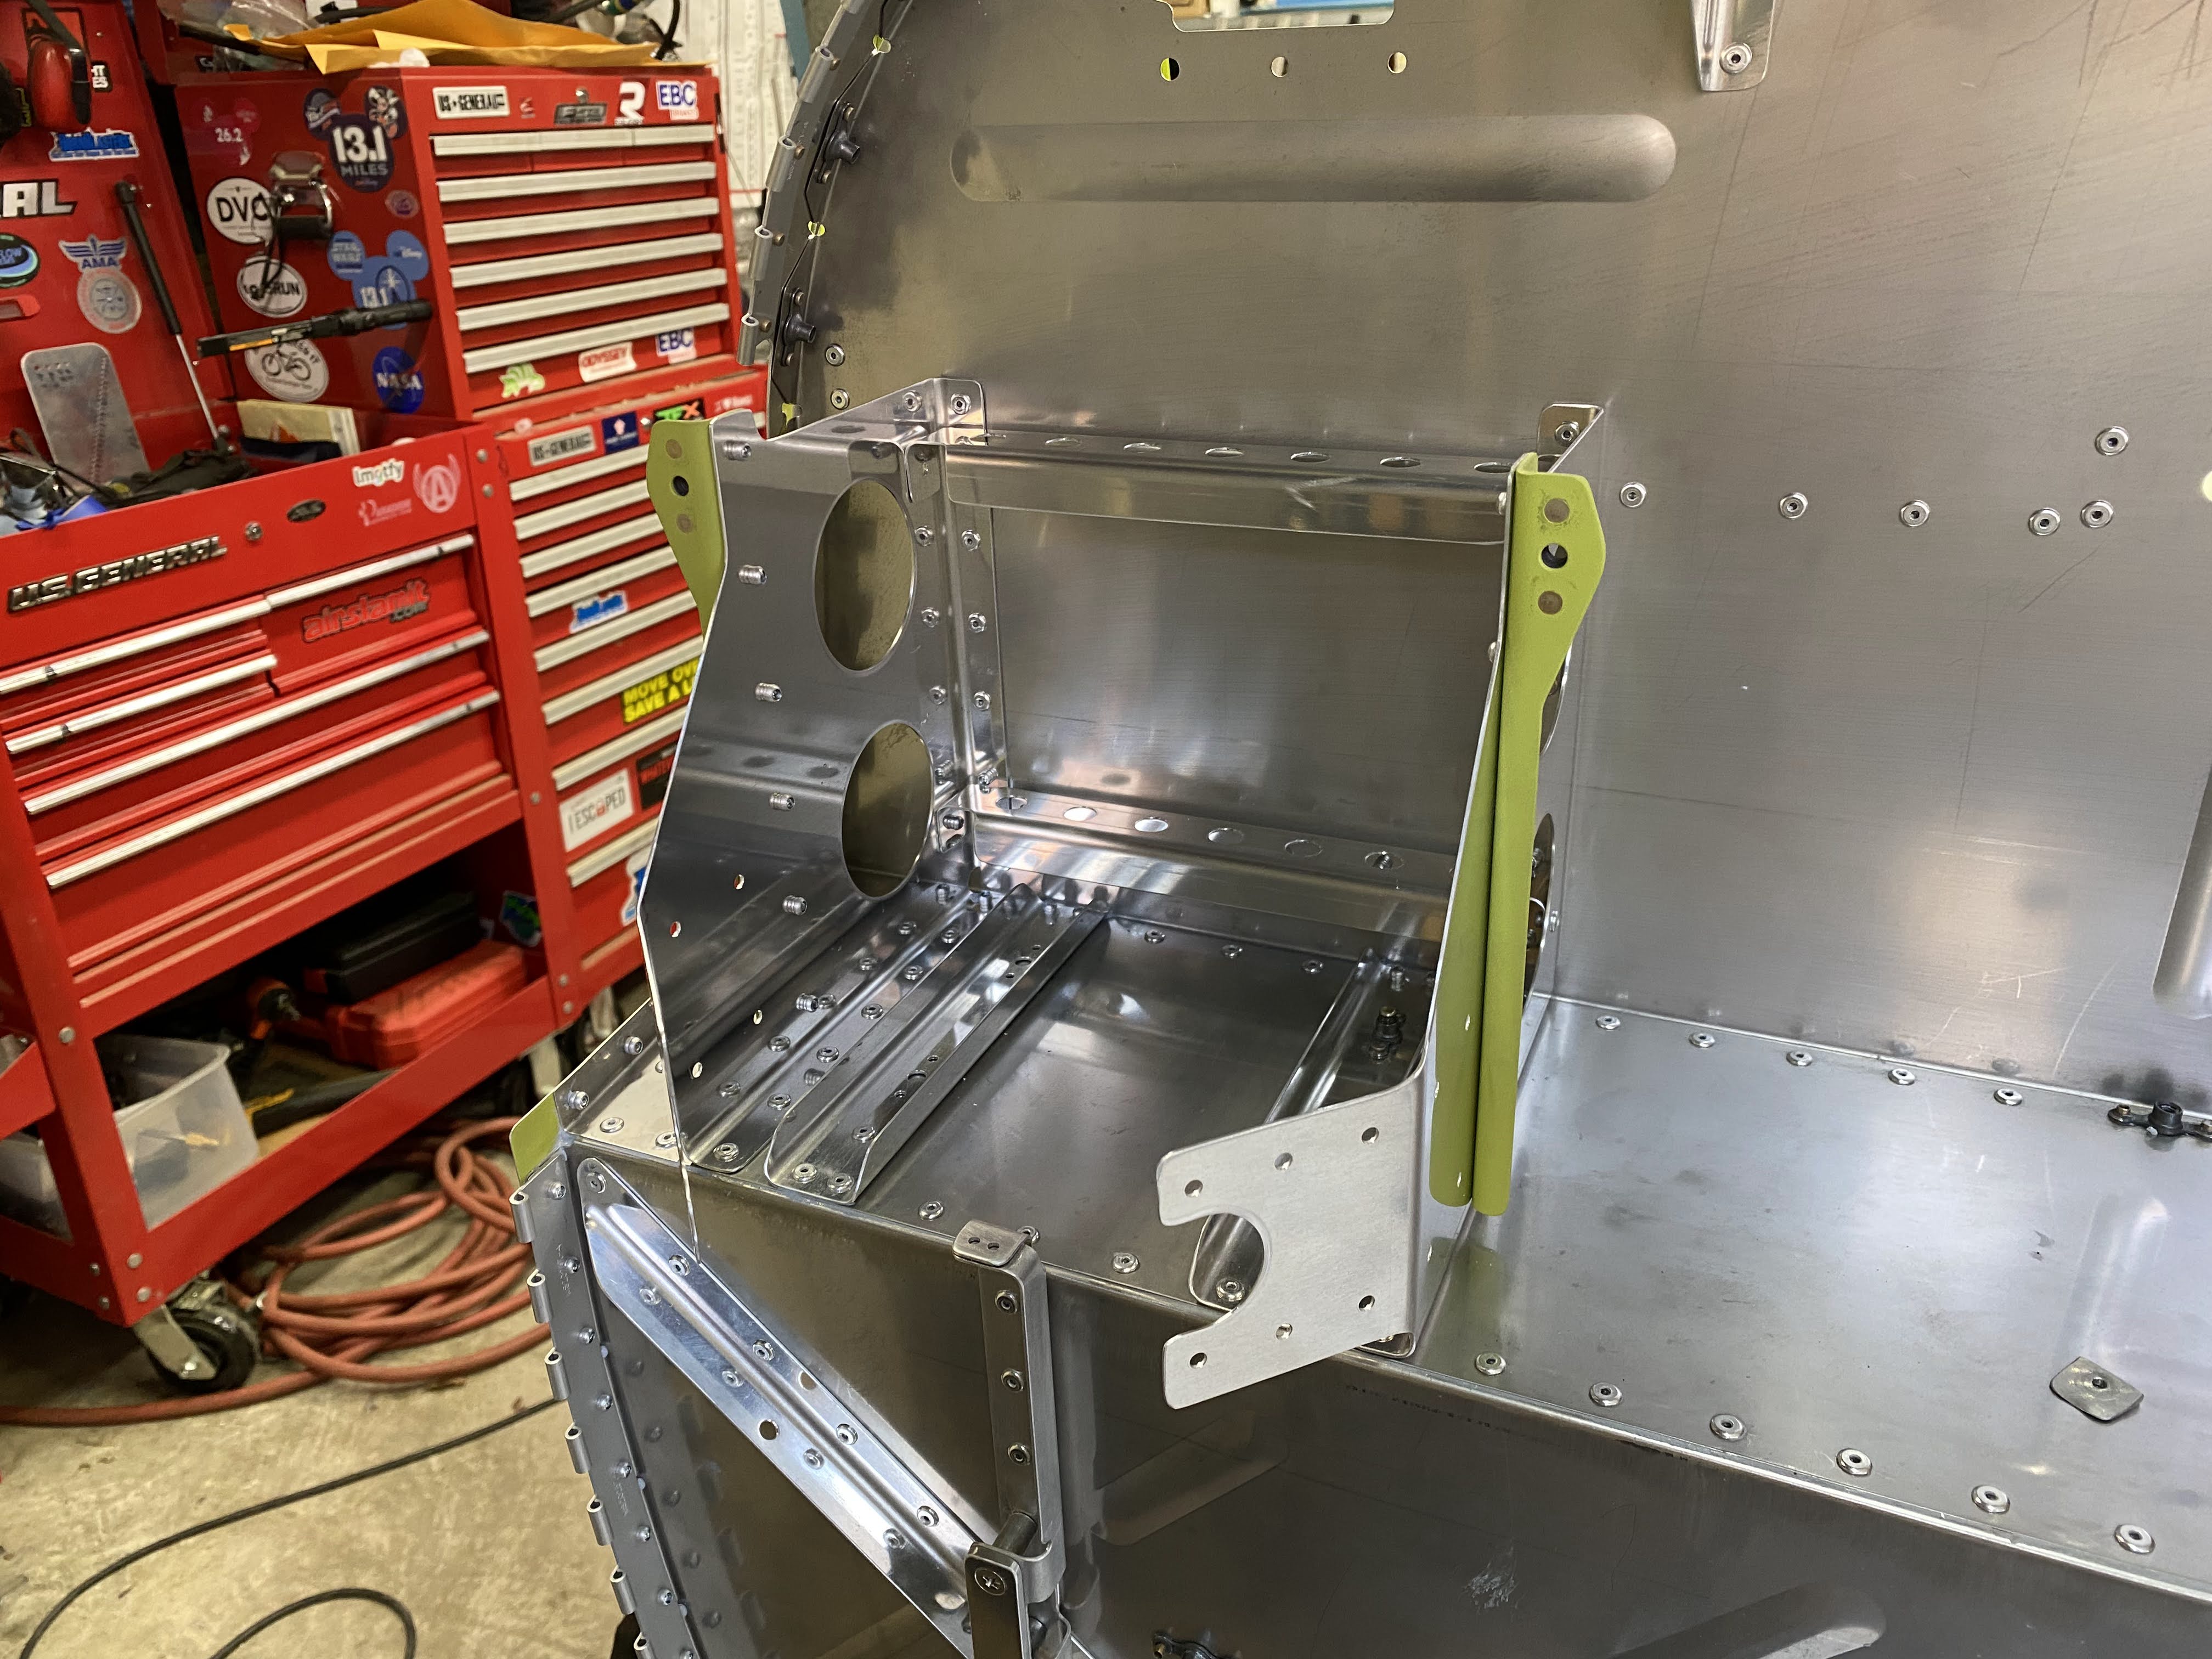
Started working on the avionics deck.

Match drilled the avionics deck to the longerons.  Be careful to drill the holes and match drill with the flange that is on the vertical rib that is under the longeron.  I used a thin stainless piece to stop the drill bit after it went thru the longeron.

Other side done.
Cleco'ed the rib to the avionics deck.  Then match drilled the angle.


Then started riveting the avionics deck to the longeron.

Then riveted the rib to the deck.

And riveted the headset hangers to the underside.


Thursday, November 9, 2023

Fuselage center section #85 - Brake Lines!

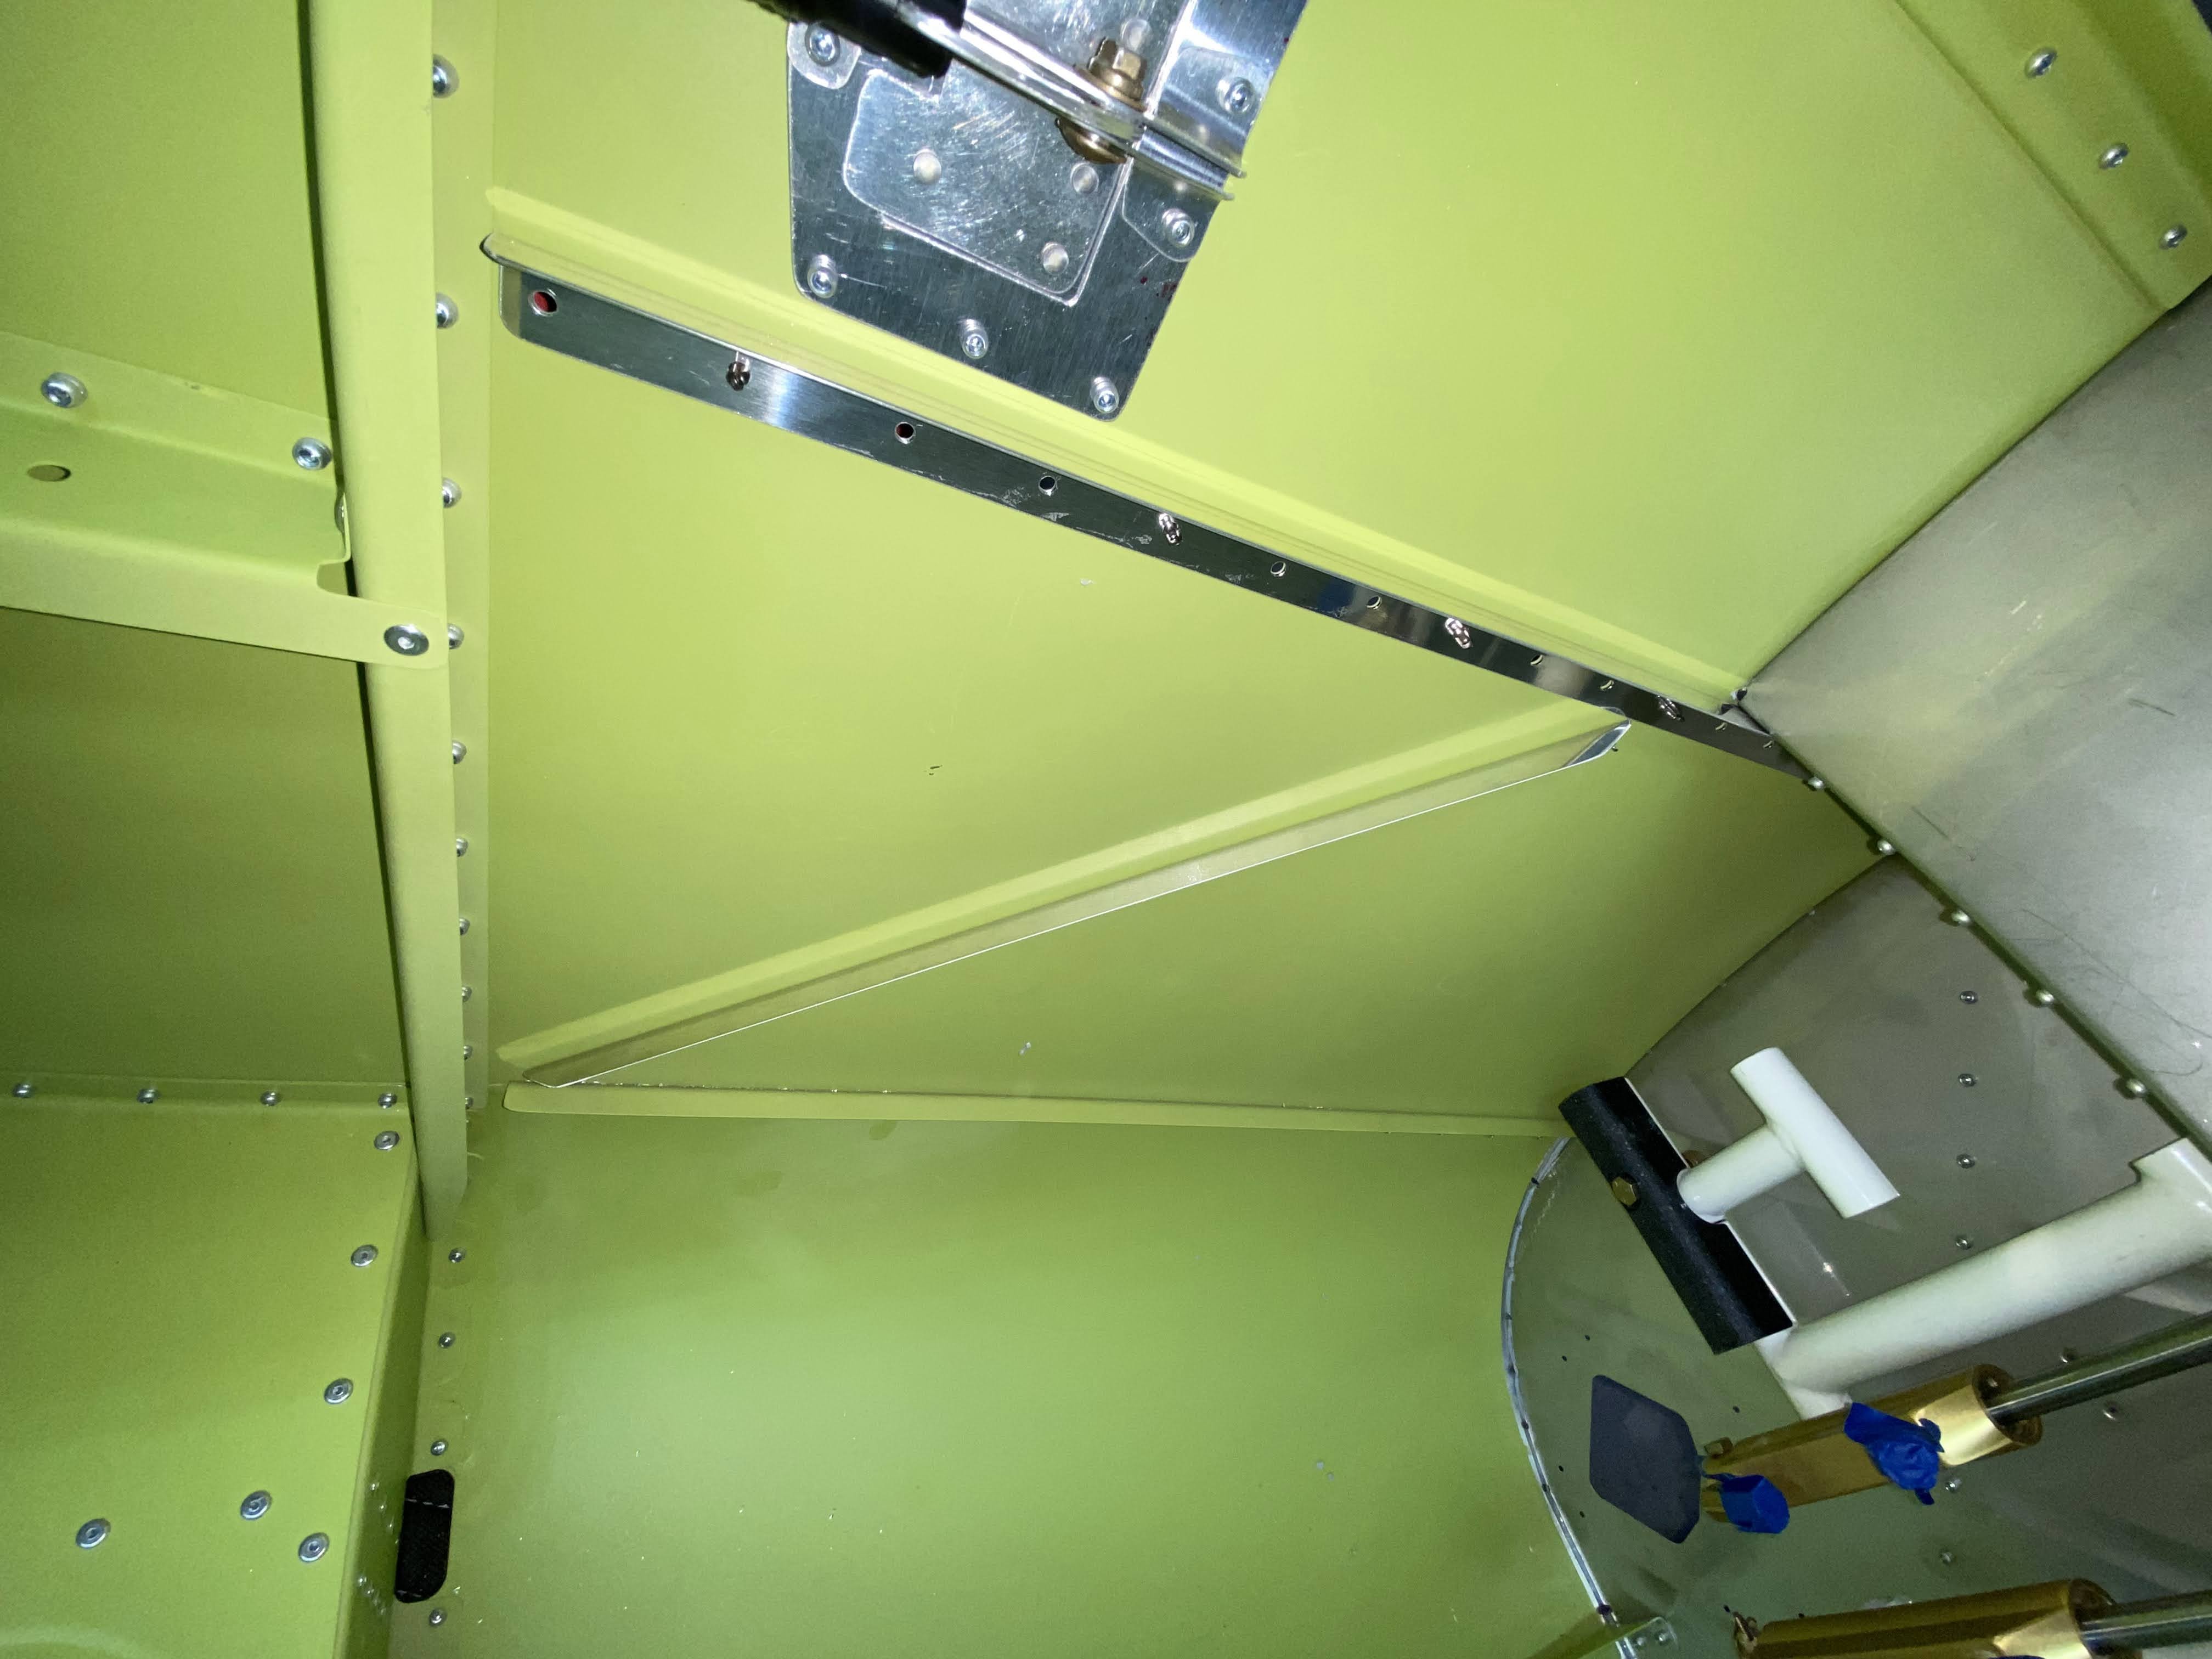
 Went back and finished the brake lines because it will be easier now before the avionics shelf is installed.

Crossover lines installed.  No idea why  they have to be so long,

Riveted this attach plate.

Installed the tops and braces of the system blocks.

Routed the long brake lines that go to the gear thru the fuse center section and system blocks.


Wednesday, November 8, 2023

Fuselage center section #84 - Forward upper fuselage assembly!

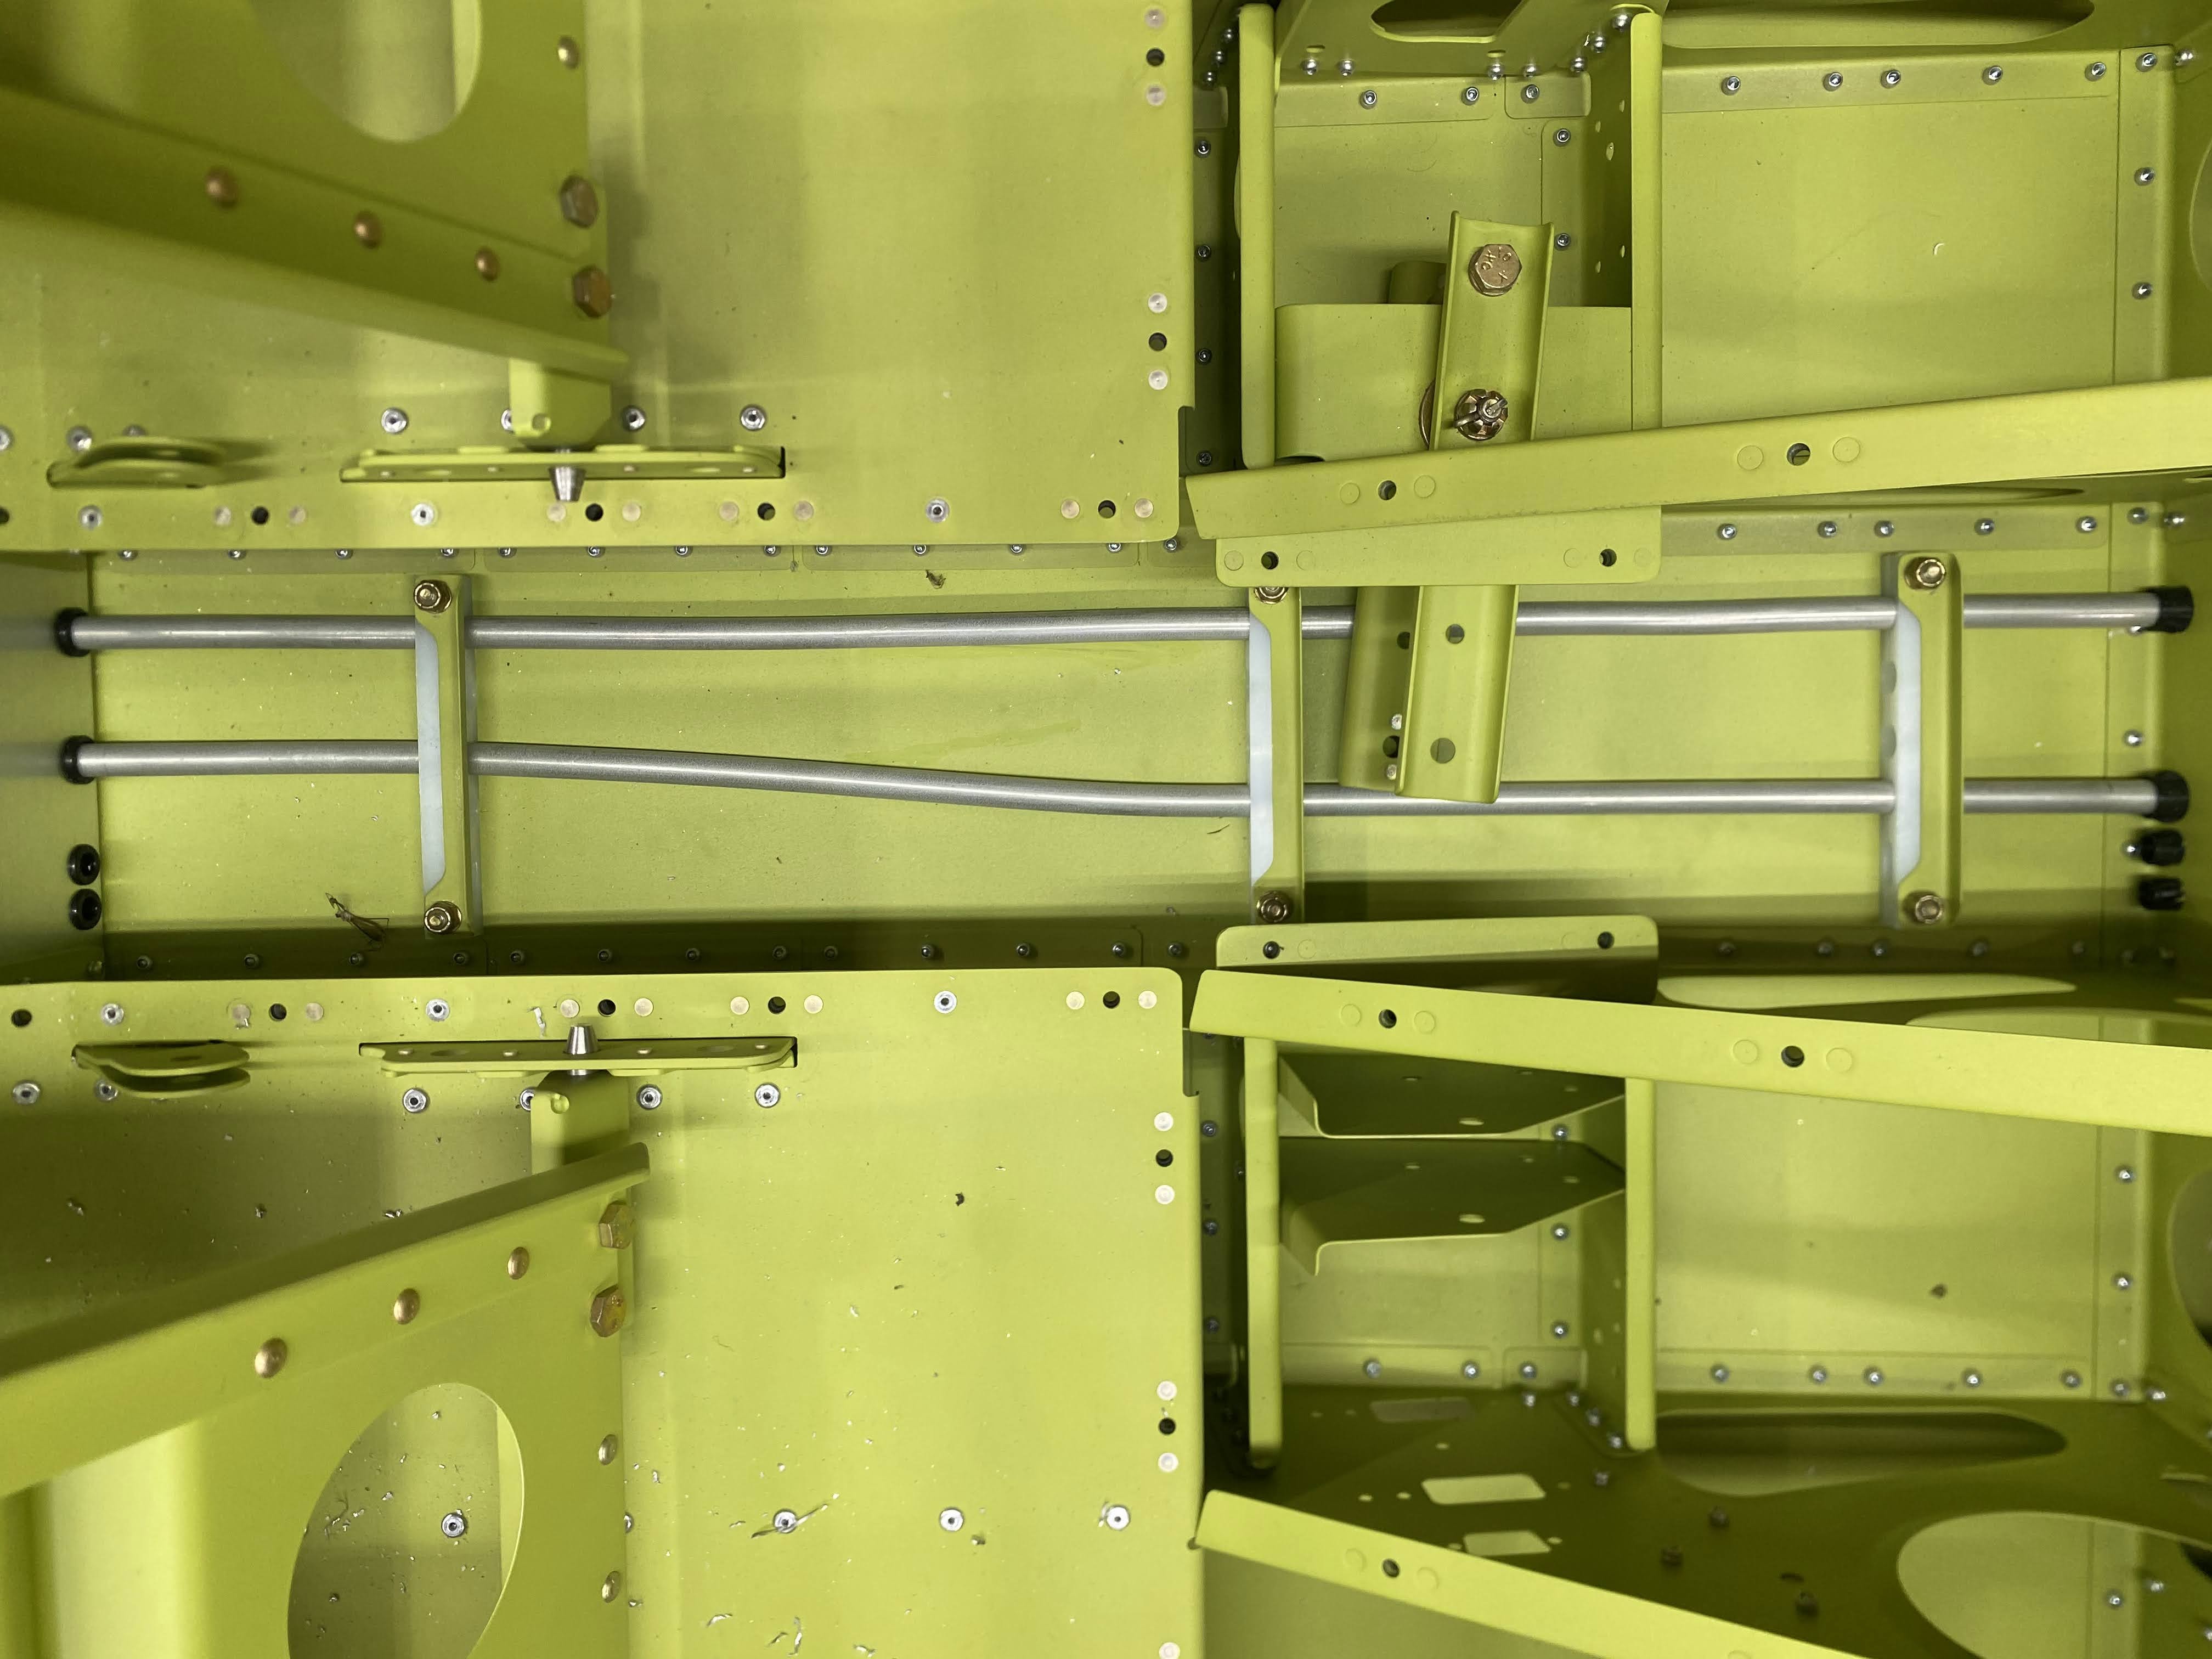
Riveted the forward side skin angles.  Also sealed the firewall to the skins all the way around the perimeter. 


Installed these two clamps before riveting on the avionics deck as this would be much harder after it is in place.

Riveted these nutplates on these angles.  Forgot I was not priming anything forward of the firewall.

Riveted the canopy hinge spacers and nutplates.

Then these doublers were riveted.

Next the angle and the strut mount nutplate.


Then all the front turtledeck cover screw nutplates.

Next all these nutplates.

Then I riveted on these ribs/stiffeners.  Pay attention to the 3 different rivets in this area,


Monday, November 6, 2023

Fuselage center section #83 - Forward upper fuselage parts priming!

Finished up part prep and primming!

Fabricated these canopy mount angles per the KAI's.

Centered the line on the angle with the hole in the canopy mount rib.

Clamped the fabricated angle and match drilled the nutplate rivet holes.  Then match drilled the bolt hole to 1/4".


Pulled out the DRDT-2 in order to dimple the holes left by Van's in the middle of this shelf.  Weird why Van's dimples some of these at the factory and then leaves a few for the builder.  If you don't have this tool or the C-Frame tool, they recommend some alternatives but they suck!

All the parts are coated in primer!  Hopefully some assembly tomorrow!


Sunday, November 5, 2023

Fuselage center section #82 - Forward upper fuselage part 4!

Working on fitting all the parts to finish the forward firewall area.  Trying to get them ready for priming.

Fitted these angles that stiffen the skin in this area.

Some parts for the canopy hinge area.

These get countersinks for nutplate mount rivets.

Cut these out, deburred and dimpled.

These doubler plates get deburred and dimpled where appropriate.

Headphone holders.

Fitting the canopy hinge ribs, doublers and stuff.....  Some match drilling going on here.

The doublers get countersinks and the ribs get dimples.  Pay attention to which ones get what treatment.  Also countersunk the canopy hinge spacers.  These are stainless and trash the countersink cutters almost instantly.  Go slow and use lots of lube.  Vans should do these in the factory to keep the customer from trashing their bits!!!!  Most customers don't have the special carbide bits required to survive countersinking these parts.  The average bit cost about $20 and will get smoked countersinking these 4 holes!