Saturday, October 14, 2023

Fuselage center section #63 - Rollover bar!

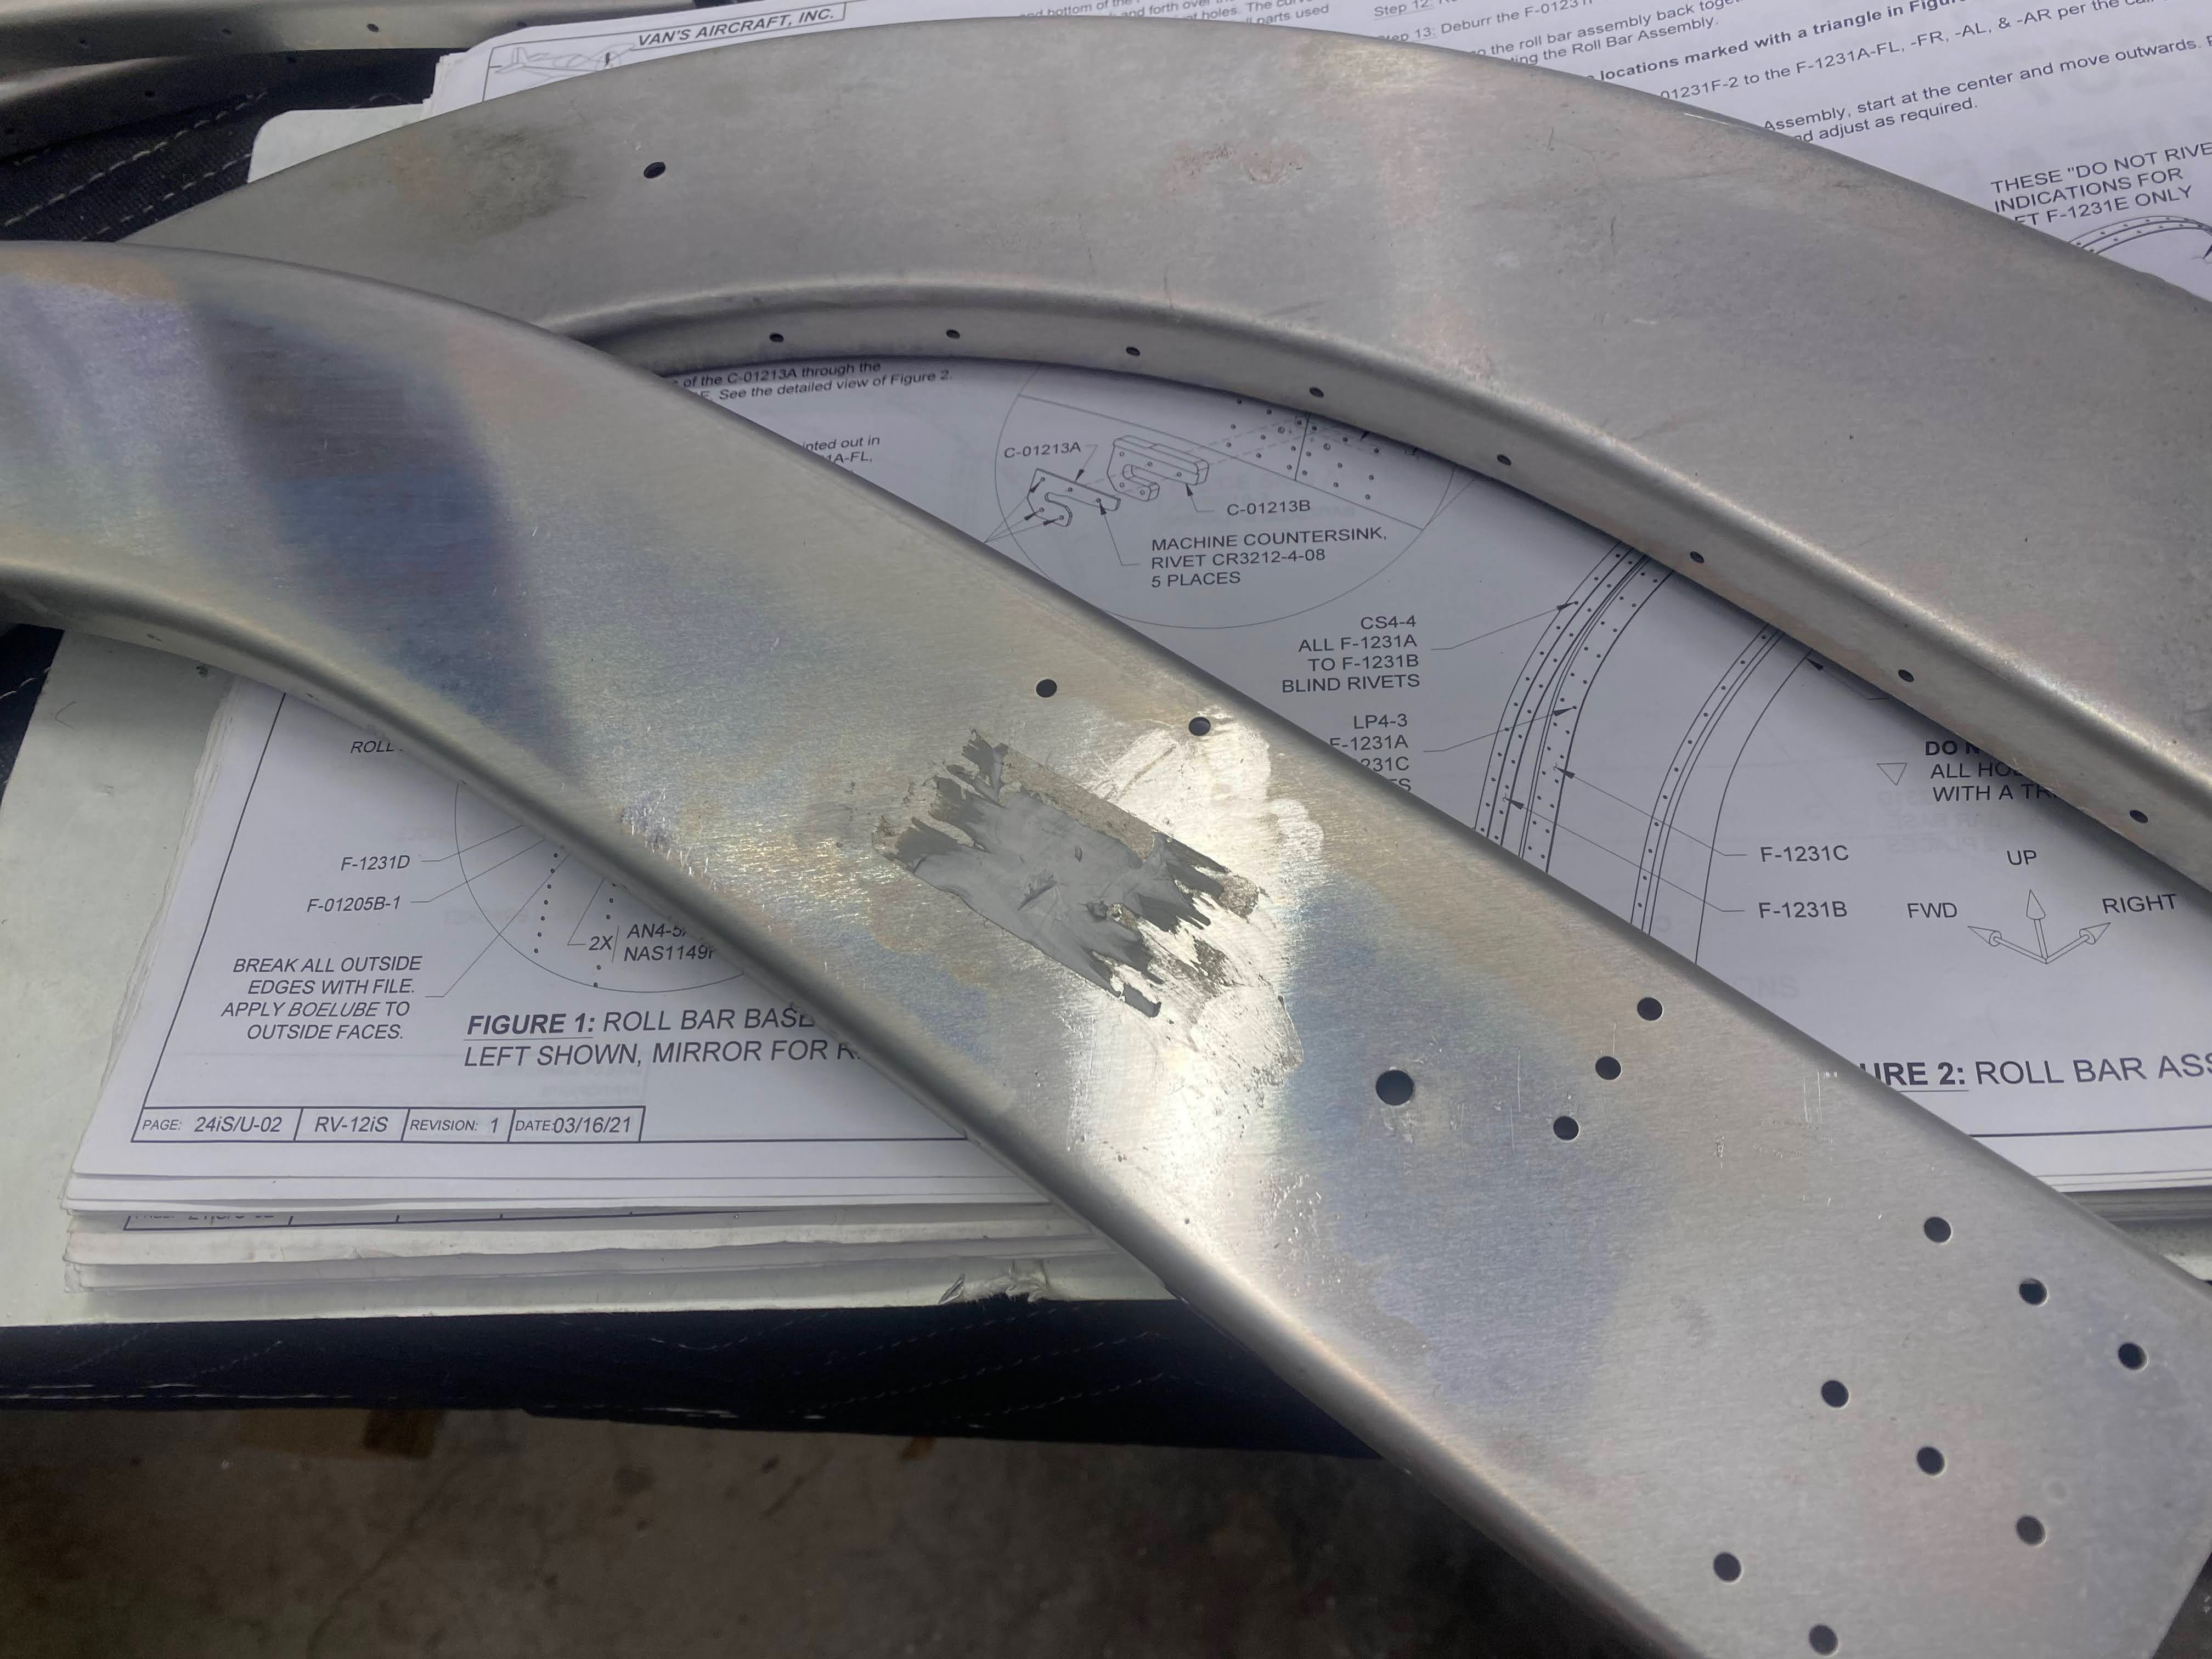
 Today I was not feeling the best but pushed thru to do some work on the rollover bar.

The stickers that were on the rollover bar parts were like something I have never seen.  Like Kryptonite or something.  Took be forever to get these things off the parts.  I used heat, solvent, Goo Off, etc.  Nothing worked well!

Then I deburred the rollover bar parts.  Took a while cause these things are thick and tought!

Van's provides these pre machined works of art to mount the rollover bar to the fuse.  When  I built my RV7, I had to whittle these out of heavy angle.

Next after all parts that make up the rollover bar are deburred and edges were treated, I cleco'ed it all together.  That is allot of cleco's!

The latch parts cleco'ed on!

The latch switch mount cleco'ed.

Got the rollbar mounted to the brackets bolted to the fuselage.  This require a bit of force to get it to go down over the brackets.  Don't skip the step to add Boelube to the bracket!  Also don't skip the step to break the outside edges of the brackets.  Do this to all the outside edges, not just the outboard edges!

Ready for match drilling!


Friday, October 13, 2023

Fuselage center section #62 - Firewall hinges!

 Finished up this section with the firewall hinges.


The KAI's have you make two mirror image hinges.  These are cut from the 6' length of piano hinge in the kit.  You must pay attention to the tab location  and cut two mirror image pieces.  Save their mates as they will be used on the cowl.  Be careful here to triple check everything before you cut or you will waste hinge stock!  Then they have you cut two shims out of a long strip of 0.020 included in the kit.


Then they have you mark and drill an alignment hole in the hinge and the shim.

Then you clamp the hinge to the firewall.  Be careful to align the hinge with the firewall and the side skin as called out in the plans.  Clamp well with side grip cleco's while drilling.  Cleco each hole as you go and keep checking the dimensions.


Then the parts are taken apart and deburred and then riveted.

Other side done!

That's the end of the section!

Yah!

On to the rollbar section!


Thursday, October 12, 2023

Fuselage center section #61 - Cockpit vents!

Working on finishing up this section.  Gonna feel good to complete it!

Cutting the air vent brackets apart.

And the pivot brackets.

Countersinking the skins that form the vent cover that sits flush on the skin when the vent is closed.

The design of these vents does not include a traditional hinge.  These tabs help to hold things in correct alignment and to seal things up when the vent is closed.

Next the KAI's have you fit, drill and tap this plastic knob.  Also have to countersink the plastic for the screw.

Match drilling the vent frame doubler to the side skins.

All match drilled.

Then riveted to the side skins.  The design of these vents is so amazing.  This cover only goes in one way and is very precise.  when it is closed, it is sealed up pretty well.

Open...

Other side...

Closed....


Other side finished.  My first pilot controls are finished!


Wednesday, October 11, 2023

Tuesday, October 10, 2023

Fuselage center section #59 - Fuse side skin riveting!

Tonight I got started riveting the side skins on the fuselage.

Finished up the sub structure by riveting the armrest to the fuse.

And riveted this little triangular gusset.  I decided to turn the flange of this gusset out toward the skin.

Cleco'ed the side skin to the fuselage skeleton.

Riveted these nutplates on the skin with the blind rivets.

Another 1000 rivets pulled!

Riveted the left skin on per the KAI's.  Started with the Cherry rivets.  Lots of holes don't get rivets yet.  pay attention!  Had a few rivets loose their mandrel on the thick longerons.  Replaced them and all is well.  


Monday, October 9, 2023

Fuselage center section #58 - More fuse sidewall skeleton assembly!

 Tonight I made progress but not much on the final riveting of the framework that supports the side skins.

First was these covers that get solid flush rivets.  The ones at the bottom were a bit of a challenge to get the pneumatic squeezer on nice and straight.  Ended up using the hand squeezer and the no hole yoke for them.

Next these armrest support clips get riveted on.

Then the forward vertical supports get riveted to the floor.  These were a tight fit for the rivet puller.

Then I unfortunately spent the rest of the evening dealing with these little bad boys.  The rivets Van's calls out for these just barely have enough grip length for these holes!  A couple on both sides ended up losing the stem because it was not captured.  I drilled them out and replaced them.  On one side one hole did it twice.  I wanted these perfect since they support the front stub spar of the wing.


The shop head side of these annoying puppies.....


Sunday, October 8, 2023

Fuselage center section #57 - Primer day!

 Today I primed all the parts I had prepped.


This was one of my largest priming batches to date on this build.

Then I got started with some of the very rewarding assembly and final riveting.   First the seat back brace gets riveted to the aft side of the fwd vertical bulkhead.
Then these tie plates that end up connecting everything together and serving as the mount point for the roll over bar.  Some of these rivets are at the extreme limit of their grip distance.  I think Van's should move up a grip size on some of these but I just follow directions.  Eagle eye'd viewers will notice an omission I made.  Not gonna say where but it is an easy fix.


Then the seat back angle adjust slots get riveted on the back brace.

And finally the seat back brace gusset plate gets installed.  Two holes are left open on both sides for some reason I will learn down the road.