Continuing to work on the assembly of the tailcone. - 3.5 man hours
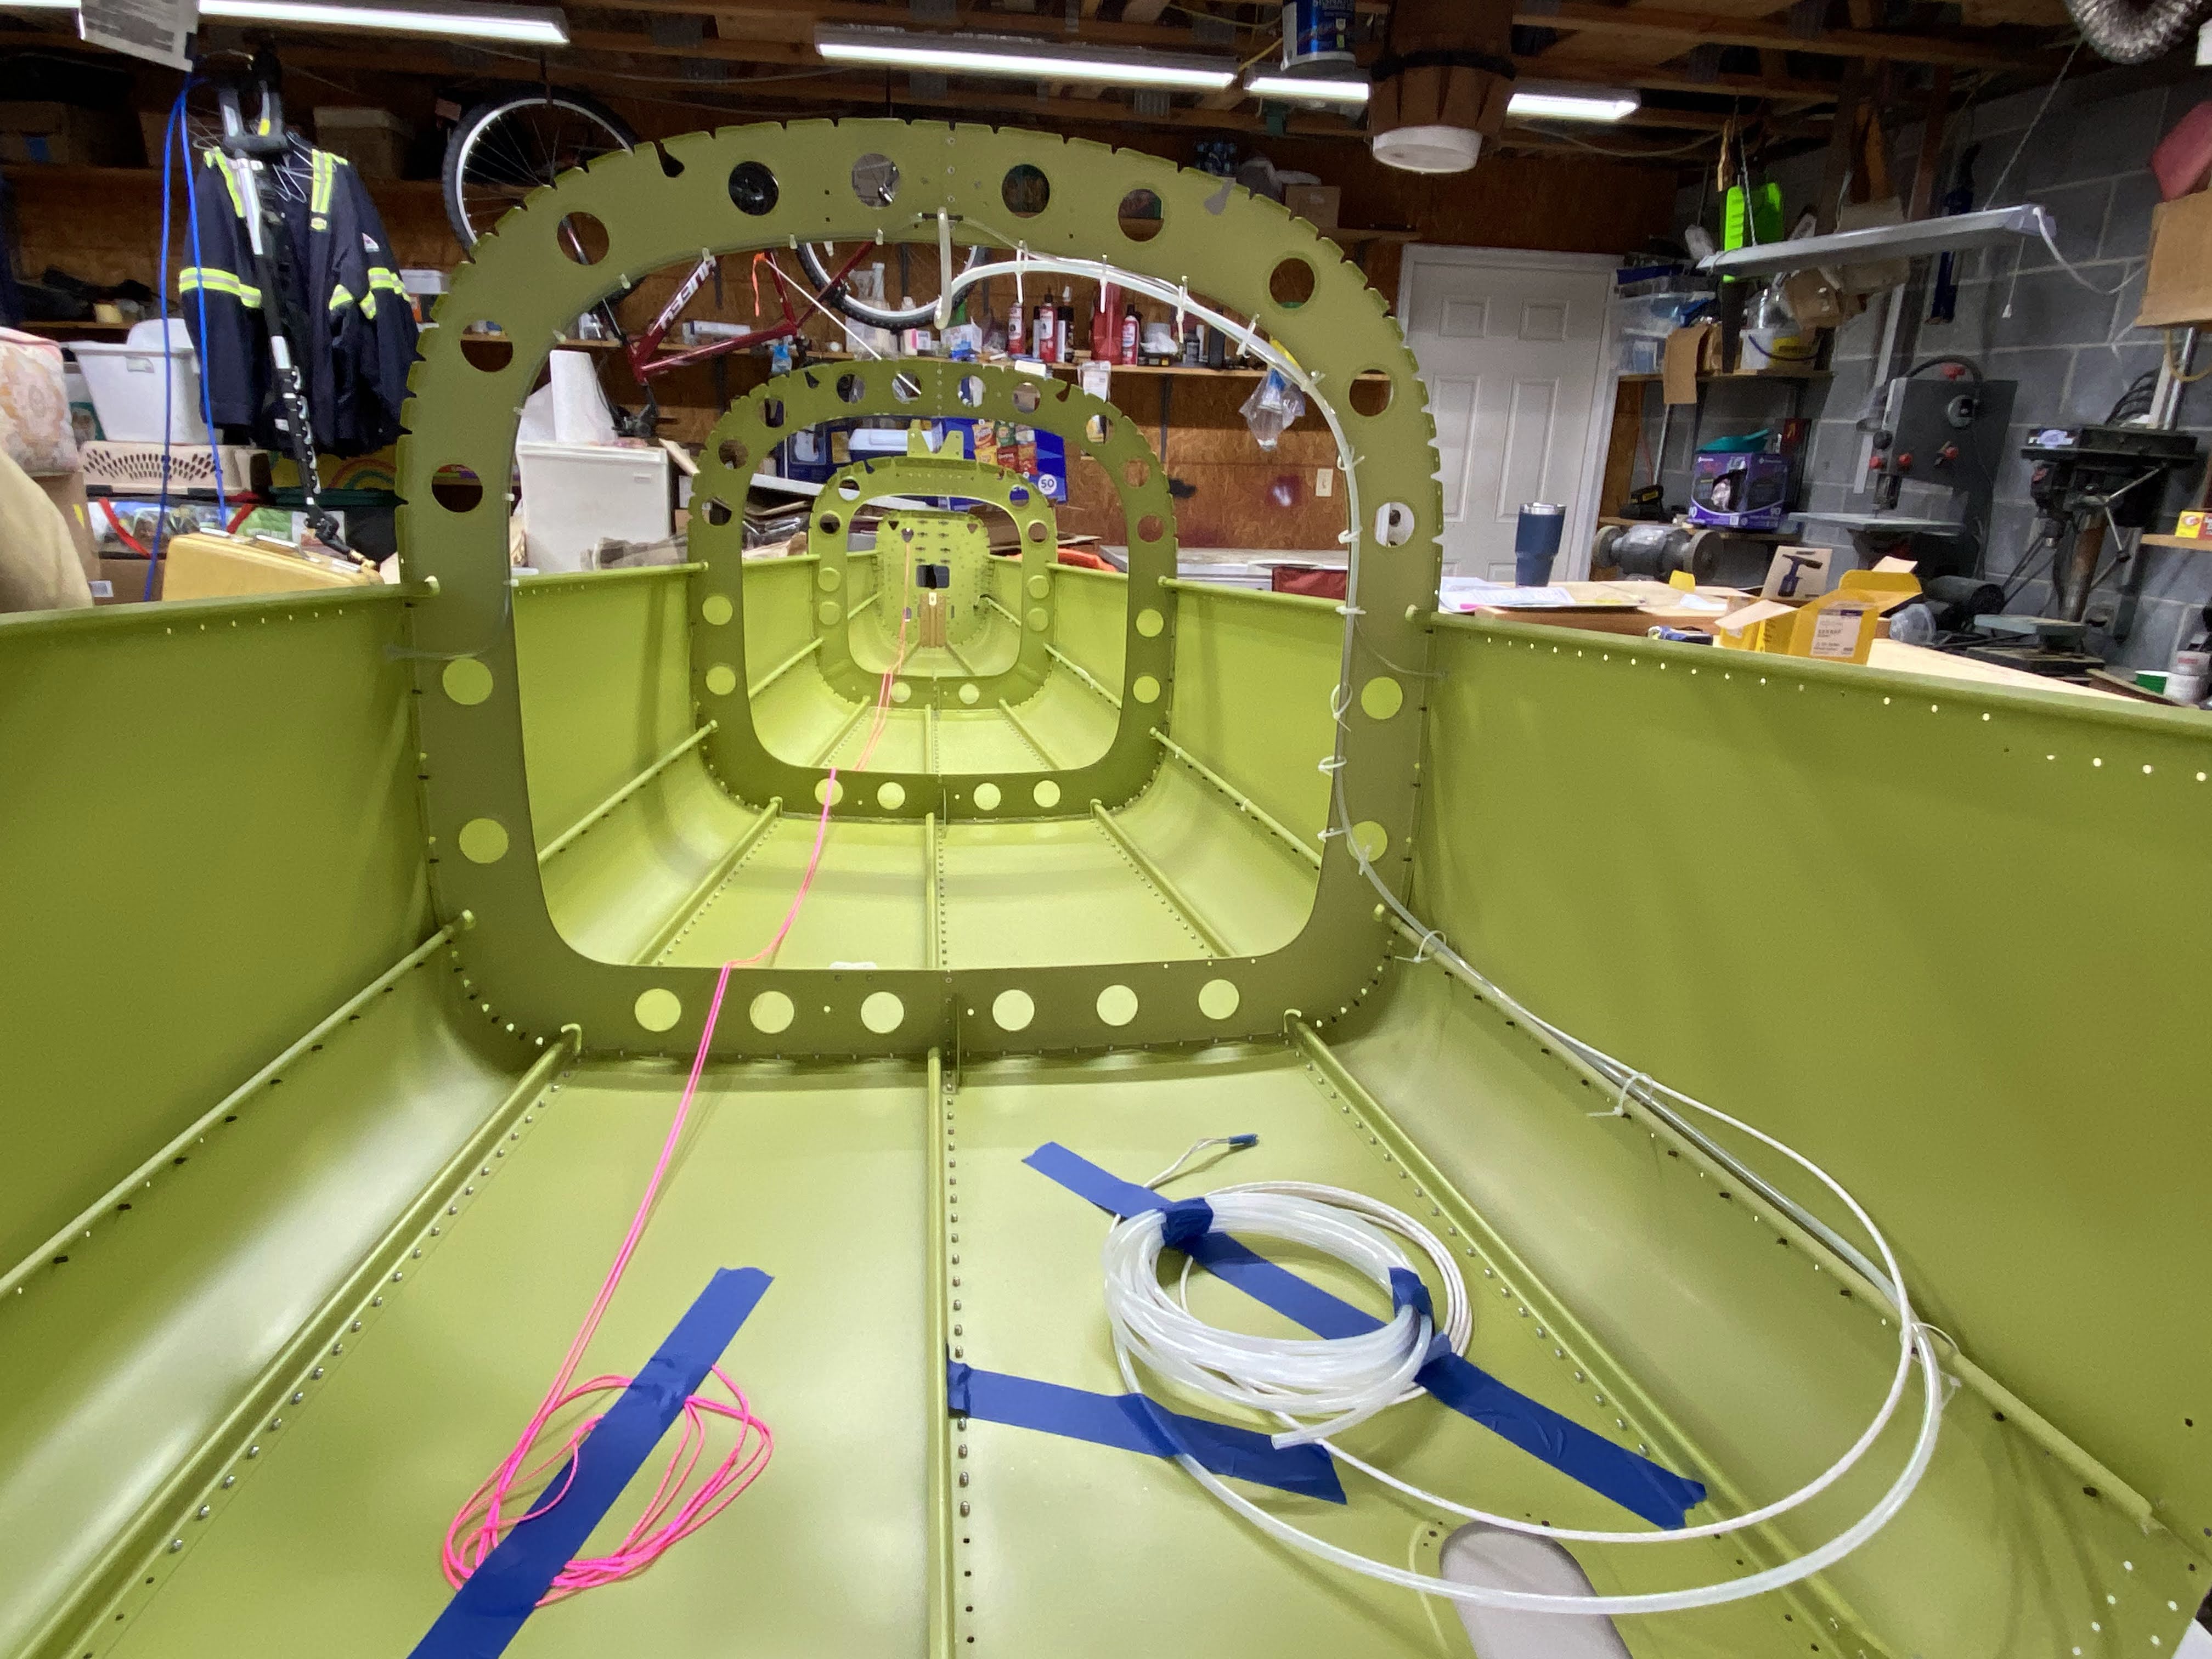
String goes in to help pull in the stabilator control cables.
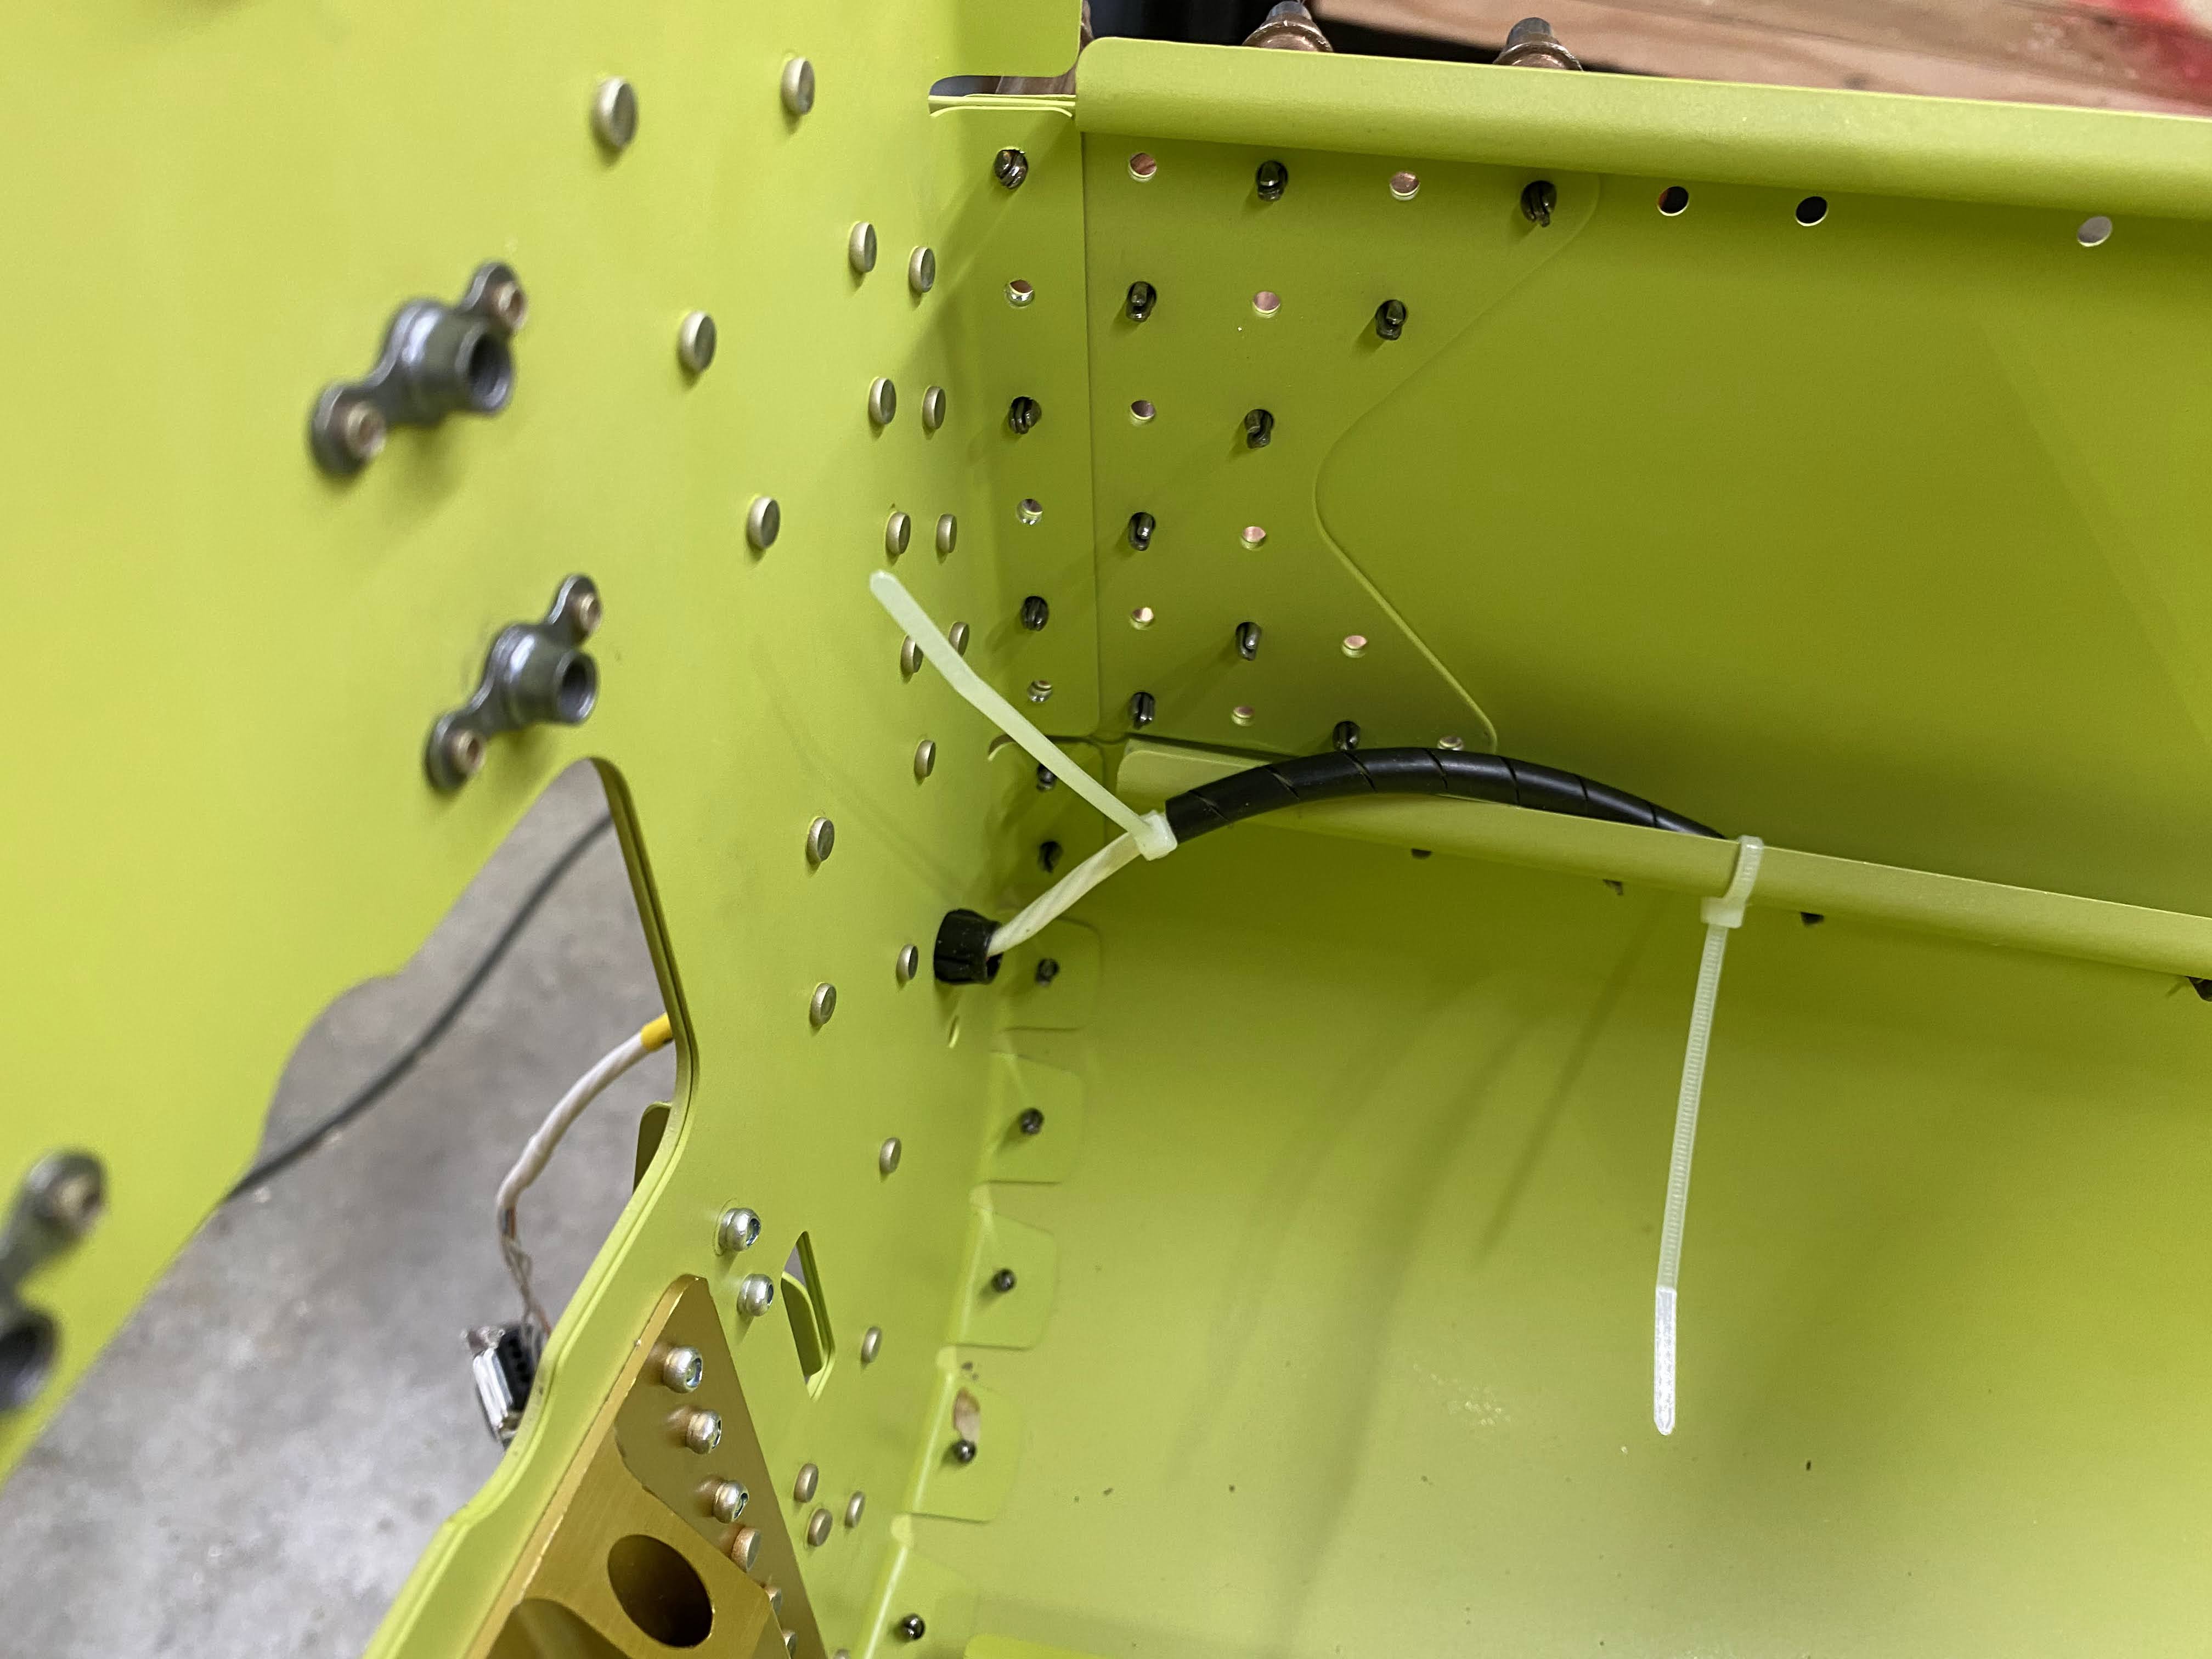
Wiring harness goes in for the stabilator trim servo. It gets pulled in up to the red heat shrink.
I have seen where some kink this cable to go all the way to the end of the J stiffener. I ain't doing it! I also added a piece of spiral wrap where the cable crosses the edge of the stiffener.
Coiled up for future use.
Installed the static system ports which are just blind rivets. Van's figured out the secret sauce to static position error many moons ago. Many people have tried to improve on the design only to find that these rivets make the best static ports.
After the rivet is set, you have to remove the mandrel. I drilled a hole in a piece of hardwood that would go over the rivet tail and leave room for the mandrel to pop out.
Pressed up against the skin, it keeps you from damaging the skin.
I cut a short piece of the mandrel off to use as a punch. Hit it with a hammer and the trapped mandrel comes right out.
Tubing gets installed over the rivet tails and then secured to the bulkhead.
The zip ties get tightened on the right side but not the left to allow for more stuff later.
Detail of tubing slipped over rivet tail.
I used this to seal the tube to the skin.
Seems cavemanish but it works.
A "T" is installed in the middle of the lines.
Have to heat the larger diameter line to slip over the T fitting.
Next I finished up the rudder cable bushing brackets.
They get drilled to the skins.
Then riveted.
And a bushing installed.
Then another string is placed that will make it easier to pull in the rudder cables later.
A shot from the front to the back.
My second box is empty. 2000 pulled rivets so far!


No comments:
Post a Comment